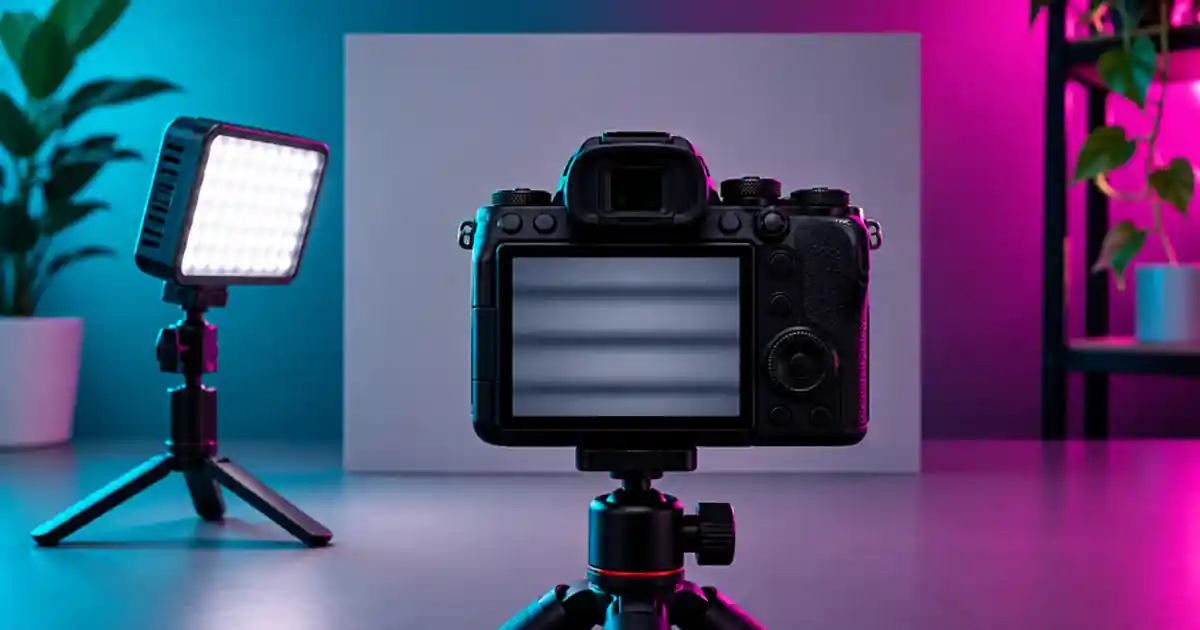

If a tabletop clip shows moving dark bands, I recommend changing one light or shutter setting at a time and recording each result. A setting that works on one lamp can leave visible bands on another. Test the light at the brightness you intend to use, then check the saved file before filming the full demonstration.
My gear pick for this setup
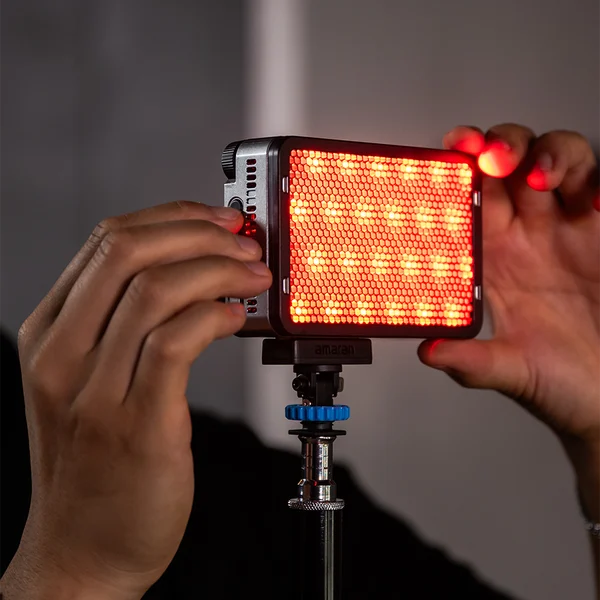
amaran Ace 25c, charcoal
A compact light when you need control over the tabletop setup
I’d consider the charcoal Ace 25c for a small scene that needs a dedicated key or accent. Test your actual brightness and recording mode for banding before you commit to a take.
Find the source before changing the camera
Begin with a neutral surface and the same camera angle where you saw the bands. Remove or turn off one light source at a time when you can do so safely. A room fixture, desk lamp, sign or monitor can be the source even when a video light illuminates the product. If the bands vanish when one source is out of the picture or switched off, you have a useful diagnosis. Note whether you see lines within each frame or a brightness pulse across successive frames.
Hold the light's brightness constant during that isolation test. LED drivers can modulate light output in different ways, and the behavior can change with dimming. A monitor can introduce its own refresh pattern. If the camera has rolling readout, different rows record at different times, which can make periodic light output appear as stripes. The exact pattern depends on both the camera and light.
Try a shutter starting point for your setup
For a light tied to a 50 Hz supply, I would try 1/50 or 1/100 second where the recording mode allows it. For a light tied to a 60 Hz supply, I would try 1/60 or 1/120 second. Those are starting points to audition, not a promise. Many sources fluctuate at twice the mains frequency, while some dimmed LEDs use modulation at a different rate. Consult the camera manual for video flicker or fine shutter controls and use the exact frame rate you intend to deliver.
If your normal motion shutter gives visible bands, compare nearby settings and pay attention to the motion as well as the background. A faster shutter may change how a hand looks during a pan. If the clean-looking result makes movement too sharp for the intended shot, change the source or its brightness mode and test again. I favor the setup that keeps both the product and movement readable.
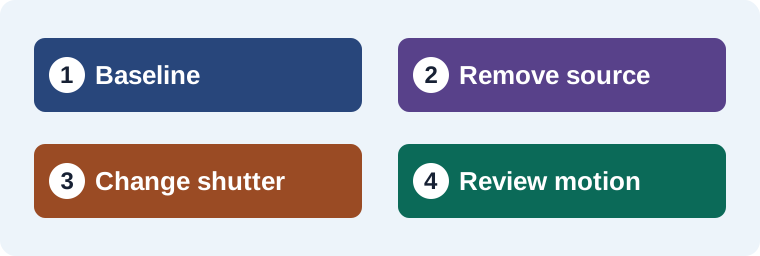
Rehearse at the brightness you will record
Make three short clips with the light in the same position. One at the planned brightness, one with the same light set higher and exposure compensated on the camera or with distance and diffusion, and one with the troublesome source removed. Keep a clean slate or note before each clip. When you play them back, compare an even background and the midtones on the product. Use the same display and player for all three.
Make a separate pass at your intended slow-motion setting if the project needs it. A setting that works for normal speed may behave differently at a higher frame rate with shorter exposure. If the camera has auto exposure, lock the relevant settings where possible so it does not change the shutter mid-clip. Note the resolution, frame rate, shutter and light level in the worksheet.
Pick the smallest dependable change
| Observation | What I try |
|---|---|
| Bands appear only under one room lamp | Remove the lamp from the lighting mix and retest. |
| Light is clean at full output but bands appear when dimmed | Try distance or diffusion and check the new exposure. |
| Bands appear only in slow motion | Test shutter and source in that exact recording mode. |
| Monitor in frame is the only affected area | Check display refresh and camera shutter together. |
I use the portable product video lighting guide when the setup needs a compact source and the black card placement guide when a small lighting change should preserve the edge of a product. A new light still needs the same rehearsal at the brightness you expect to use.
Keep an accepted reference clip
Save the cleanest short sample with the setup notes. If you add a supporting cutaway from Video Lab, match the exposure and light direction against that reference. Review the complete export at normal speed and inspect the neutral background again. A saved sample lets you catch a setting change before you shoot the next angle.
Check the recorded clip on a larger display before calling the test done. A small camera preview may hide a faint stripe on a pale background, especially when it downscales the image. Inspect a blank area and the product itself. I save the usable test by camera mode and light level rather than naming it just “fixed.” When the project moves to another room or a new power arrangement, repeat the same three passes instead of copying the setting blindly.
Use the same shot across three recordings
If the back wall pulses on a 30 fps product demo, I’d record ten seconds with the usual setup, repeat with the suspect source removed, then try a compatible shutter setting with that source restored. Play all three at the same size. If only the last two are clean, decide which gives you the motion and lighting you want. I record the source and brightness with the setting, especially if slow motion will be a separate take. At the end, compare the moving hand and the background as separate checks. A still frame can hide a pulse that becomes obvious during playback.
Download the product video lighting worksheet (CSV)
Frequently asked questions
Is 1/60 second always flicker-free?
No. It can help with some 60 Hz sources. The light’s driver, dimming behavior and camera timing determine the actual result.
Can a dimmed light flicker when full output looks fine?
Yes. A dimming mode can change how the light pulses. Test the intended brightness and shutter together.
Should I test slow motion separately?
Yes. A new frame rate and shorter exposure can reveal bands that were hard to see in the regular recording.
Why can I see bands only on a monitor in the frame?
The monitor refresh can interact with the camera shutter and sensor readout. Check the display and camera timing together.
Sources and further reading
Affiliate disclosure
As an Amazon Associate I earn from qualifying purchases.
Continue with a useful next step
 Image
Portable LED Lights for Product Video: Ace 25c Guide
Choose a portable LED light for product videos. Review amaran Ace 25c power modes, reflections, fan noise and kit contents with a practical three-shot exercise.
 Image
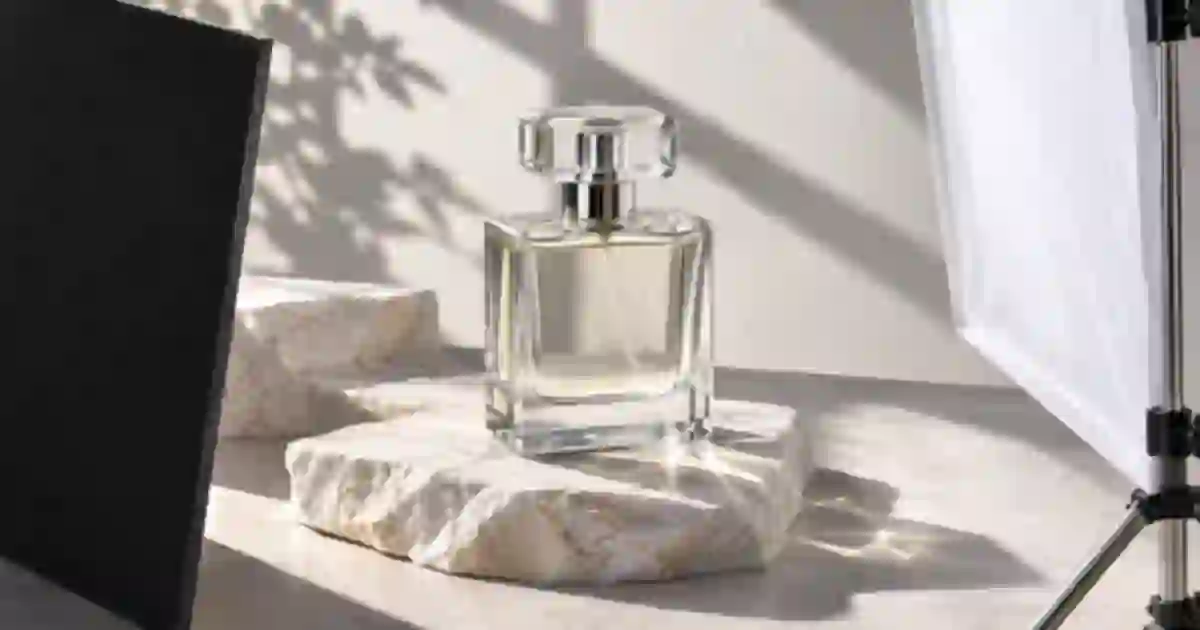
Negative Fill for Product Photography With Black Cards
Use negative fill to make clear or glossy products readable. Place a black card, compare four lighting frames and keep the product label easy to read.
 Image
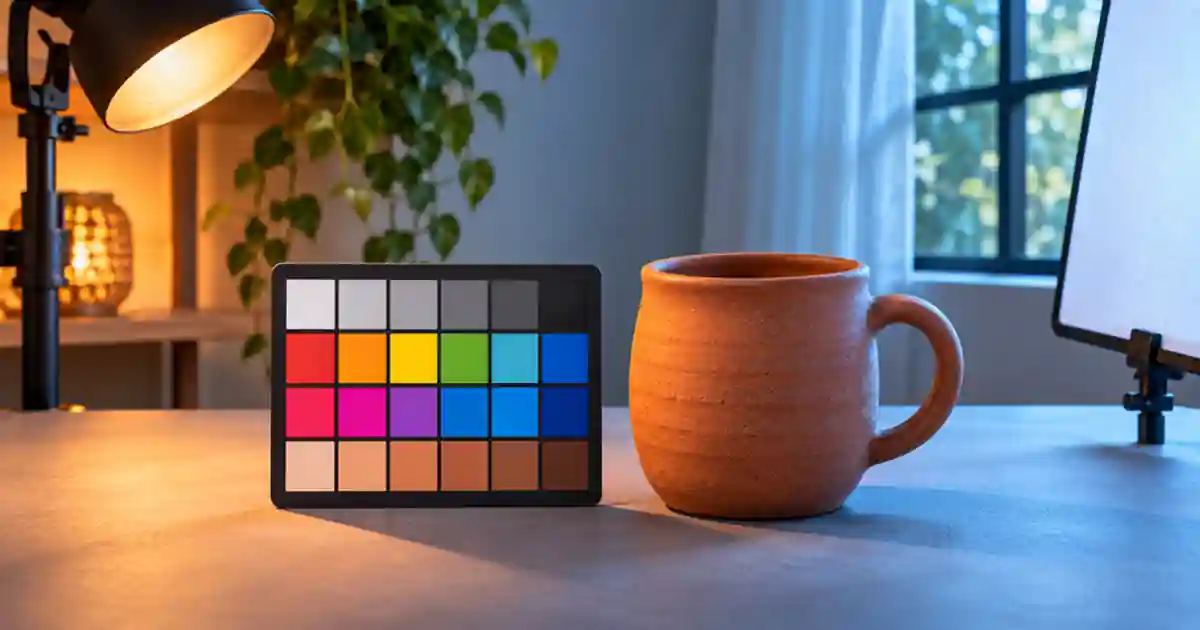
Lock White Balance for Consistent Product Video
Lock white balance in product video, record a neutral target under the actual light and compare label color between angles before grading or exporting.