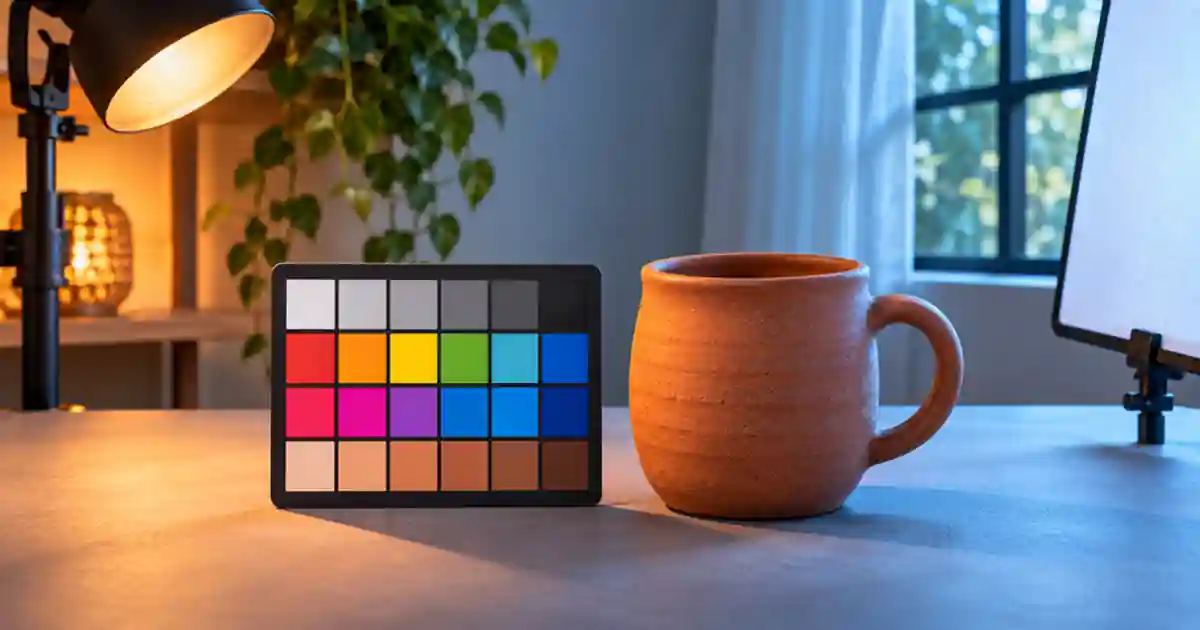

When the same white label goes blue in one angle and yellow in another, I recommend choosing the light first and locking white balance before recording. Shoot a neutral reference at the product’s position for each setup. I want a stable starting point for the edit, especially when the packaging color is something the customer will notice.
My gear pick for this setup
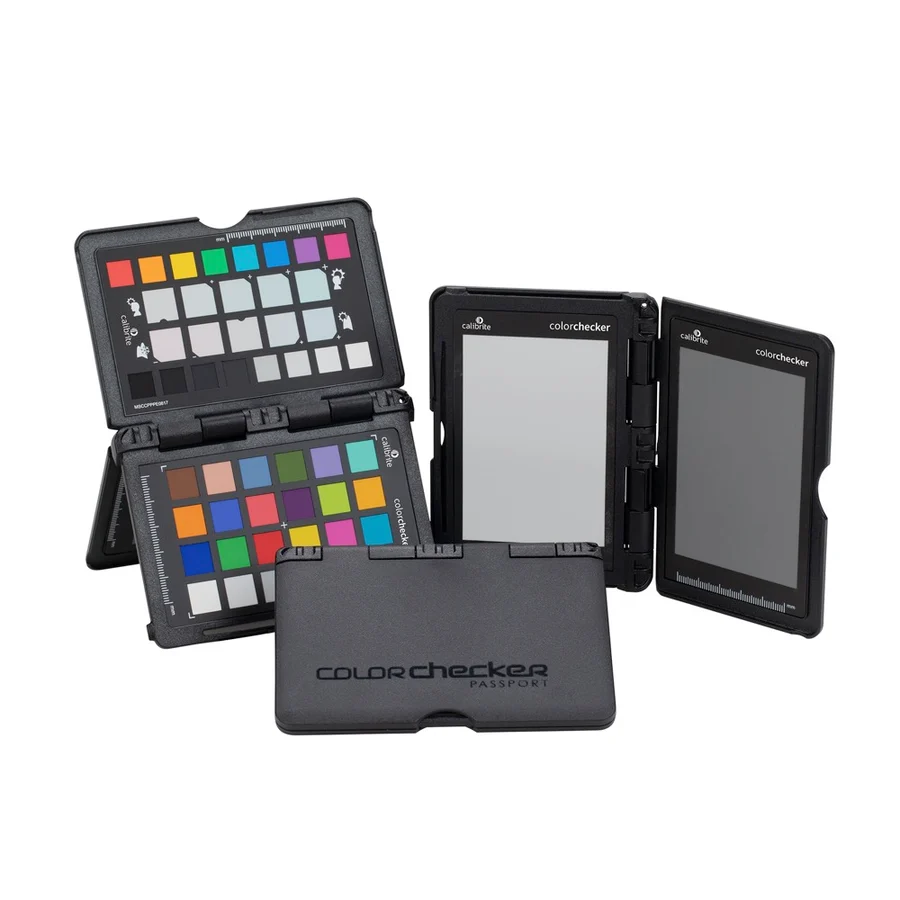
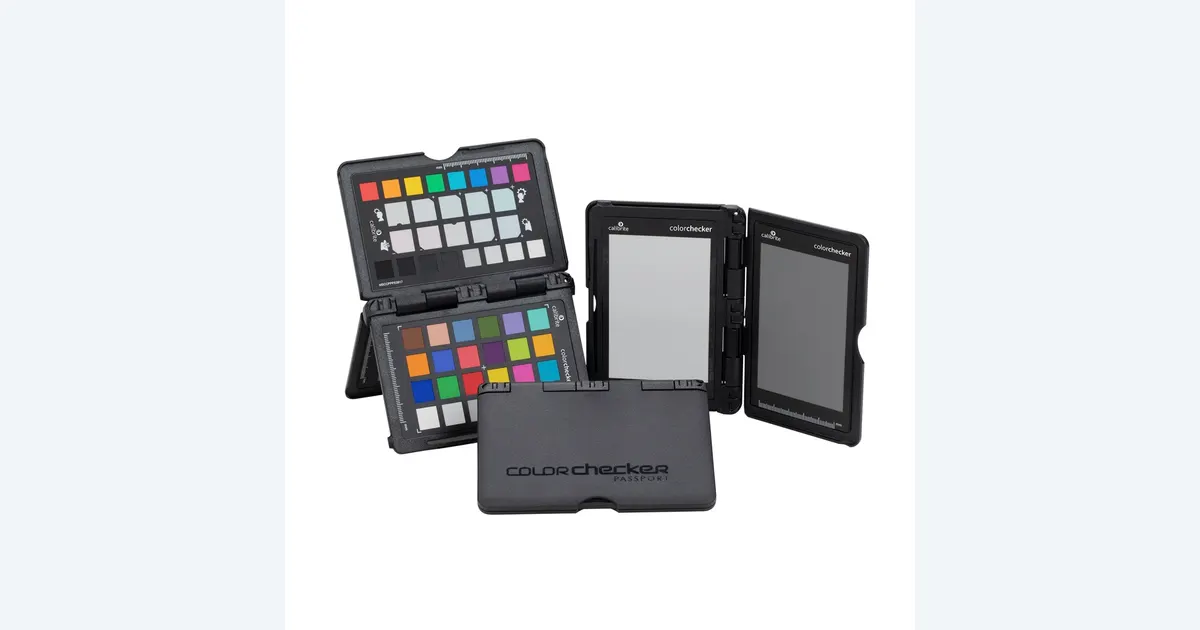
Calibrite ColorChecker Passport Photo 2
A portable photo target for neutral and color references
I’d use the neutral reference in the ColorChecker Passport Photo 2 for this exercise. This listing is the Photo 2 model. A video chart serves additional scope and chart-matching workflows.
Choose which light should define the product color
Place the product where you plan to film it and look at what lights its front, sides and label. A window can add a cooler cast on one edge while a warm lamp lights the front. A single white-balance setting cannot correct two different light sources independently across the same object. I turn off or block an unwanted source where possible, or position the subject so one consistent light dominates the areas that need accurate color.
Keep the camera’s white balance separate from exposure. Exposure affects how bright the reference appears, and a clipped reference may lose detail you need to judge. Check your camera or app manual for a manual, custom or lock mode. If it shows temperature and tint controls, those may both matter with LED lighting. I set the balance under the actual light before recording, then look at the approved product rather than assuming a single preset fits the scene.
Record a reference where the product sits
Put a neutral target next to the product or briefly replace the product with it. Angle the target so the important light falls on it and avoid a direct glare that turns the surface into a reflection of another source. If the camera supports custom white balance from a target, follow its framing instructions. Record a short reference clip or still for the editor and remove the target from the shot.
For two angles with the same lighting, keep the manual setting and record a reference at each angle where practical. If you move the product to another room, recheck the light and make a new reference. Keep notes that show which shot uses which setup. I do this even for a quick product demo because a ten-second reshoot is easier when the lighting decision is written down.
Compare the approved label in both angles
Cut between an overhead shot and a front shot without adding a creative look. Compare the neutral patch and the label where they receive the intended light. If the white patch matches but the product still looks different, check exposure, reflection angle and changes in the real light. A glossy package can reflect the environment differently as the camera moves. White balance alone will not remove that change.
Use the relevant reference first and apply a creative look after the angles are close enough. In a small ad, I keep a still frame of the approved color beside the edit. Where the product has multiple approved color variants, name the files clearly so a pleasing grade does not accidentally turn one version into another. The neutral and color target comparison covers choosing a reference and the SDR export guide helps when the shift appears only after delivery.
Use the symptom to pick the next change
| Symptom | What I test |
|---|---|
| Color drifts as the hand enters | Check whether automatic white balance is still active. |
| Different casts on opposite sides | Isolate or control the competing light. |
| Neutral looks right but label is off | Check reflections, exposure and the approved product reference. |
| Only the exported file looks different | Check output interpretation and the target player. |
Protect the reference through the generated edit
When I prepare a variation in Image Lab, I retain the approved product photo and the camera reference. Compare the label, product hue and neutral details after the change. If the generated scene needs different lighting, choose an approved supporting use for it and keep the primary listing image faithful to the actual product.
If two cameras are involved, give each one its own reference under the same lighting. A matching temperature number can still produce different color because the sensors and picture modes behave differently. Compare the neutral patch and the approved product color in your edit. Once the baseline is close, make small corrections and keep notes on which camera needed them. I find the transition easiest to judge when I cut back and forth on the same label with the creative look turned off. Save the reference frame from each camera with the approved footage, especially if there may be a pickup the following week.
Match the shot with the most important label
If the front angle of a jar is warm and the overhead looks cool, I’d place the target where the jar sits in each setup. Choose one dominant light for the label and set the camera balance there. Record the reference, remove it, and film the same product from both angles. On the edit, compare both references and the approved label. If the references agree but the glossy surface still changes, adjust the reflective environment or the angle. Save the references with the camera settings for later pickups. Take a new reference if a lamp changes or daylight shifts during the session. I would keep the original in the edit for checking a future grade.
Download the product color workflow worksheet (CSV)
Frequently asked questions
Can white balance fix two different lights at once?
A single setting applies across the image. Reduce unwanted mixed light on the product or handle regions separately in a careful correction.
Where should the neutral target go?
Put it at the product position under the light that falls on the important surface. Avoid glare and clipping.
Should I relock white balance for every angle?
If the light and camera interpretation stay steady, keep the manual setting and verify each angle. Make a fresh reference when the light changes.
Why is the label off if the gray target looks right?
Check product reflections, exposure, lighting color and the approved reference. White balance addresses only one part of the image.
Sources and further reading
Affiliate disclosure
As an Amazon Associate I earn from qualifying purchases.
Continue with a useful next step
 Image
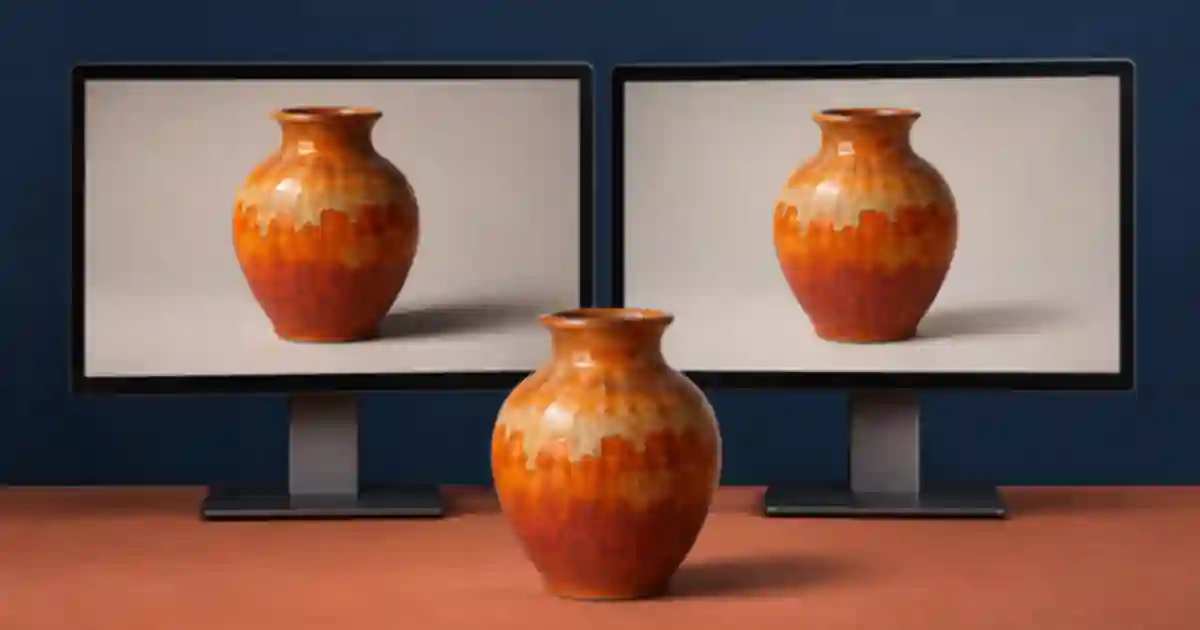
Gray Card vs ColorChecker for Better Product Photos
Choose a gray card or ColorChecker for product reference photos. Separate white balance, camera profiles and screen calibration with a capture checklist.
 Video
Rec. 709 vs sRGB for Product Photos and Video
Use sRGB product photos in a Rec. 709 video with a color-managed workflow. Compare a short export, diagnose washed-out playback and protect product color.
 Image
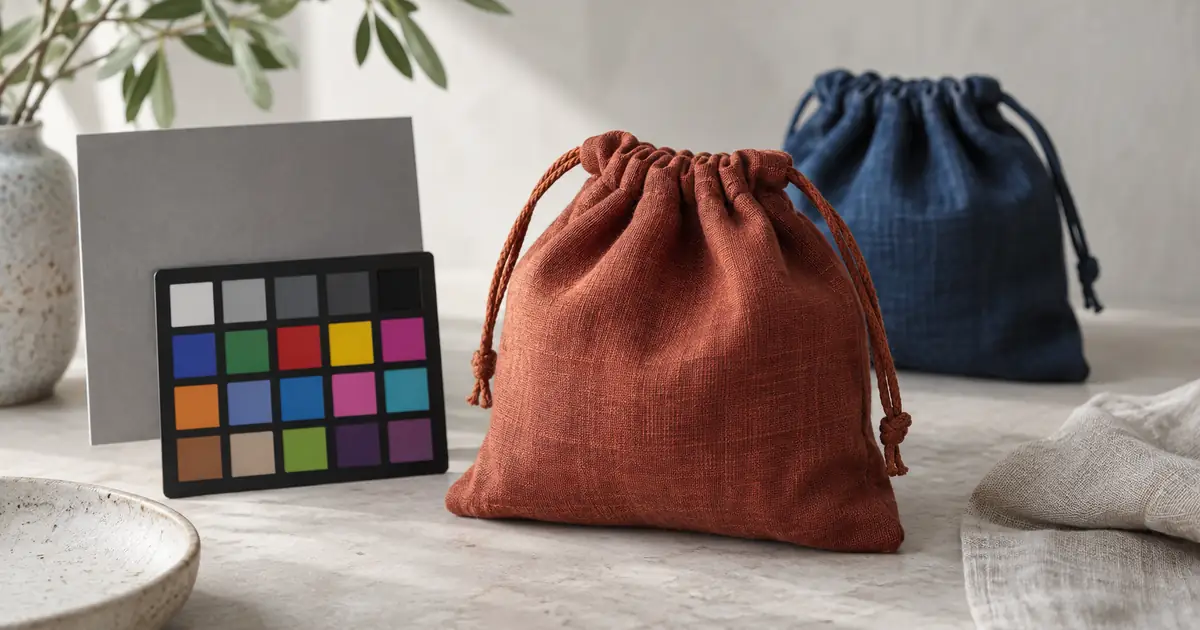
Product Photo Color Correction: Keep the Real Shade
Correct product photo color without changing the item. Follow a reference-led workflow for white balance, local casts, AI edits and final export checks.