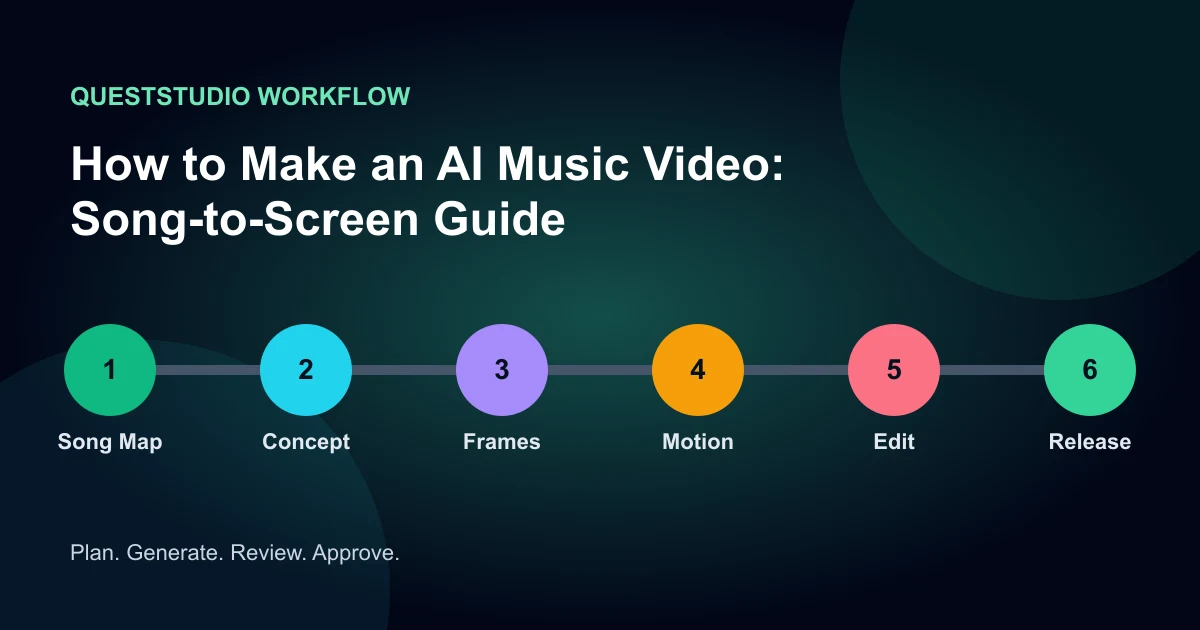

To make an AI music video, divide the finished song into sections, assign a visual job to each section, create a small set of recurring motifs, generate stable keyframes, animate short clips, and edit them to musical events. The strongest workflow is not “upload a song and accept the first montage.” It is a directed sequence in which the music controls pace and the visual system controls continuity.
Start with a finished or nearly finished mix. If the arrangement changes after editing, every cut and sync point can move. You also need the rights to use the song, vocals, samples, likenesses, footage, logos, and generated assets in the intended release.
1. Turn the song into a beat and section map
Listen without generating anything. Mark the intro, verse, pre-chorus, chorus, bridge, solo, drop, and outro. Add timestamps for important lyric entries, drum hits, transitions, rests, and emotional turns. Then write what changes musically: energy, density, instrumentation, vocal delivery, and point of view.
| Music event | Possible visual response | What stays stable |
|---|---|---|
| Verse | Longer narrative shots | Character and palette |
| Chorus | Signature motif returns | World and wardrobe |
| Drop | Faster scale or camera change | Subject identity |
| Bridge | New location or texture | Core visual symbol |
The map prevents random pretty clips. It also shows how many seconds of footage you truly need and where a repeated shot can feel intentional.
2. Choose a concept that can survive many shots
Write the video in one sentence: “A courier crosses a flooded neon city to deliver a memory,” or “One performer moves through the same room as four seasons change.” A useful concept gives you a subject, world, motion, and progression. It should be specific enough to direct images but flexible enough to create variations.
Choose three to five visual rules: palette, lens language, texture, lighting, aspect ratio, and one recurring motif. Limit locations and wardrobes. Continuity becomes much harder when every line introduces a new character, style, and universe.
3. Create a visual bible and character sheet
For a recurring performer or character, generate front, three-quarter, profile, full-body, and expression references. Record fixed traits such as face shape, hair, wardrobe, accessories, age range, and proportions. For the world, save examples of architecture, props, weather, light direction, and color treatment.
Do not rely on a paragraph of adjectives to recreate identity. Reference images and approved keyframes carry more specific visual information. Decide which differences are allowed, such as expression and pose, and which are not, such as face, costume, or signature prop.
4. Storyboard by musical function
Create one card per shot with timestamp, duration, lyric or musical cue, framing, action, camera move, and transition idea. Build an opening image that establishes the visual promise, a chorus image that can return, and an ending image that resolves the concept.
Mix shot sizes deliberately. A sequence of medium shots feels flat even when every image is attractive. Use wides for geography, mediums for action, close-ups for emotion or detail, and inserts for rhythmic punctuation. Leave handles around important beats so the editor can trim.
5. Generate keyframes before video clips
Approve the beginning frame of each important shot before adding motion. Fix anatomy, costume, text, instruments, and background geometry while the image is still easy to inspect. If two adjacent shots share a character, compare them side by side at the same size.
Build a contact sheet of approved frames. This becomes both an edit plan and a consistency test.
6. Animate with motion-first prompts
Use the still image to define appearance and the video prompt to define movement. Ask for one subject action, one camera move, environmental response, duration, and preservation constraints. Keep performance subtle when facial identity matters.
Generate short candidates. Reject clips with face drift, limb distortion, sliding feet, changing props, unstable horizons, or motion that misses the beat. Do not hide every failure with faster cutting. Fix the shots the viewer must actually study.
7. Edit to phrases, not every beat
Cutting on every beat quickly becomes mechanical. Use musical phrases to shape scenes, then reserve exact beat cuts for emphasis. Let a strong motion cross a bar line. Reuse the chorus motif so repetition feels designed. Add speed changes only when the source clip can tolerate them.
Build the edit in layers: picture first, then transitions, then titles, then sound effects and final color. Check the video muted to judge visual storytelling and play the song without looking to confirm that edits have not damaged its emotional arc.
8. Prepare the release responsibly
Confirm ownership or licenses for the song, vocals, samples, fonts, footage, likenesses, and any third-party marks. Keep consent records when a real person's face or voice is involved. Export a high-quality master before platform-specific crops.
YouTube says creators must disclose meaningfully altered or synthetic content that appears realistic and lists synthetically generated music among its examples. Review the current YouTube altered-content guidance for the release surface you use. Policies change, so check them again at upload time.
Common AI music video problems
It feels like unrelated wallpaper
Return to the song map and give every clip a job: establish, develop, repeat, contrast, or resolve.
The singer changes from shot to shot
Reduce wardrobe and location changes, use the same references, approve stills first, and keep facial motion restrained.
The edit is busy but not musical
Cut by phrase and emotion, then add a smaller number of exact beat accents.
The visual style drifts
Lock palette, lens language, texture, lighting, and recurring motifs in a short visual bible that accompanies every prompt.
How to Make an AI Music Video: Song-to-Screen Guide workflow diagram
How QuestStudio helps
Use Music Lab to develop or compare tracks, Prompt Lab to save the visual bible and shot prompts, Image Lab for keyframes, and Video Lab for motion tests. The value is continuity between stages, not a promise that one model will direct the whole video.
Keep the brief and approved references fixed while comparing models. The objective is a repeatable process and a useful final asset, not model switching for its own sake.
Final approval scorecard
- Accuracy: facts, identity, products, and claims match approved sources.
- Continuity: recurring visual and audio elements remain recognizable.
- Communication: the main idea is clear on the first watch.
- Craft: motion, timing, audio, captions, and composition feel intentional.
- Rights and disclosure: permissions, licenses, endorsements, and platform labels are documented.
- Usefulness: the export fits the channel, aspect ratio, safe zones, and intended action.
Approve against a written threshold. “Looks good” is difficult to repeat, while a scorecard creates a record of what passed and why.
Frequently asked questions
How many clips do I need for an AI music video?
It depends on song length and pacing. Plan from the section map, reuse motifs intentionally, and generate only enough coverage to support the edit.
Should I generate video directly from the song?
Audio-reactive tools can create a draft, but a storyboarded keyframe-to-video workflow usually gives more control over narrative and continuity.
How do I keep the same singer?
Use approved multi-angle references, lock wardrobe and features, approve stills before motion, and compare adjacent shots side by side.
Do I need to disclose an AI music video?
Check the current rules for each platform and the realism of the content. YouTube provides an altered or synthetic content setting and examples.
Can I use an AI-generated song commercially?
Commercial rights depend on the music service, plan, inputs, samples, collaborators, and jurisdiction. Review the applicable terms and keep records.
Start with one controlled project
Choose one real deliverable, lock the source material, and change one variable per test. Save the inputs and the approved result so the next version starts from evidence rather than memory.
Open Music Lab when you are ready to build the workflow, or review QuestStudio plans after the process proves useful.