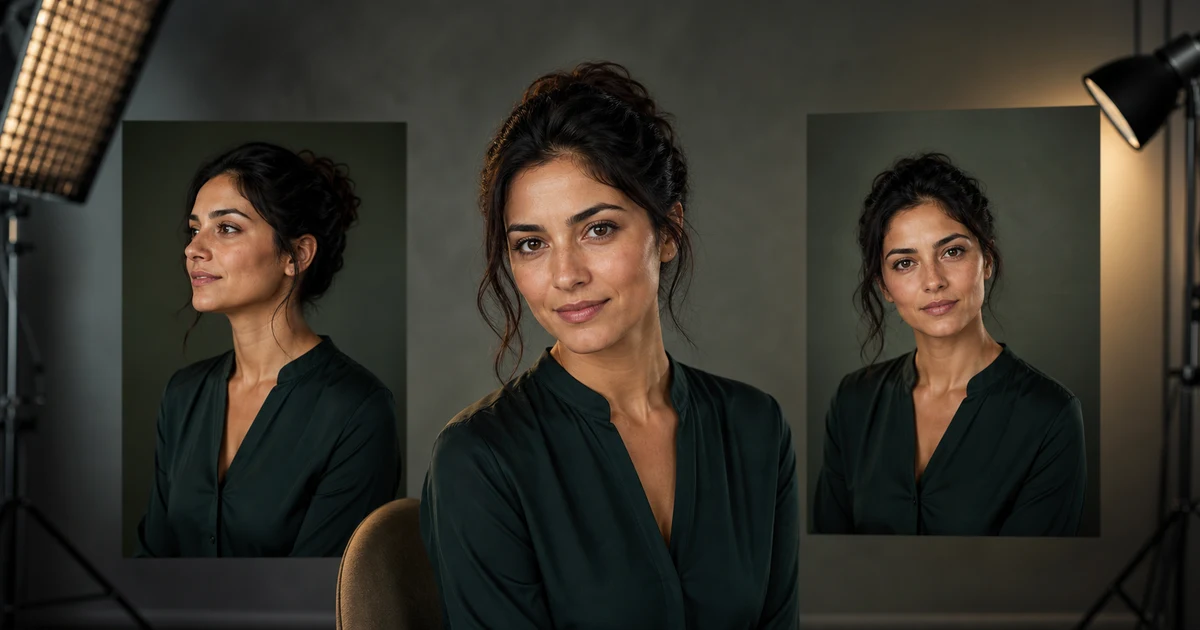

This guide turns a current search question into a repeatable production decision. It focuses on the source, controls, review, and destination checks that determine whether an output is actually useful.
Use a prompt stack, not a bag of adjectives
Google's official Imagen guidance organizes prompts around subject, context or background, and style. For portraits, that foundation becomes more useful when each layer has an approval job. “Stunning, cinematic, ultra-real, award-winning” cannot tell you why a face changed. A layered brief can.
1. Write an identity brief without sensitive guesswork
Describe only the visible, production-relevant features you are authorized to reproduce: apparent adult age range, face shape, hair cut and texture, eye appearance, distinctive freckles, facial hair, and stable accessories. Do not infer ethnicity, health, personality, or other sensitive traits from an image. If a real person's likeness is involved, obtain permission and document the intended use.
Keep the neutral identity sentence unchanged across the first tests. If every attempt rewrites the person's face, you cannot tell whether the model, reference, light, expression, or wording caused the drift.
2. Establish a neutral baseline portrait
Begin with a front or three-quarter portrait, calm expression, simple background, ordinary wardrobe, soft directional light, and no dramatic action. The goal is an anchor, not a campaign hero. Generate a small set, choose the closest truthful result, and save the full prompt and settings beside it.
Review landmarks rather than relying on a vague sense of resemblance: eye spacing, brow shape, nose bridge and width, lip line, jaw, ear placement, hairline, marks, and apparent age. If those facts move, adding “same person” repeatedly will not diagnose the problem.
3. Add context and composition separately
Context names the world: a quiet recording booth, a daylight kitchen, a clean studio, or an urban sidewalk after rain. Composition names where the subject appears: close portrait, chest-up, eye-level, looking slightly off camera, negative space on the left. Keeping them separate makes prompt edits interpretable.
| Need | Write this kind of direction | Review |
|---|---|---|
| Channel avatar | Centered head-and-shoulders, direct gaze, simple silhouette | Recognition in a circular 98 px crop |
| Editorial portrait | Three-quarter crop, motivated environment, controlled negative space | Identity plus contextual truth |
| Character reference | Neutral view, even light, minimal occlusion | Landmarks, proportions, wardrobe construction |
| Campaign key art | Destination ratio and deliberate copy space | Message, rights, product facts, crop safety |
4. Describe light by physical behavior
Instead of “beautiful lighting,” state the source and result: large soft window camera left, gentle falloff across the face, faint fill from the opposite side, neutral white balance, background one stop darker. Physical language gives the model fewer contradictory style cues and gives the reviewer facts to check.
Change one light variable at a time. Test soft versus hard, side versus frontal, warm versus neutral, or low-key versus high-key. Do not change wardrobe, expression, lens, and background in the same test if identity consistency matters.
5. Use camera language to control perspective
Lens language affects facial perspective, background compression, and depth of field. A close wide-angle portrait can enlarge features nearest the camera; a longer portrait perspective generally feels flatter. Treat focal-length wording as a visual instruction rather than guaranteed optical metadata.
Specify camera height, distance feel, crop, focus target, and depth character. “Eye-level chest-up portrait, natural portrait perspective, both eyes sharp, gentle background separation” is more useful than a long list of camera brands and technical numbers that do not contribute to the destination.
6. Ask for natural texture, then inspect it
Believable skin contains pores, small tonal variation, fine lines, and asymmetry. Hair has strands, flyaways, and believable roots. Fabric follows construction and gravity. Avoid stacking “perfect,” “flawless,” “airbrushed,” and “hyperreal,” which can encourage waxy skin and generic beauty retouching.
Zoom in on eyes, teeth, ears, hair edges, jewelry, glasses, hands, seams, and repeated background objects. Then zoom out. An image can pass at 200% and still fail as a thumbnail because the face, silhouette, or contrast does not read.
Use exclusions as a short risk list
Write exclusions for likely failures: no extra people, no text, no watermark, no duplicated jewelry, no beauty-filter skin, no asymmetrical glasses, no clipped hair, no altered identifying mark. A negative list should protect the job, not contain every defect ever seen.
For exact logos, labels, prices, or spelling, reserve clean space and composite verified assets later. Generated text that looks plausible at a glance is not an acceptable source of product truth.
A diagnostic retry loop
- Save the baseline prompt and accepted anchor.
- Name the single visible failure: identity, pose, light, crop, texture, hands, or background.
- Change the layer responsible for that failure.
- Generate a small comparison set with everything else stable.
- Judge the set against the same checklist, not against novelty.
- Keep a winner only when it improves the failed layer without breaking accepted ones.
This loop is slower than random rerolling for the first five minutes and faster over an actual campaign. It produces a reusable portrait system rather than one lucky file.
Destination approval checklist
- The person or original character is authorized for this use.
- Face geometry, marks, hair, accessories, and apparent age match the approved anchor.
- Lighting direction and perspective are internally believable.
- Skin, eyes, teeth, hair, hands, clothing, and background survive a detail review.
- No generated text or mark is being treated as verified brand information.
- The crop works at the destination ratio and actual display size.
- The prompt, model, source, edits, and approval are recorded.
Build the first controlled test
Open Imagen 4 in QuestStudio Character Forge and create three variations from one baseline prompt. Choose the most truthful anchor, not the most dramatic image. From there, test one new context or light setup while keeping the identity sentence stable.
For the underlying prompt model, see Google Cloud's official image-generation prompt guide. It documents the subject, context, style, photography, and negative-prompt patterns this controlled workflow builds upon.
Frequently asked questions
What is the best Imagen 4 prompt structure?
Use separate identity, context, composition, light, capture, texture, and exclusion layers so each change can be evaluated.
How do I keep a portrait consistent?
Keep a neutral identity sentence and approved anchor stable, then change one contextual layer per test.
Should I include camera settings?
Use camera language only when it changes perspective, crop, focus, or depth. Treat it as visual direction, not guaranteed metadata.
Why does AI skin look waxy?
Conflicting beauty adjectives, excessive smoothing, and unclear light often contribute. Ask for natural texture and inspect detail at full size.
Can Imagen 4 make exact logos or text?
Reserve space and composite verified marks or copy afterward when exactness matters.