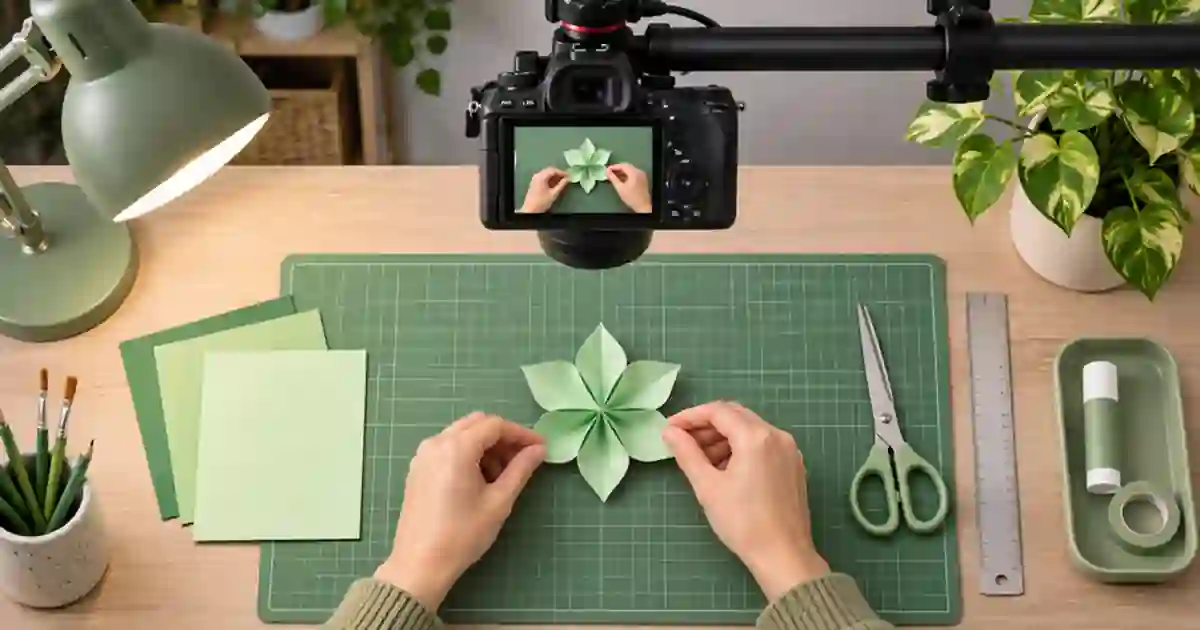

If your overhead demo keeps refocusing on your hands, I recommend locking focus on the surface where the viewer needs to see detail. Rehearse the highest point the product reaches and inspect the recording at full size. That simple pass tells you whether a fixed focus plane is enough or whether the shot needs more depth or a close-up.
My gear pick for this setup
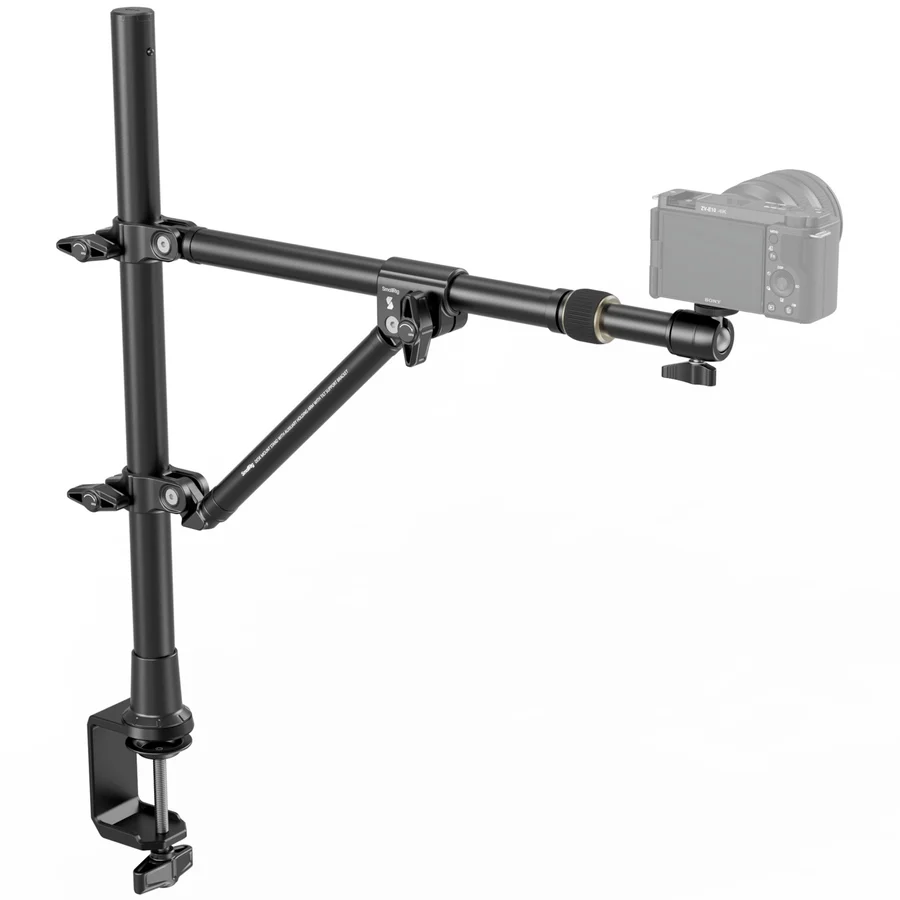
SmallRig 4304 triangular overhead desk mount
A desk mount when the focus plane has to stay repeatable
I’d consider the SmallRig 4304 when the desk and camera match the published load and clamp requirements. Set the height before you focus, then rehearse the full motion.
Choose the surface that carries the instruction
For a card folding tutorial, the key detail might be the crease on the mat. For a product demo, it might be the printing on the front of a box. Put a detailed reference on that surface, adjust focus with the camera still, and check it at a useful zoom. If the lens or app supports manual focus, switch to it after finding the position. On supported phones, an exposure and focus lock can hold the selected distance. Confirm which controls lock together so exposure behavior stays predictable.
Align the camera above the surface where possible. If the camera is tilted, one side of the work may be farther from the lens and softer than the other. For flat instructions, a near-parallel setup makes it easier to keep the entire working area readable. If you need an angled view to show height, choose the priority detail and check both edges of the crop. I use a test object with small print because it shows soft focus faster than a plain background.
Check how far the action leaves that plane
Move the product through its full range. Watch the place where it lifts closest to the camera and the place it returns to the table. If the label goes soft when the box comes up, decide whether the raised label is part of the instruction. A hand passing briefly near the lens can be soft and still serve the shot. A soft label at the important moment is a cue to change the setup or add an insert.
On cameras with adjustable aperture, a smaller aperture can extend the region that appears acceptably sharp, with corresponding exposure tradeoffs. Add suitable light or adjust the setup before accepting a dark or noisy image. Moving back and reframing can help in some setups. Test the actual lens, crop and distance you will use. I keep the plane stable during the take so a change in sharpness is easier to diagnose.
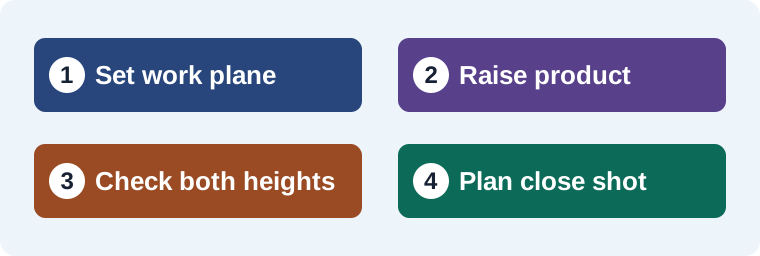
Pick between fixed focus and a second shot
| Action | What I choose |
|---|---|
| Work stays flat on the mat | Lock focus on the mat and rehearse hand movement. |
| Product briefly rises but detail stays on the mat | Keep the plane on the instruction surface. |
| Two different distances need readable detail | Test depth of field or record a dedicated close-up. |
| Camera repositions between steps | Recheck focus and framing after the move. |
For the final pass, record the full movement with the intended exposure and frame rate. Review the video on a larger screen and pause at the most important step. If focus hunts when a hand crosses, confirm the lock and look for a camera app that resets it when recording begins. Keep a note with the camera height, lens choice and what was sharp. A stable mount helps retain that setup for retakes. The overhead camera mount guide covers stability and desk placement.
Keep real process details readable in the edit
If a supporting concept shot from Video Lab helps explain the next step, keep the captured overhead clip as the reference for what your hands did. Compare the direction of movement and the product’s visible markings before cutting in a variation. Use the close-up from the real take when the detail is something the customer must see accurately.
Before the real take, make a small marker on the work surface that shows the intended product position and how far it can travel while remaining clear. Put a printed test card with detail at both ends of that range. Review the clips at the size used for the final video. If one edge is soft because the camera is angled, square the mount to the surface or use an alternate shot. If both edges are acceptable but the middle briefly blurs when a hand crosses, check whether the camera has returned to autofocus. Save the working distance and focus mode with the shot notes. When the camera moves, do another short pass. I use the saved test to tell whether a soft shot came from a changed focus setting or from the product leaving the useful plane.
Check the label at the actual working height
For a box-opening demo, put a printed label on the mat and focus on the surface. Record a take where the lid opens, rises to the highest point, then comes back down. If only the mat detail matters, keep that plane sharp. If the raised label needs to be read, compare a more forgiving setup with a separate close-up. I choose the version where the action remains easy to follow. Write down the camera height and the key detail while the setup is still in place. If you change the mount height for a second shot, repeat the focus check before recording the full action again.
Download the overhead camera workflow worksheet (CSV)
Frequently asked questions
Will a focus lock stop the camera from following my hands?
A supported manual focus or focus-lock mode can hold the chosen distance. Test whether it stays active when recording starts.
Should I focus on the mat or the product?
Choose the surface that carries the instruction. Check the full movement to see whether a second distance also needs detail.
How do I get more of the shot in focus?
Test a smaller aperture where supported, adjust camera distance, or add light to support the exposure. Inspect the result at the intended crop.
When is a close-up better than a wider focus range?
Use a separate shot when two distances both need tiny readable details or the wide view would make the product too small.
Sources and further reading
Affiliate disclosure
As an Amazon Associate I earn from qualifying purchases.
Continue with a useful next step
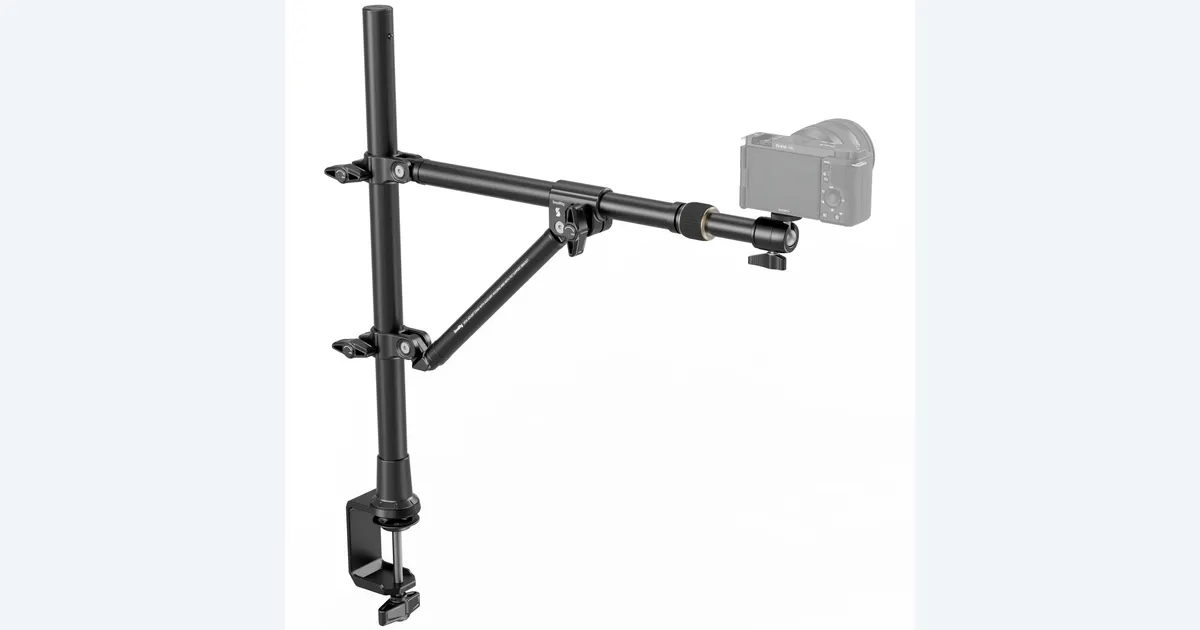 Image
Overhead Camera Mounts for Clear Product Demonstrations
Plan an overhead camera setup for product demos. Check desk fit, complete camera load, reach and hand clearance with a practical SmallRig 4304 buying checklist.
 Video
Lock Webcam Framing for Hands-On Product Demos
Lock your webcam framing for tabletop demos so both hands and the product stay visible. Check camera tracking, app crops, presets and a full-motion test.
 Image
Tabletop Tripods for Product Photos: PIXI EVO Guide
Choose a tabletop tripod for product photos. Review Manfrotto PIXI EVO fit, balance and camera height, then make a consistent three-view product reference set.