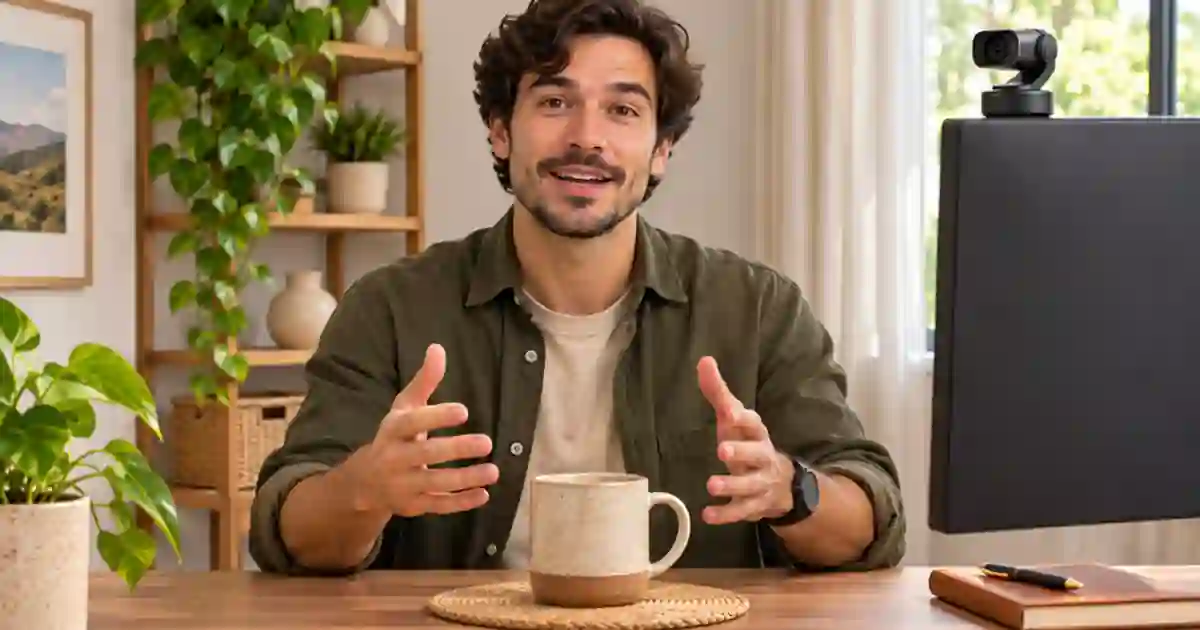

When a webcam follows my face while the product stays on the table, I recommend locking the shot before recording. A moving frame helps when the presenter is the subject. A fixed frame helps when viewers need to see both hands and the product at the same time. I rehearse the largest movement first and leave enough room for it.
My gear pick for this setup
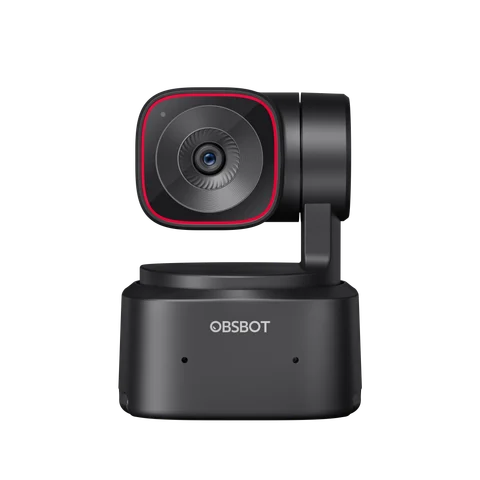
OBSBOT Tiny 2 Lite
A webcam with tracking and a manually framed alternative
I’d shortlist the Tiny 2 Lite if I need both a moving presenter view and a stable demo view. Rehearse how you switch between those jobs in the camera controls.
Decide what has to remain visible
Imagine a tutorial where you remove the lid from a jar, tilt it toward the camera and set it down. The important areas are the jar's base, the label and the top of the motion. Frame all three before the take. If the webcam crops in when you lean forward, the base can disappear while you are explaining how the jar sits. A fixed wide-enough shot lets the viewer follow the full action and gives you room to crop a separate close-up later.
Set a physical boundary on the desk with removable marks outside the finished crop or a spare matte board. I put the product at the left and right limits once, then lift it as high as I expect to during the demo. Check the view from the final recording application. A camera utility and an OBS scene can show different crops even when the webcam itself has not moved.
Find which layer moves the frame
Some webcams pan and tilt mechanically. Others crop digitally. A meeting or streaming app can also apply framing after receiving the feed. Hold the product still and move your head while watching the camera utility and the final preview. If both change together, look at the camera's tracking mode. If the camera view stays steady and the preview shifts, inspect the app, scene or effects that sit downstream.
On a tracking webcam, use the device's supported controls to stop or deselect tracking and then frame the shot manually. For a device that supports presets, save one wide demo view and one close presentation view. Confirm your chosen view after opening the recording app. I keep the two jobs distinct so a switch happens when the script calls for it.
Leave room for the largest movement
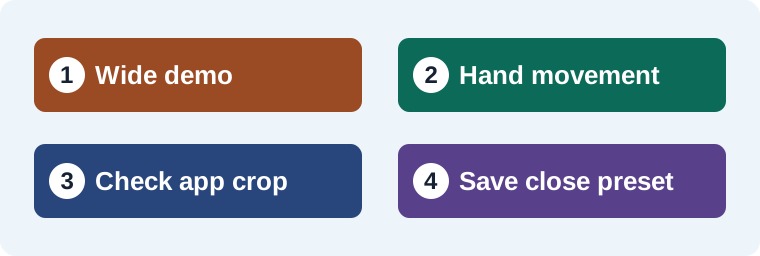
Record a short rehearsal. Start with the product at the center, move it to both limits, then perform the full action at normal speed. Play it back without watching your own face. Ask whether the label and hand position stay clear. If an object repeatedly leaves the frame, widen the view a little and move the work marks inward. If the product becomes too small to read, film a separate close shot for the important detail.
Framing and focus are separate decisions. If the picture stays in the same position but the label goes soft, check the camera’s focus mode and the distance where the work happens. Keep your hands from stopping right in front of the lens unless that is the intended shot. I let the device settle after a manual move and check sharpness in the recording, where there is time to see the change.
Match the mode to the scene
| Scene | How I would frame it |
|---|---|
| Product stays on one work surface | Fixed view around the full hand movement. |
| Presenter walks while speaking | Test tracking and confirm the background remains acceptable. |
| Small detail needs to fill the screen | Record a dedicated close shot or switch to a verified preset. |
| Zoom shifts only in the meeting app | Check app framing or filters before changing camera controls. |
For a repeatable desk setup, save a note with the camera height, scene name, angle and where the product sits. The tracking webcam comparison covers choosing a camera for different kinds of movement. The overhead mount guide is worth checking when the viewer needs a complete top-down view.
Check continuity when you add a supporting clip
I keep the wide recording as the proof of the real process. When a separate insert from Video Lab helps explain an idea, compare where the label faces and where the hand enters the shot. Cut in the insert at an intentional moment. A planned cut lets you get closer while keeping the main demonstration stable.
For a small desk, I sometimes mark a second work area just in front of the main one. The presenter can move there for a quick close view while keeping the same scene. Before using it, verify the area is still sharp and the light does not change as the product moves forward. If that movement makes the camera react to the face again, keep the fixed main angle and record a separate insert. A brief close view of a label is easier to reshoot than a full demonstration. In the final take I want the viewer to know what moved, where it landed, and how to repeat the step.
Map the shot around what the hands actually do
For a jar demo, I’d put a mark at the jar’s base and another at the point it reaches when lifted. Rehearse the motion while sitting, leaning in, and bringing the label forward. Keep the wide frame if it shows both marks and the open lid. Add a separate close-up when the text is too small. Save the final scene name and whether tracking is disabled in each app. I also check the hands while returning the jar to the mark. That movement often sits at the bottom of the frame, where an automatic crop can conceal it just as the explanation finishes.
Download the webcam framing workflow worksheet (CSV)
Frequently asked questions
Should I always disable auto framing?
Choose the mode for the shot. Tracking can help a moving presenter, and a fixed frame helps when the work surface is the subject.
Why does only one app zoom in?
That app may apply its own framing or crop after receiving the camera feed. Compare the camera utility with the app preview.
Will disabling tracking also lock focus?
The controls can be independent. Check focus separately with the product at the distance you need.
When should I record a close-up?
Use a separate close view when the wide frame preserves the process but a detail is too small to read.
Sources and further reading
Affiliate disclosure
As an Amazon Associate I earn from qualifying purchases.
Continue with a useful next step
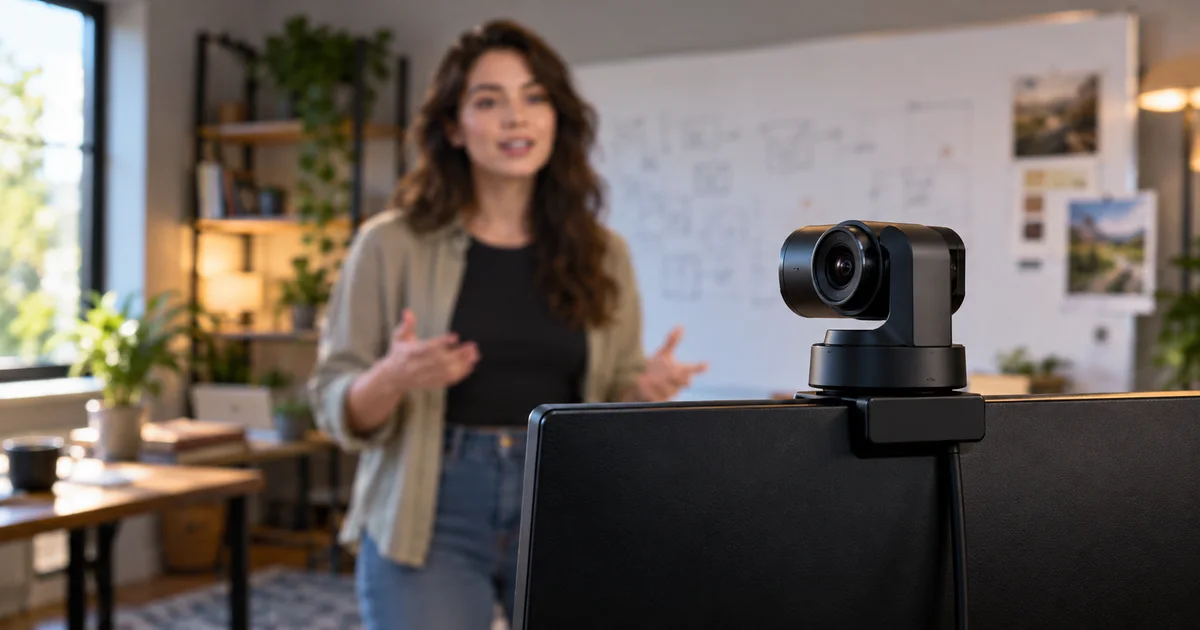 Creator Workflows
AI Tracking Webcams: Choose for the Way You Create
Compare OBSBOT Tiny 2 Lite and Insta360 Link 2 Pro for solo video. Check tracking, framing, software and USB limits before choosing a creator webcam.
 Image
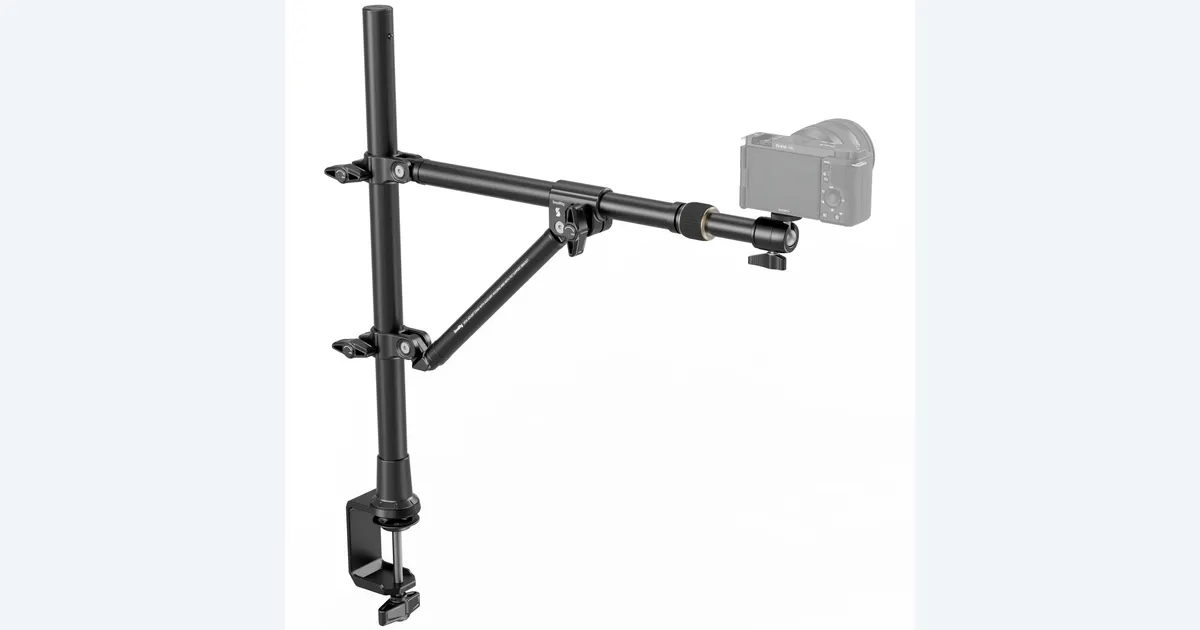
Overhead Camera Mounts for Clear Product Demonstrations
Plan an overhead camera setup for product demos. Check desk fit, complete camera load, reach and hand clearance with a practical SmallRig 4304 buying checklist.
 Video
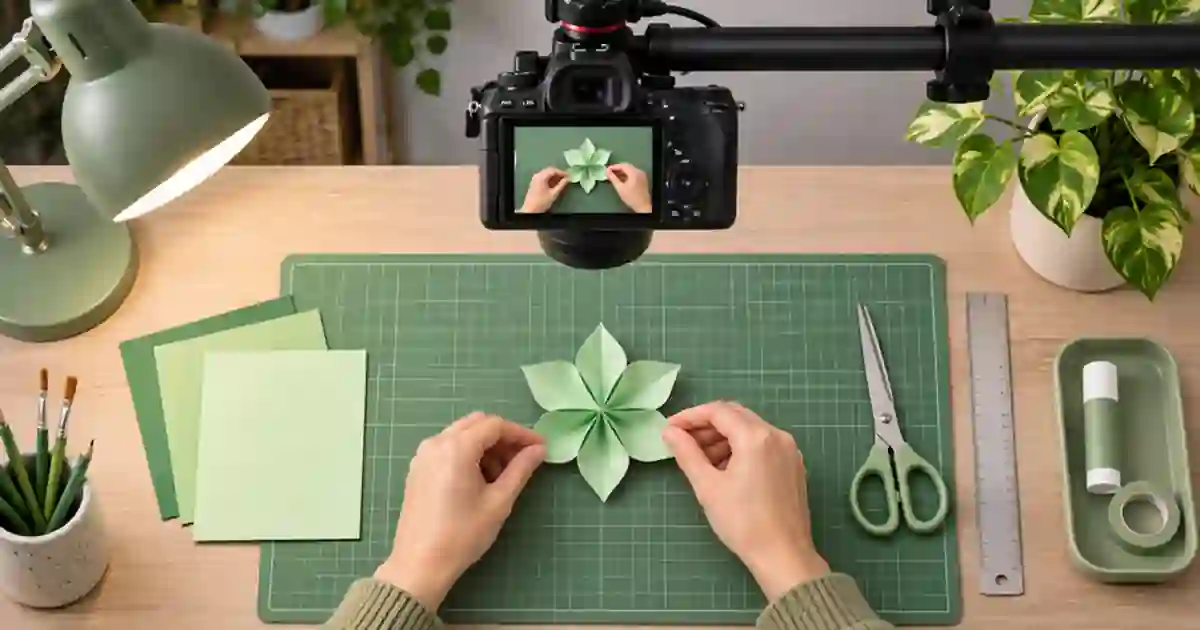
Lock Focus for Sharp Overhead Product Videos
Lock focus for overhead product videos by choosing the working plane, rehearsing the highest movement and checking the recorded label at full size.