
Midjourney's chaos parameter runs from 0 to 100. Use --chaos or --c at the end of the prompt. The default is 0. Lower values are a useful starting point when the composition is specific. Higher values can spread the ideas across the image grid and can make the results less faithful to the prompt.
Choose a value by comparing a real brief. If you already know where the product, lighting, and text space need to go, variety has a cost. If you are still exploring three different layouts, a higher setting can make that exploration easier.
Define what must stay consistent
Start with an image brief that has an obvious pass condition. Imagine a tabletop image of an unbranded amber candle jar. It needs a simple label-free surface, soft left light, a clean outline, and room above for a title. The framing and light are important. You can allow the angle of the tabletop or the placement of a nearby prop to change.
Write down the distinction before you generate anything. If the prompt has five competing subjects or two contradictory lighting directions, changing chaos will not tell you which instruction caused the difference. Use the same subject and wording for each run. Midjourney's Chaos and Variety reference explains the allowed range and the trade-off between variation and prompt adherence.
Compare three settings with one prompt
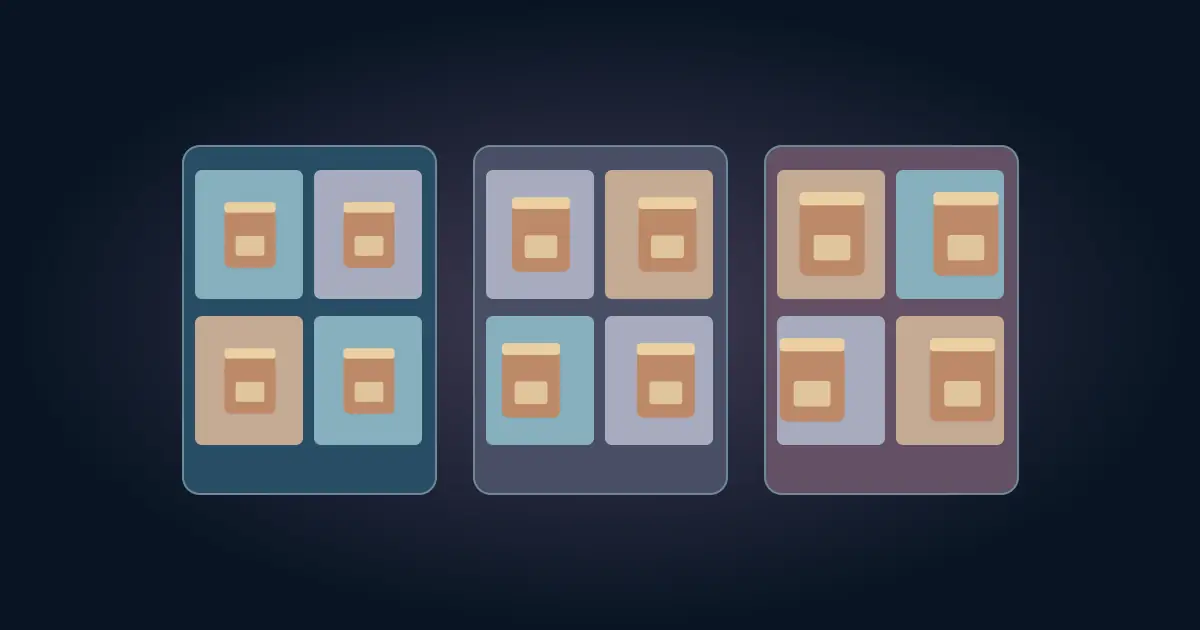
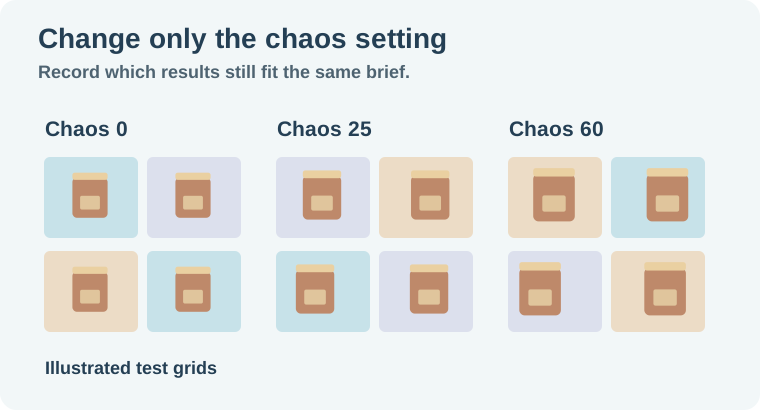
Try a baseline at 0, an exploratory pass at 25, and a wider pass at 60. These are example values for a small test, not presets the tool recommends for every project. Hold the model, aspect ratio, prompt text, and other settings steady. Keep any reference inputs the same. If you record a seed, keep it in the worksheet while recognizing that it does not make all generated output deterministic.
Amber glass candle jar on a pale wood tabletop, single soft light from upper left, straight readable silhouette, clean background and open space above for layout, no text or logos --ar 4:5 --c 0
Replace only the final chaos value for the other two runs. Name the runs A, B, and C and record what changed. Compare the entire grid before upscaling a favorite. A dramatic image can catch your eye while the rest of its run misses the product brief.
Count which changes actually help
For each grid, count the candidates that meet the required shape, light, and layout. Note whether the usable options solve different compositions or repeat the same one. A grid with one beautiful but unusable crop can be less useful than a grid with two modest options that fit the deliverable.
For this fictional example, imagine the low run gives three similar usable crops. A middle run gives two usable crops and a different camera angle. The higher run gives several creative scenes but no clear title space. For a final layout, use the lower run or the middle run's approved idea. For a moodboard, the higher run can help you decide what to prompt next.
If the brand, person, or item must remain exact, compare it directly to the approved source. The photorealism workflow covers other choices such as light, camera detail, and source review. Chaos affects variety. It does not establish whether a result is accurate.
Give each run one score for brief fit and a separate note for visual discovery. In the candle example, a side angle with no copy space can still inspire the next brief, even though it fails this one. Save it in an exploration folder. Keep the images that meet the current brief separate so your team can approve a deliverable without sorting through moodboard material.
If two settings both produce usable images, compare a second prompt that changes only one detail, such as the table material. Record whether the layout survives that change. This is more useful than judging a setting from the strongest image in one grid.
Diagnose a change that appears unrelated
If results change sharply after you swap a model or image reference, run the baseline again with the new setup. The previous comparison applies to its own settings. A different model can respond differently to the same brief. Keep its name and relevant settings next to the sample.
Do not use chaos to fix every miss. If all runs put the jar in the wrong place, simplify the placement instruction or use an appropriate composition reference. If all images are too decorative, review the words and style controls separately. Midjourney's parameter list shows which controls serve those other jobs.
Repeat the selected setup once before saving it as a workflow. Compare the trait you care about, such as title space, rather than expecting the same image. The prompt testing guide gives you a way to record when a prompt has enough evidence to keep.
How QuestStudio helps
Use Prompt Lab to keep the brief and the controlled variations together. Record the model and outcome separately. If you use another image generator, check how it exposes variation. The creative model selection guide helps when choosing the model is still part of the job.
Keep the lowest value that gives you enough useful choices for this brief, and save the wider options for exploration.
Download the midjourney chaos test grid.
Frequently asked questions
What is the Midjourney chaos range?
The range is 0 to 100 and the default is 0.
Do --c and --chaos mean the same thing?
Yes. Midjourney documents both as forms of the chaos parameter.
Should I start at 100?
Use a baseline first. Higher values can increase variety and can reduce adherence to a precise prompt.
Can I compare two values while changing the model too?
You can explore both, but keep the model fixed if you want to isolate the effect of chaos.
Does a higher number mean higher quality?
Judge the useful candidates against your brief. A wider spread of ideas can also produce more rejects.