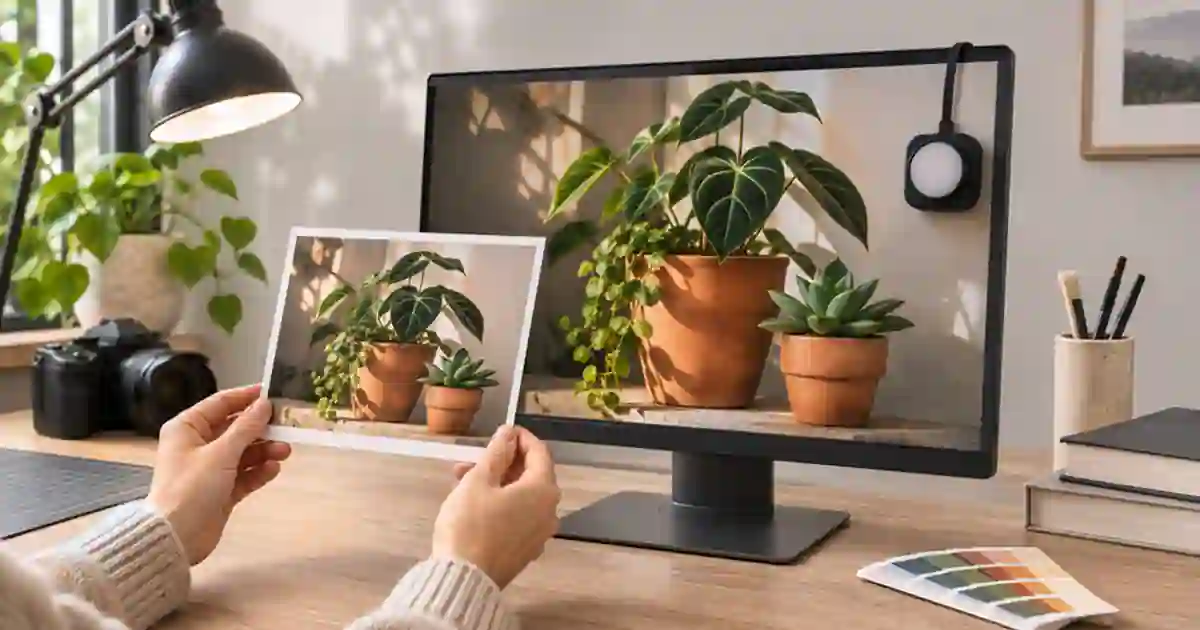

If a photo print looks too dark, check the light falling on the paper, the display brightness, and the print settings before brightening the image. A monitor makes its own light. Paper reflects the light in the room. I’d compare a small proof under consistent conditions and calibrate the display if you need to repeat that decision across more than one print run.
My gear pick for this setup
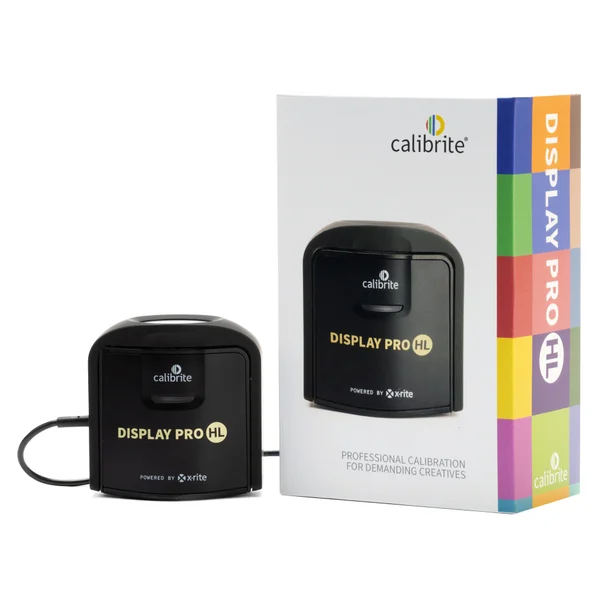
Calibrite Display Pro HL
For repeat printing where you want a measured, repeatable display state before soft proofing.
I’d consider the Display Pro HL when the screen changes between editing sessions or I regularly pay for reprints. First check the print under a consistent light and ask the lab which file settings it expects.
Check the paper where it will be seen
Look at the print under a consistent, reasonably neutral light. Try moving it away from a dim room or a colored lamp. Watch the shadows and a familiar neutral area. A print that looks too dark near your editing desk may look fine where it will be displayed. Use the same viewing light when you compare the next proof. If you plan to hang it in another room, check the result there as a separate question.
Open the file that was actually printed and confirm its name and version. Ask the lab what color space and profile it expects, and whether automatic correction is enabled for that order. If you print yourself, check the paper setting and whether the application or printer manages color. Make sure you understand which device is applying the print conversion. Applying a second conversion to a file you already prepared can produce a different result than the proof you intended.
Make the display state repeatable
Keep the lighting around the monitor consistent. Turn off automatic brightness or a warm night mode while making color decisions, if you can do so without interfering with the rest of your setup. Use your calibration device and software to measure the screen and create or update its display profile. Choose targets appropriate for your viewing environment and print workflow. There is no single brightness number that makes every screen match every print. The previous calibrator buying guide covers device compatibility and the difference between measuring and editing an image.
When comparing paper beside the screen, a very bright display can make the print look darker than it is. Try a measured display state suited to your print viewing conditions. Compare the print and the file without changing the file first. Record the display mode, profile, and room light. If another person edits the images, agree how they will make the same check rather than sending them a screenshot of a particular brightness slider.
Soft-proof for the paper and printer
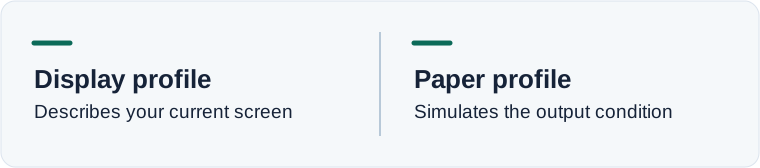
Use the profile supplied for the output condition if your printer or lab provides one and your editor supports soft proofing. The monitor profile describes the screen. The print profile describes the printer, ink, and paper combination or another documented output condition. Use the print profile in the proof view. Avoid assigning it as the image's working profile just to make the image look different on screen. Check the lab’s instructions for the actual export, which can be different from the preview settings.
Preview with and without the proof and focus on the important areas. Matte paper may reproduce some contrast and colors differently from the monitor. Check deep shadows, delicate skin tones, and bright saturated areas rather than trying to match every pixel. If you need an adjustment for this paper, make a proof copy so the master stays available for other uses. Record the profile name and rendering choices beside the exported file.
Change one variable in the next order
Print a small sample with the same paper and lab options as the final order. Include a crop with a meaningful shadow and a neutral midtone. Compare the sample in the same light as the first print. If the existing file looks better with the display state corrected, avoid brightening every photo. If the proof still misses an important detail, adjust a copy and send one new sample. A proof can reveal a real output problem before you pay for a large run.
If you prepare an image variation in Image Lab, save the approved digital output separately and give it the same proof process. Check that the retouch kept important edges and colors, then make a print-specific copy. It is easier to track a paper or color change when the original and output versions have distinct names.
Keep a print log you can reuse
Name the paper, printer or lab, export profile, and viewing light in a small log. Save the sample you used to judge the shadows beside those notes. The next time a new paper looks different, compare it against the same reference file before changing the display or applying a global edit. That helps isolate a paper change from a display or order-setting change. Use a different label for a proof meant for a different lab.
If the first proof still looks wrong, compare it to a known reference printed by the same lab. That gives you another check on the environment and output settings.
A one-print troubleshooting sheet
Take the problem print and compare it under one neutral viewing light. Confirm which file was printed and record the paper and order settings. Open the same file on a stable display and enable the correct soft-proof profile if you have it. Note one shadow area that differs. Print a small sample using the same output conditions after changing one thing, such as the print-specific tone adjustment. If you decide to buy a calibrator, write down which display state you want it to help you reproduce.
Download the print and display color worksheet (CSV)
Frequently asked questions
Why are my prints darker than my monitor?
A bright display, dim print viewing light, a different paper profile, or print settings can each contribute. Check them one at a time.
Does a display calibrator fix the printed file?
It helps you measure and reproduce a display state. The file, printer, paper, and print settings still determine the output.
Which ICC profile belongs in soft proofing?
Use the profile for the printer and paper or the output condition your lab supplies. Follow the lab’s separate export instructions.
Should I brighten all my images before printing?
Test a small proof first. Make an adjustment copy for a specific output if you can identify the problem it fixes.
Sources and further reading
- Adobe color management and soft proofing
- Calibrite Display Pro HL details
- X-Rite print and display troubleshooting
Affiliate disclosure
As an Amazon Associate I earn from qualifying purchases.
Continue with a useful next step
 Image
Monitor Calibrators for Photo Editing: Pro HL Guide
Decide whether a monitor calibrator helps your photo workflow. Review Calibrite Display Pro HL support, profiling limits and a repeatable product-color check.
 Image
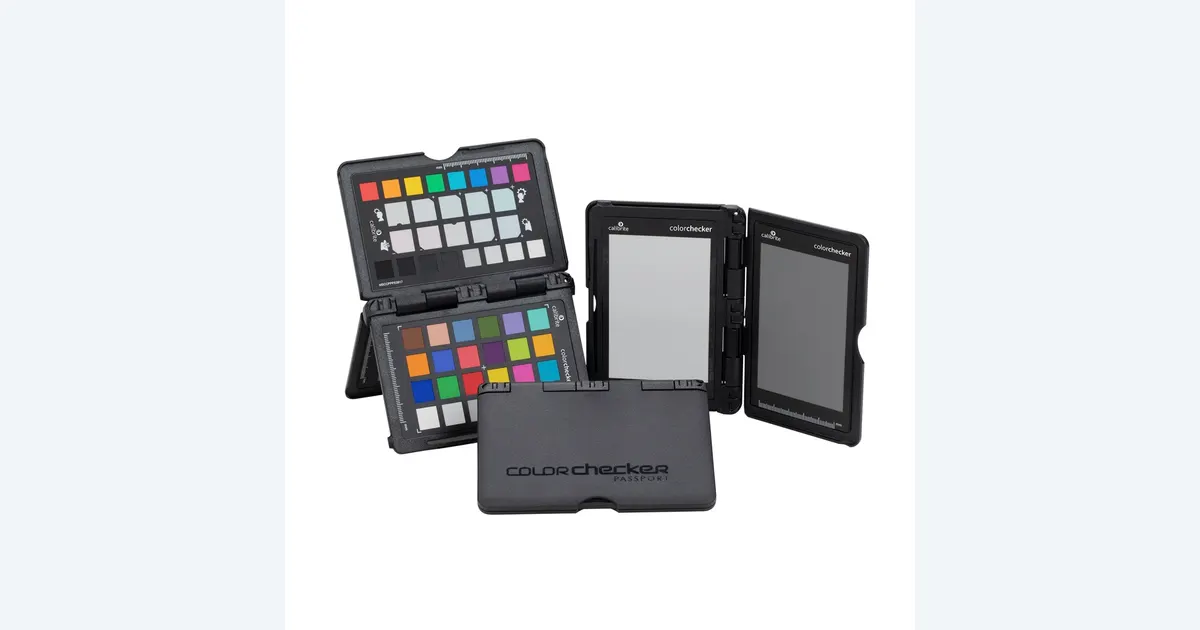
Gray Card vs ColorChecker for Better Product Photos
Choose a gray card or ColorChecker for product reference photos. Separate white balance, camera profiles and screen calibration with a capture checklist.
 Video
Rec. 709 vs sRGB for Product Photos and Video
Use sRGB product photos in a Rec. 709 video with a color-managed workflow. Compare a short export, diagnose washed-out playback and protect product color.