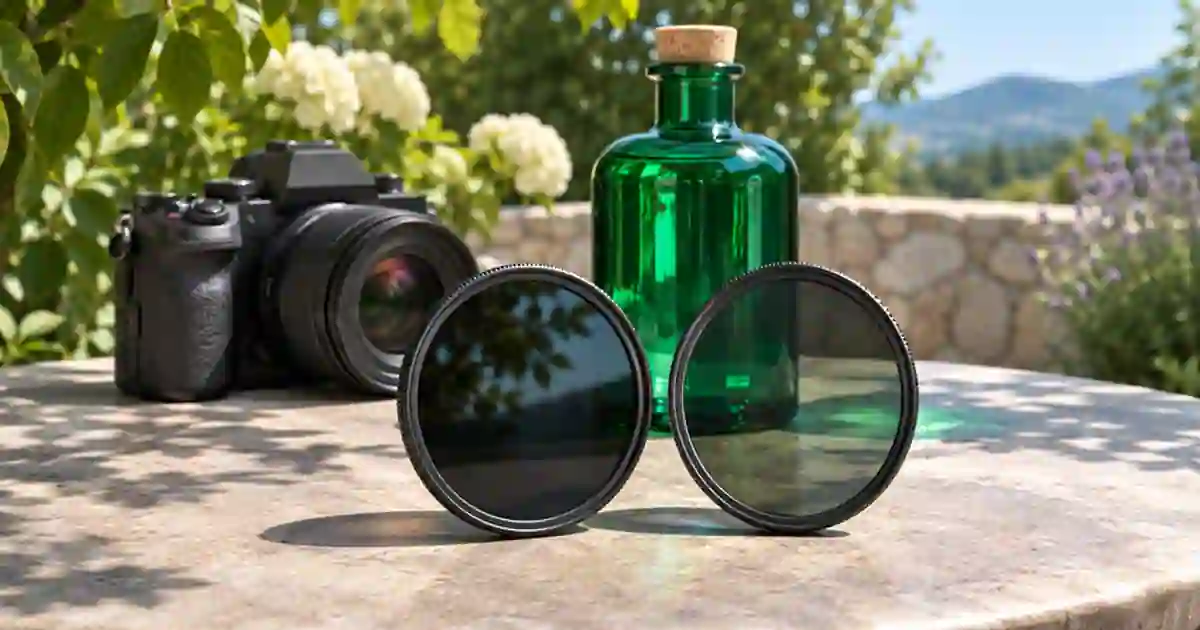

Choose an ND filter when your scene is too bright for the shutter, aperture, and ISO you want. Choose a circular polarizer when a reflection hides something the viewer needs to see. Both can make the image darker. I’d use the shot itself to decide which one belongs in the kit. A darker view of the same glare does not solve a reflection problem.
My gear pick for this setup
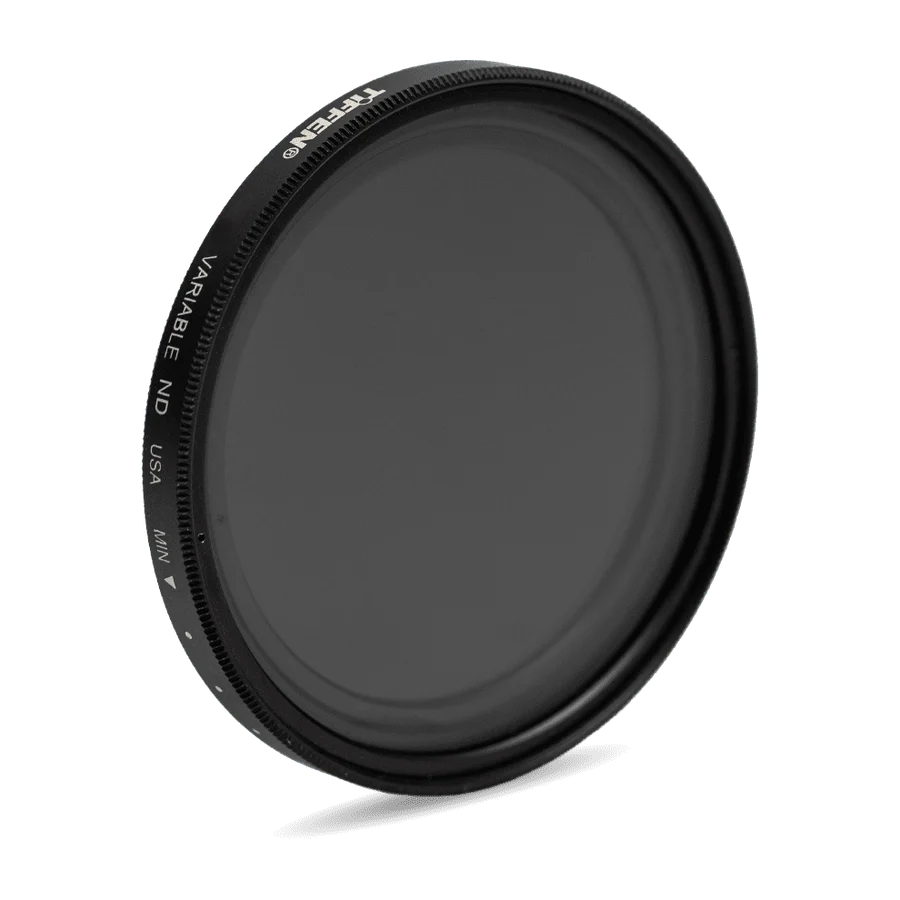
Tiffen 67 mm Variable ND filter
For a 67 mm lens and changing daylight when you need to keep a chosen shutter and aperture.
I’d choose the Tiffen variable ND if excess light is the problem. For glare hiding a label or view through glass, I’d test a circular polarizer first.
Start by separating exposure from glare
Set the frame rate and a shutter that gives the motion you want. Pick the aperture you need for depth of field and set the sensitivity where it makes sense for your camera and profile. Frame the product and read the exposure using the tools your camera gives you. If the whole scene is too bright at those settings, use shade, move the light, or add ND. If the exposure is fine but the label disappears under a bright patch, change the camera or light angle to see whether the reflection moves.
A polarizer changes some reflections depending on the surface and geometry. Try it on a glossy label or a view through glass. Rotate the filter while looking at the area that is hard to read. If the source itself is reflected in metal, a polarizer may do little compared with moving or shaping the source. Keep some sheen when it shows what the product is made of. The goal is a readable shot that still looks like the object the customer will receive.
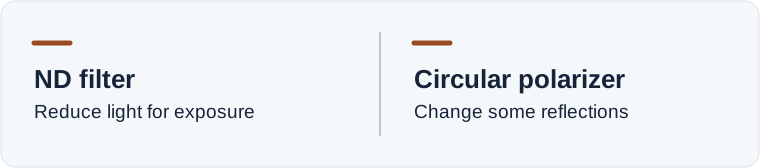
Choose an ND for the motion you want
An ND reduces the amount of light reaching the sensor. It helps you hold a shutter time and aperture when the scene gets brighter. A variable ND gives you a range you can adjust. Use the manufacturer’s usable range and check the image for uneven darkening or color shifts, particularly with wide lenses and heavier settings. A fixed ND can be easier to reproduce when the light is steady and you want the same density for every take. The fixed and variable ND comparison covers that tradeoff.
If the shot crosses from sun into shade, make a short rehearsal with the direction and duration of the real move. A filter can get you the starting exposure. It cannot make both ends of the shot look the same on its own. Decide whether you can adjust the setup before the take, break the move into two shots, or allow a controlled exposure change. Check the result on the saved clip. A smooth-looking preview can still hide a visible jump.
Compare the filters at similar brightness
Record a short shot of a glossy object without a filter. Try the polarizer and adjust the exposure for a fair comparison while keeping motion and depth of field comparable. Watch the reflection, lettering, and visible color. Then try ND at the desired exposure and make the same movement. If the polarizer helped the lettering and the ND made the motion possible in bright light, you have identified two different needs. Check that any combined filter arrangement fits the lens and works at your focal length before ordering one.
Filter diameter is the front thread measurement printed on the lens or in its manual. It is separate from focal length. If you use step rings, check lens hood clearance and inspect the corners for vignetting at the widest focal length you use. Stacking filters can add thickness, reflections, and unwanted interactions. I’d test the simplest arrangement that solves the actual shot before using a stack for a client take.
Save a proof from the recorded footage
Play both versions at the final size and pause when the product is most important. If the polarizer helps only at one point in a pan, adjust the position or shoot a separate label view. If the ND gives you the shutter you want but creates an uneven patch across the frame, use a lower setting, a suitable fixed filter, or a lighting change. Write down the lens and angle where the filter works so you can match a pickup.
Use the approved recorded frame as the visual source for a supporting shot in Video Lab. Check that the color and reflections still match the real product. Keep the angle where the actual label and finish are readable in the finished cut.
Keep a matching reference for a pickup
Write down the filter position, focal length, and light direction after the successful take. Shoot a brief neutral reference under the same light so you can see a color change if the next setup uses a different filter. If you moved a light or used shade to make the reflection readable, mark that placement too. A note like “turn until the label is clear” is harder to reproduce than a test frame you can compare on screen.
Pack a cloth and check for fingerprints before testing. A smear can soften the comparison and make a filter look worse than it is.
A bright-table filter test
Film a small glossy bottle in daylight. Choose one shutter and aperture for the take. Record without a filter, then test ND to hold exposure at those settings. For the glare comparison, rotate the circular polarizer until the label changes and compensate for the light loss before judging it. Make the same small pan in each version. Check motion, label readability, corners, and color. Buy the filter that fixes the problem you actually saw, and note the lens thread size before ordering.
Download the camera filters for video worksheet (CSV)
Frequently asked questions
Can an ND remove glare from glass?
It lowers the light reaching the sensor. Try a polarizer or a change in camera and lighting angle if the reflection itself blocks the view.
Does a polarizer darken the scene?
It can reduce light, so compensate when comparing. Choose it for the effect on reflection and contrast.
Can I stack a variable ND and CPL?
Fit and optical behavior vary. Test the full stack for dark corners, color changes, and uneven density at your working focal length.
How do I find filter size?
Use the thread diameter marked on the lens or documented by its maker. Focal length does not give you the filter size.
Sources and further reading
Affiliate disclosure
As an Amazon Associate I earn from qualifying purchases.
Continue with a useful next step
 Video
Variable ND vs Fixed ND for Outdoor Creator Video
Choose variable or fixed ND for outdoor video. Calculate the light reduction, check lens size and test the Tiffen 67VND for uneven density before a real shoot.
 Image
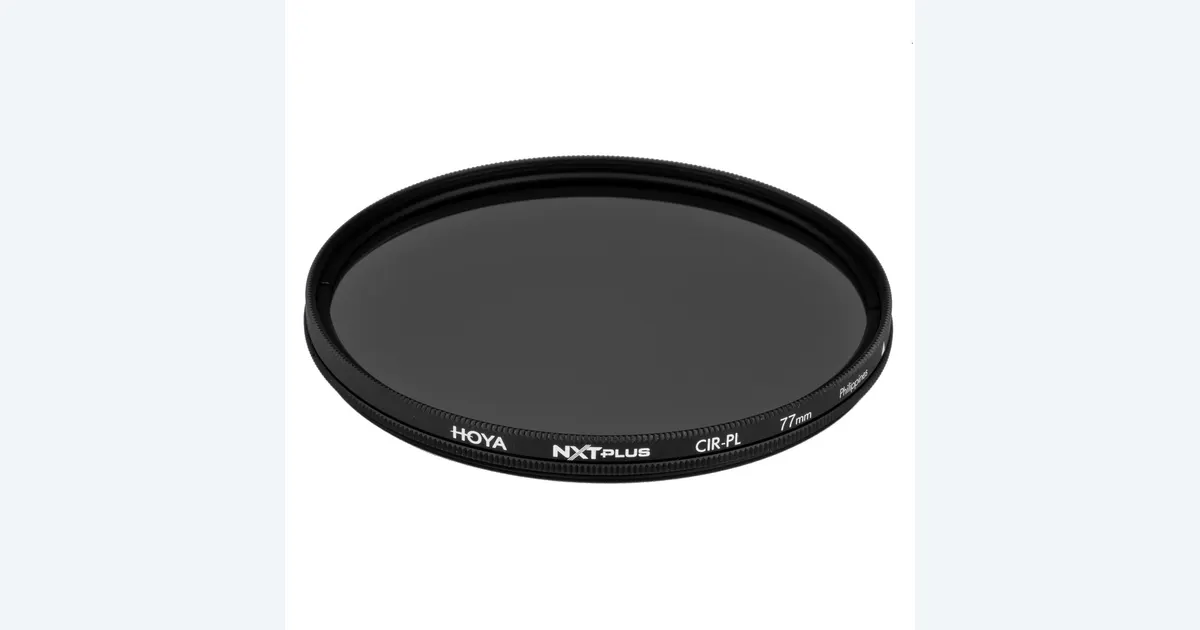
Circular Polarizers for Product Photos: Control Glare
Learn when a circular polarizer helps product photos. Check reflections, lens thread size and light loss, then compare Hoya NXT Plus with a no-filter setup.
 Video
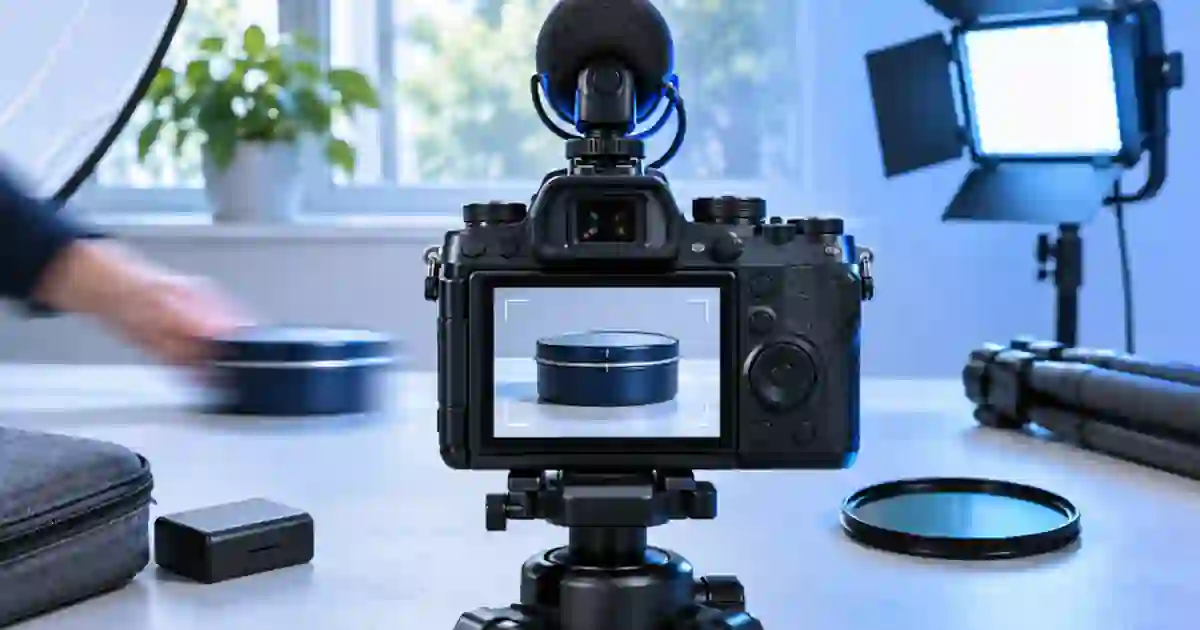
Shutter Angle for Product Video and Motion Blur
Use shutter angle to control motion blur in product videos. Compare 180 and 90 degrees on the same move, then check label readability and exposure.