
To reverse a video in CapCut, select the clip and choose Reverse in the editing controls. If you want to reverse only one action, split at its start and end first, then apply Reverse to the middle clip. Let processing finish and check the first and last frames. Decide what to do with the original audio before exporting.
Reverse changes the order of frames. A hand moving a prop into place now appears to take it away. Slowing a clip, flipping its picture, and reversing its frames do different jobs, so start by deciding what the viewer should see at the end.
Select only the part that should play backward
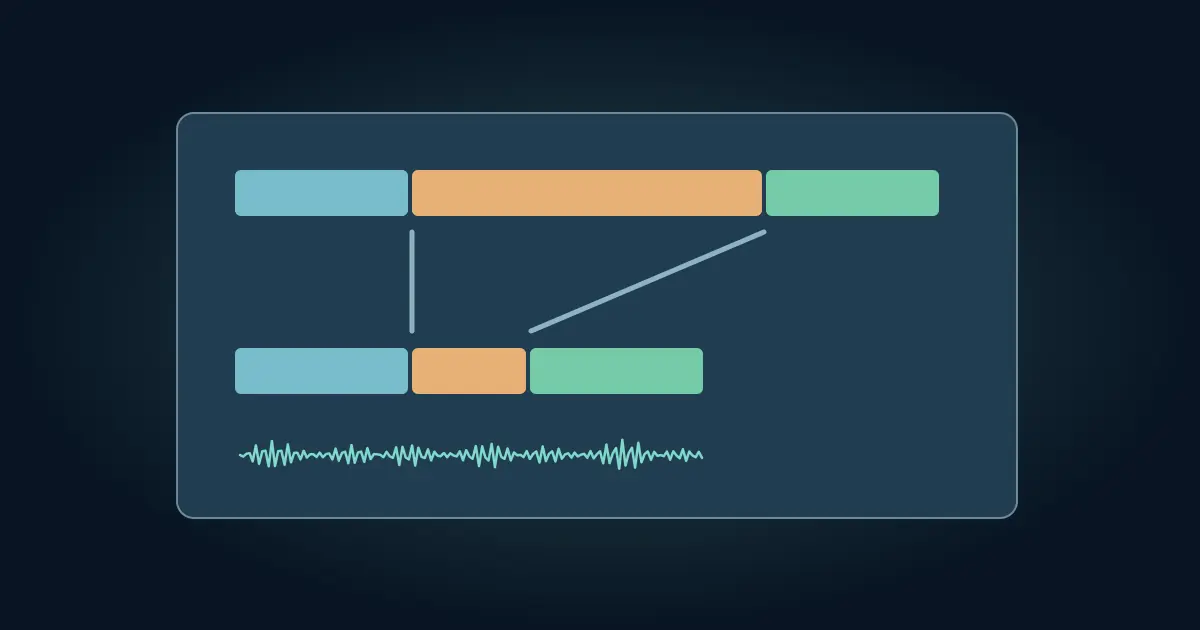
Duplicate the edit or keep the original clip available. Scrub to the earliest useful frame of the action and mark it. Mark the frame where the action completes. Split at both boundaries if the opening and closing should remain forward. Select the center clip and use Reverse. CapCut's reverse workflow describes its clip controls and the need to check sound separately.
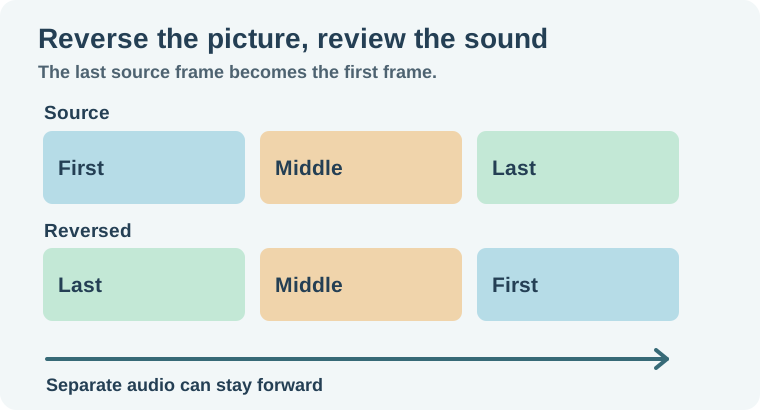
Watch the processed clip from the beginning. The source's final useful frame becomes the beginning of the reversed action. If that frame contains a blink, a cropped hand or a prop leaving the shot, adjust your source selection and try again. A clean forward ending often makes a stronger reverse opening.
If the entire project is a single exported video, isolate only the scene you need. Reversing a file with baked titles and transitions also reverses how those elements enter and leave. Keep the separate originals when you need more control.
Work through a three-part action
Imagine a workbench sequence that starts empty, shows pieces moving, and ends with an assembled object. The reversed clip starts with the assembled object, moves through the pieces in the opposite order, and ends on the empty bench. Play all three moments and compare the final image with the intended next shot.
If you want to show the forward action followed by its reversal, duplicate the action and reverse the duplicate. At the join, the end of the forward copy and the start of the reversed copy can be nearly identical. Watch for a held or repeated frame. Trim one side only if doing so improves the movement. A deliberate hold can be useful when the object needs a moment to register.
If the reversed clip feels too slow after it works in the right direction, make a separate timing pass. The CapCut speed guide shows how to shorten a selected section while preserving the useful opening and ending.
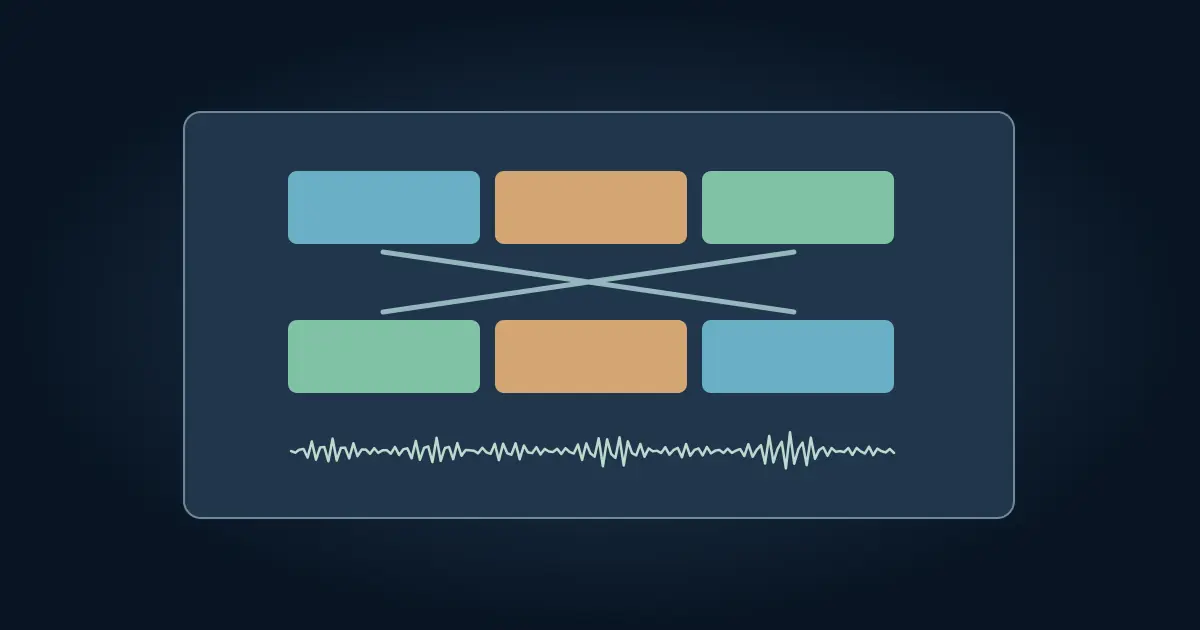
I checked the frame order in a synthetic three-second FFmpeg proof. Its source played blue, yellow, then green. Sampled at 00:00.25, 00:01.25 and 00:02.25, the reversed export showed green, yellow, then blue. This confirms the direction in the diagram. Review your own CapCut export at the first and last meaningful frames, where a brief trim or transition can change what you see.
Decide what the audience should hear
Test the clip with its audio before accepting it. Reversed dialogue is hard to understand, and a backwards impact can sound like a swell. If the clip's original sound does not help, mute it or keep only the approved portions you need on a separate track. Put music, room tone or narration where it works with the reversed picture.
If you detached a track before applying Reverse, review it against the new action. A normal forward bed can stay useful, but a spoken line tied to a specific gesture may no longer match. Keep the narration readable and place any sound effect against the moment you actually want to emphasize.
Check both joins from the previous shot through the next one. Sound can reveal a cut even when the motion looks smooth. If you use a quiet bed, listen for a sudden change where the clip's original sound stops.
If the reversal creates an awkward exit, choose the next shot based on the new final frame. A closeup of the completed object will no longer match if the reversed action ends on an empty table. Try a return to the wide shot or use a separate insert to bridge the change. Listen to the transition as well. A room tone clip can help the sequence sound continuous while the picture deliberately moves backward.
Fix a reverse that stalls or looks wrong
Try a shorter duplicate if the editor struggles with the full clip. Check the original plays correctly and follow CapCut's reverse troubleshooting for the relevant editor. When you move to a working copy or shorter source, keep the same start and end references. Reopen the project before making a broad change to the media.
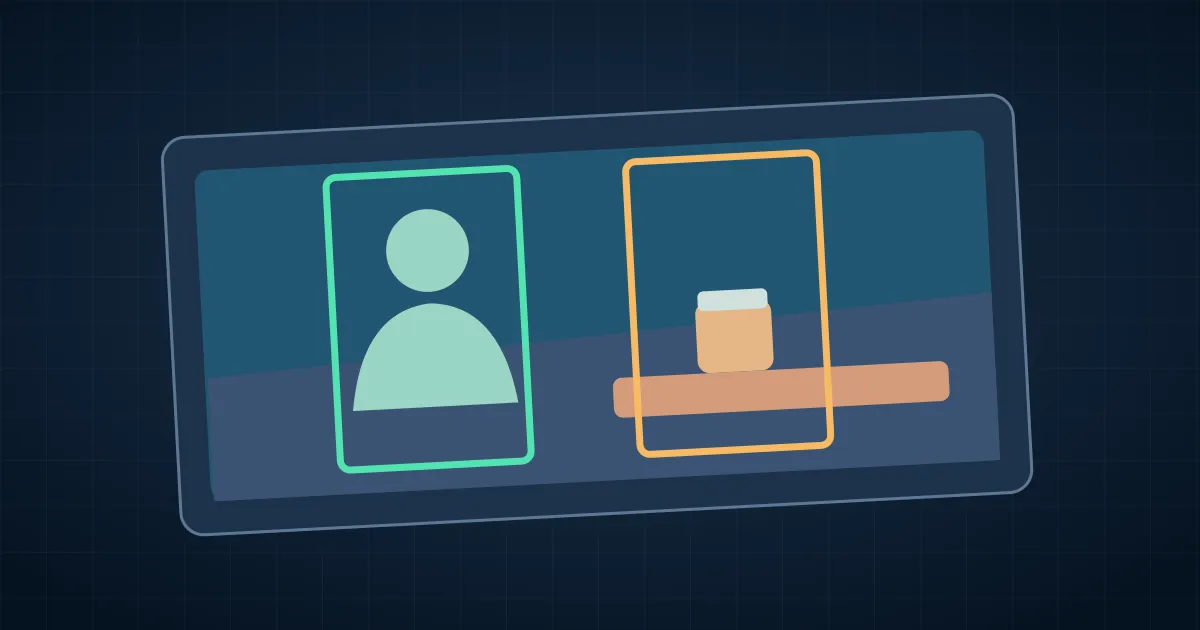
After reversal, review framing as a separate decision. A horizontal clip can still lose a subject when it is fitted into a vertical edit. Use the CapCut reframe guide to follow the important subject and verify the new crop. Check titles and captions after the edit timing is settled.
How QuestStudio helps
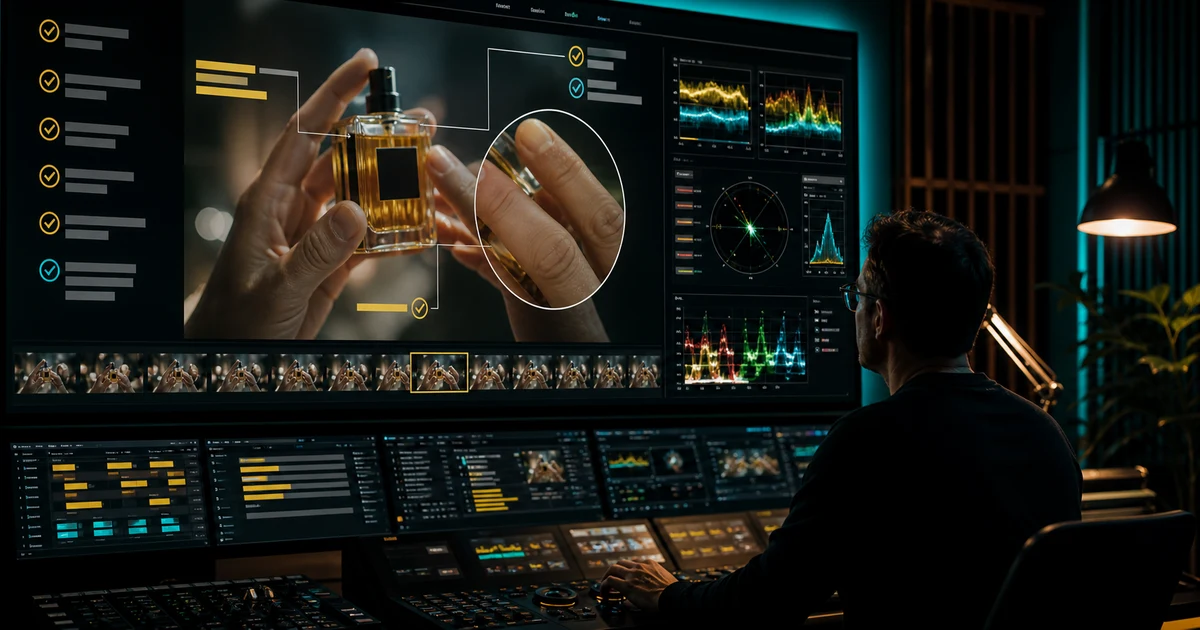
Use Video Lab for a separate insert if the source never shows a clean opening or end. Compare the new shot with the original setup before you add it. The video quality-control checklist gives a final pass for motion, framing and exports.
Export the exact version you plan to use. Reopen it, check the first and last frames, and listen once without watching. Save the cue sheet beside the final clip so a later editor can see what was reversed.
Download the reverse clip cue sheet.
Frequently asked questions
Can I reverse only the middle of a video?
Yes. Split around the section, select it, and apply Reverse to that clip.
Does Reverse also affect sound?
Review what your editor produces and decide separately whether to mute, replace or preserve a separate audio track.
Is reversing the same as flipping horizontally?
Reversing changes frame order. Flipping changes the orientation of the picture in each frame.
Why does the forward-to-reverse join feel stuck?
The two clips can share an almost identical boundary frame. Check the join and trim only if it improves the motion.
What should I verify after export?
Confirm the first and last frames, the transition into the next shot, and the intended sound.