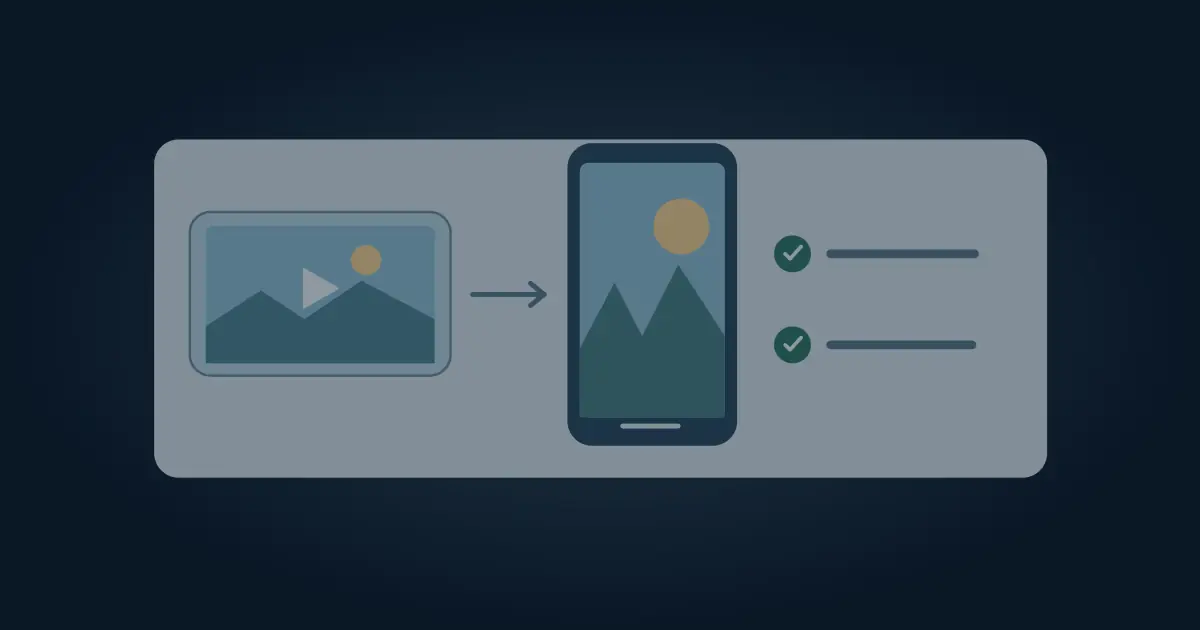

To turn an existing iPhone video into a Live Photo, use an app that explicitly saves a Live Photo to Apple Photos. Select the video, trim the movement you want, and save it as a Live Photo. Then open the saved item in Photos and verify its Live indicator and motion. Keeping the source video gives you a separate version for editing and sharing.
Apple documents a native way to turn a Live Photo into a video. For this guide's reverse direction, use a converter that specifically supports Live Photo output. An MP4 or animated GIF will have a different playback and sharing behavior.
Pick a short movement that has a useful still
Open the original clip and choose one action. A hand setting down a cup, a quick smile or a slow turn can make sense as both motion and a still image. A clip with several cuts may feel jumpy when it plays as a short movement. Select a small range with a clear start and stop.
Choose the destination before trimming. A Live Photo you want to keep in Photos and a Lock Screen wallpaper have different presentation requirements. A wallpaper may crop around the clock and use only part of the motion. Keep the original clip and avoid trimming it permanently before you know which range works.
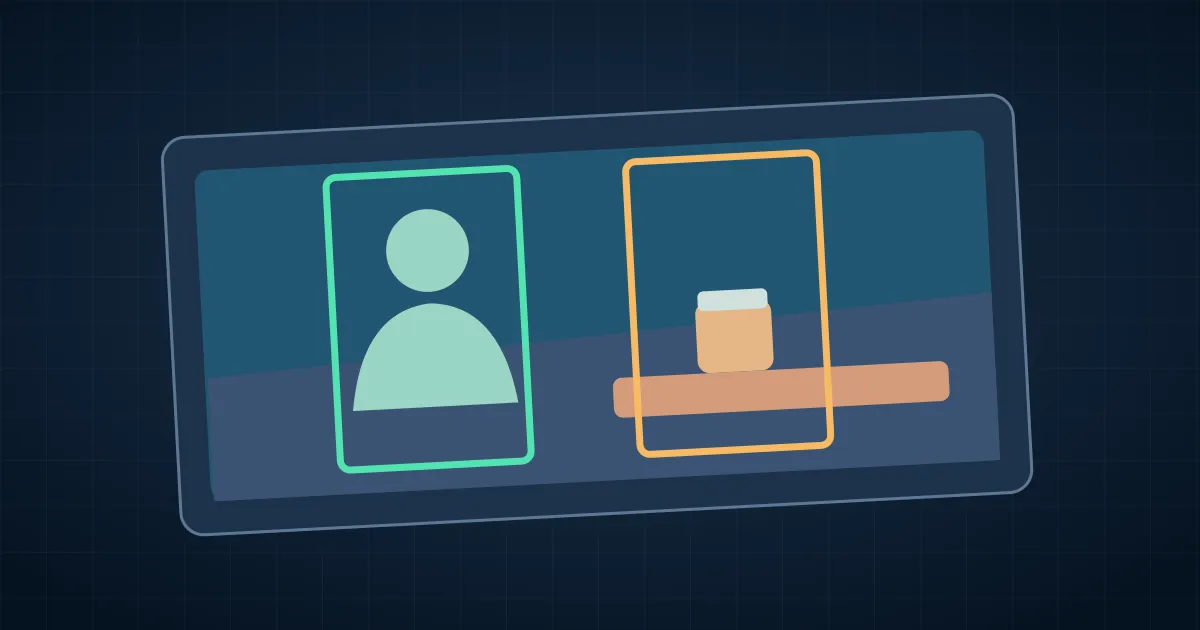
Use the CapCut reframe guide when you need a separate vertical source with the subject in the right part of the frame. Export that approved video first and keep it alongside the original.
Save a Live Photo from the video
One documented route is the intoLive app's Live Wallpaper mode. Its Live Wallpaper instructions show the route from selecting the video through Share and saving it as a Live Photo. Follow the labels available in your installed version. If you use another converter, confirm it offers Live Photo output and check its access and export options before relying on it.
Select the approved video, trim to the intended motion, and preview it. Look for an unwanted frame from the next cut. If the first visible motion begins too late, move the start slightly and check again. Save the resulting Live Photo. Keep a clear source filename or an album entry so you can distinguish the original video from the new item.
The developer's wallpaper route has its own length and playback limits. Check its current instructions and the actual Lock Screen. Use a separate clip when you need a longer video or a soundtrack that behaves consistently in a video player.
Verify the result in Apple Photos
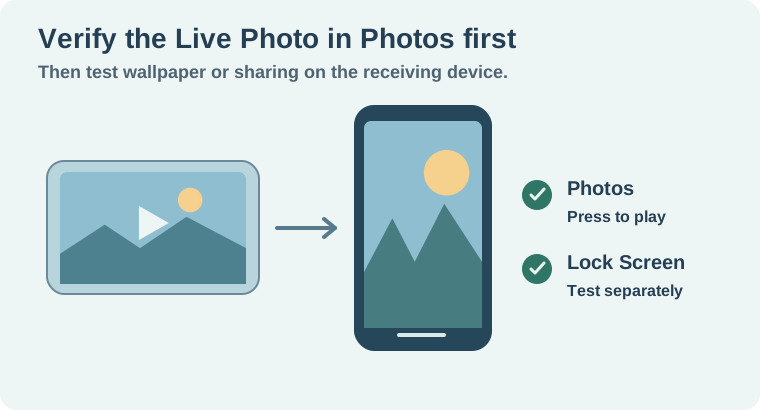
Open the saved item in Photos. Look for its Live Photo indicator and play the motion. Use Apple's Live Photo editing guide to check or change the key photo where appropriate. Pick a still that makes sense without motion. Review faces, hands, text and any crop near the frame edge.
For a fictional two-second workshop clip, start just before the cup touches the table and end when the hand leaves the frame. In Photos, choose a key photo that shows the cup and leaves the label readable. Then play the motion and confirm the hand enters and exits cleanly. If the label blurs on the key frame, choose another frame or start again with a clearer source.
If it appears as a normal video, check which export option you used. Save again using the documented Live Photo route if the converter supports it. If the intended destination is a wallpaper, test that separately after confirming the item works in Photos.
Keep the original for formats that need video
If you want to share the motion with someone else, check what the destination preserves. Keep a normal video for editing, upload or playback in apps that do not retain Live Photo behavior. Apple's Live Photo to video instructions cover that separate conversion when you start from a Live Photo. Use the original source when it has the complete clip or the sound you need.
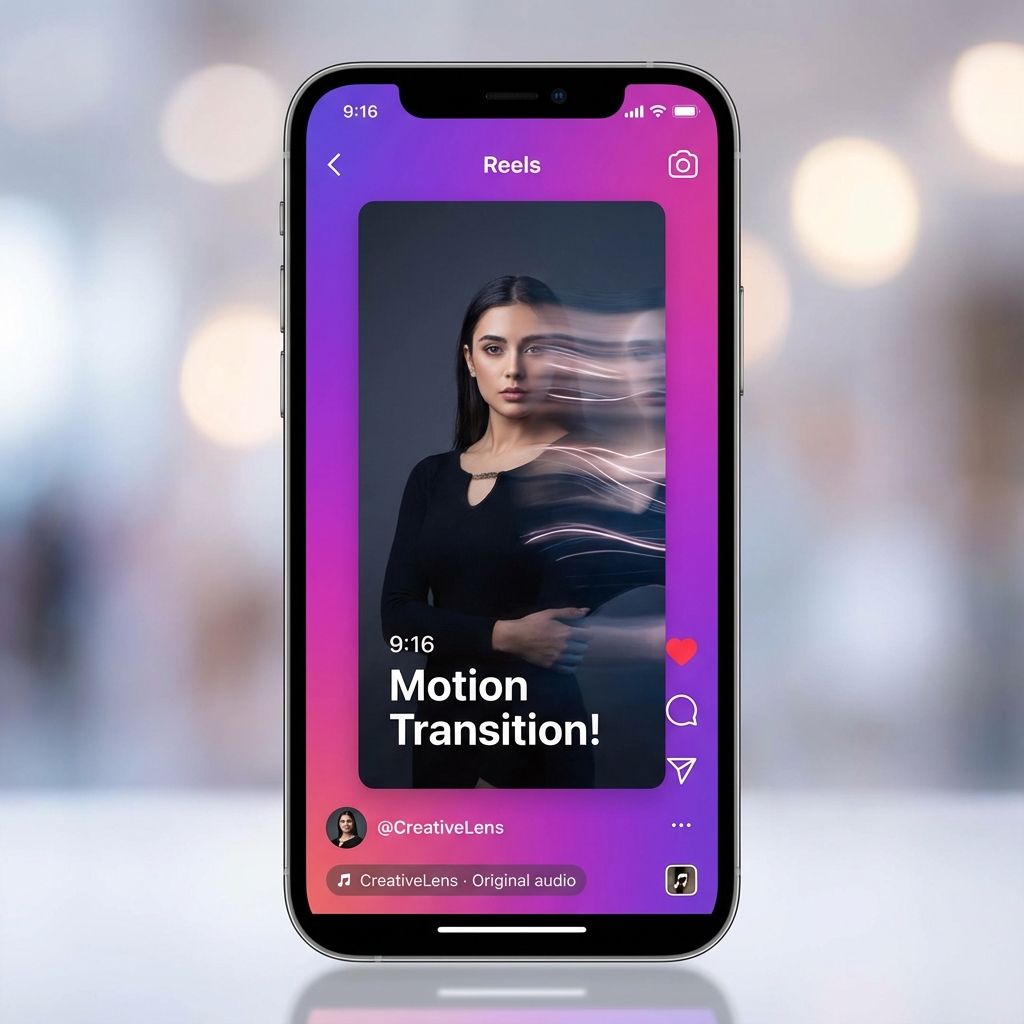
For a looping effect on a social or web destination, choose a supported video or image format for that platform. The cinemagraph workflow and photo-to-video guide for Reels cover two other ways to plan a short moving image.
Proof the crop for the destination
A landscape clip of waves can work in Photos and lose the subject when cropped for a vertical Lock Screen. Keep the original video and pick a short section with movement around the middle. Preview the crop with the clock and widgets in place. If the static frame looks good but the motion wanders outside the crop, choose a different section or reposition the source in the conversion app. Test a second copy if you also need to send it to someone. Ask them to open the received item in Photos and press and hold it. A successful wallpaper on your phone says little about what another messaging app or device will preserve.
How QuestStudio helps
Use Video Lab to prepare a short motion source with a clearly visible action. Export the approved video and perform the Live Photo conversion on the iPhone. Verify the final saved item in Photos and check the actual destination before sending or setting it.
Download the iphone live photo conversion checklist.
Frequently asked questions
Can I save an existing MP4 as a Live Photo in Photos?
Use a converter with explicit Live Photo output for this direction. Verify the saved item in Photos.
Is the Live Photo the same as my source video?
It is a separate saved item. Keep the original if you need the full timing, sound or editing source.
Can I choose the still frame?
Apple Photos provides a key photo control for Live Photos. Pick and verify a frame that reads clearly.
Why does the wallpaper move differently?
Wallpaper display can apply its own crop and playback behavior. Test it after confirming the item works in Photos.
How do I verify the conversion?
Open the saved item, check its Live indicator, and play the chosen motion in Photos.