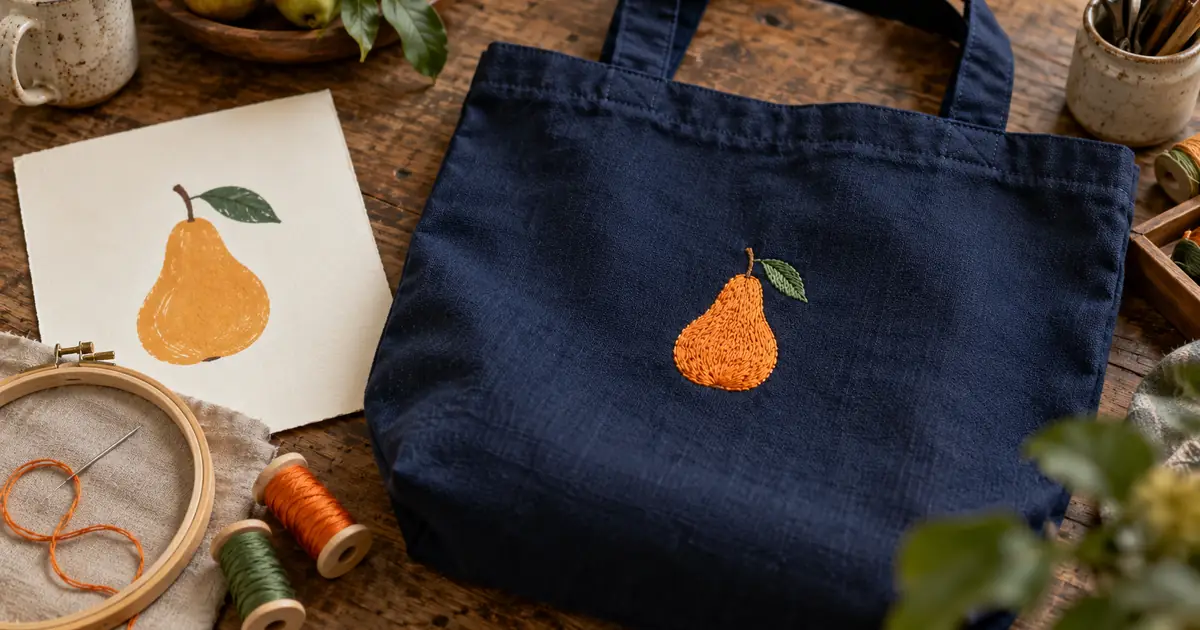

An AI image can look beautifully embroidered and still be impossible to sew as drawn. Start with simple artwork at the intended physical size, then have that artwork digitized into machine instructions. A picture of thread is useful for a concept preview; it does not tell an embroidery machine where to put the needle.
This guide develops an original pear emblem for a navy cotton tote. The example is a planning exercise, not a tested stitch file. The aim is a clear brief a digitizer can quote, revise and sew out without guessing which details matter. Download the embroidery handoff worksheet to keep those decisions together.
Choose the object and finished size first
“A small pear on a bag” leaves several production decisions unresolved. For our example, the pear will occupy a 55 mm wide area on the front of a flat cotton tote. That is a design target, not a universal embroidery specification. The supplier still needs the actual fabric, placement and machine constraints.
Measure the available area on the real item. Note handles, seams, pockets and layers that might interfere with hooping or access. A design that fits in a rectangle on screen may land across a seam or be awkward to position on the finished product. Photograph the placement with a ruler beside it and keep that photograph separate from the artwork.
Ask the digitizer whether the planned application needs a different design for another material. A cap, stretchy shirt and flat tote should not automatically share the same production file. If the garment changes, record it as a new production decision instead of quietly reusing the last approval.
Generate shapes instead of simulated stitches
For the first concept, request an orange pear body, a short brown stem and one broad green leaf. Keep the background plain and leave out lettering. This gives the image model a composition problem that can be inspected without being distracted by decorative thread texture.
The prompt describes an intended result. It does not enforce a physical line width or guarantee an embroidery-ready design. Download a candidate, place it in a layout at the intended width, and inspect the actual shape. A lovely full-screen image can hide a leaf tip that becomes almost invisible at 55 mm.
Hatch's auto-digitizing guidance describes tools that convert artwork into embroidery objects. That is a separate stage from generating the picture. Keep the original image and any cleaned artwork so the digitizer has a readable source rather than only a photograph of a mockup.
Decide which details are essential
Make an essential-detail list before simplifying. Our pear needs its overall silhouette, stem and one leaf. It does not need speckles, tiny veins, a highlight sparkle or a thin decorative outline. Removing those optional details preserves the idea while reducing ambiguous instructions.
| Detail | Purpose in the pear | Artwork decision | Proof question |
|---|---|---|---|
| Rounded body | Makes the fruit recognizable | Keep a simple continuous shape | Does it still read as a pear? |
| Stem | Explains the top of the fruit | Keep short and substantial | Is it attached cleanly? |
| Leaf | Adds direction and color | Use one broad shape | Does its edge remain distinct? |
| Speckles | Decorative texture | Omit from the first version | Is anything meaningful lost? |
| Highlight | Suggests shine | Omit the gradient | Does the simpler color work? |
Do not apply a universal minimum detail size copied from an unrelated job. Thread, stitch type, fabric and machinery affect what survives. Ask the supplier to flag fragile details at the chosen size. If a leaf vein is essential to your design, request a proposed solution and a sample instead of assuming a brighter color will make it sew cleanly.
Compare simplifications side by side at the same physical size. If you enlarge one candidate, it will seem more detailed and easier to read for reasons unrelated to production quality. Print a paper size proof or view the artwork against a ruler, then choose the version whose identity survives without zooming.
Separate artwork cleanup from digitizing
Clean edges, remove stray marks and make the color regions unambiguous. If the image has a textured background, isolate the emblem carefully. Our background-removal guide helps with cutout edges, but transparency alone does not create stitch instructions.
A vector redraw can make shapes easier to edit. Use the image-to-SVG workflow when you need controllable paths, then confirm what source format the digitizer prefers. Do not rename a PNG to a machine-file extension or treat an SVG as automatically sewable.
Digitizing determines the stitch path, order, direction and other construction choices. The University of Illinois digitizing tutorial demonstrates an artwork-to-embroidery process inside dedicated software. Follow documentation for the actual software and machine you will use rather than copying unrelated settings.
Send a brief that answers production questions
Package the approved artwork with finished dimensions, item photographs, fabric information, placement and intended quantity. Include the machine format only if you know the destination machine's requirements; otherwise ask the supplier to confirm it. Identify which source is approved so a discarded early concept cannot become the production file.
For the pear, describe the desired color relationship: orange fruit clearly separated from green leaf on navy fabric. A screen color is not a guaranteed thread match. Ask for the proposed thread references and review them under useful lighting. Keep any physical swatches or supplier references with the approval record.
Write the priority in one sentence: “Preserve the pear silhouette and the distinction between body and leaf; small decorative texture may be simplified.” This gives the digitizer permission to solve a real construction problem without redesigning the emblem's identity.
The worksheet includes a row for changes that require approval. Examples include changing the finished width, removing the stem, changing the leaf color or moving the design to another part of the tote. Naming those decisions early makes a revision much easier to evaluate.
Review the sew-out on the intended material
A stitch simulation helps you inspect order and appearance, but approve a physical sew-out when the production job requires confidence in the result. Use the intended material and relevant production setup. A clean sample on a stable scrap does not prove the same design will behave identically on a different garment.
Look at the overall silhouette first, then the edges, joins and fabric. Does the leaf remain separate? Does the stem look attached? Are gaps opening where colors meet? Is the fabric visibly puckered? Record the location and appearance of each issue with a photograph, rather than asking vaguely for a more professional result.
Let the digitizer diagnose stitch settings. Your review should describe the problem and desired appearance. Automatically increasing density or adding more outlines can create new problems. Save the revised file with a new version and compare the second sample against the same criteria.
How QuestStudio helps
Use Image Lab to compare simple pear concepts and refine the approved visual. The useful next step is one flat emblem with a clear silhouette. Embroidery digitizing, machine-file export and the physical sew-out belong in the appropriate production workflow outside Image Lab.
Keep the concept prompt, selected image and revision notes together. If the supplier asks for a wider leaf or fewer color regions, return to that brief and make a controlled change. Avoid replacing the entire concept after the garment placement and sample have already been approved.
Frequently asked questions
Can an AI image generator make a stitch file?
An image-generation result is artwork. A machine stitch file requires digitizing in compatible software or through a digitizer. Check the actual file contents and machine requirements rather than relying on the filename.
Should I ask for an embroidered texture?
Use simulated thread texture for a concept mockup if it helps communicate the idea. For production artwork, flat colors and clear shapes are usually easier to interpret and revise.
Does every design need to become an SVG first?
No. Ask the digitizer which source formats they accept. A clean raster image can be usable; editable vector geometry is helpful when shapes need precise revision.
Can I resize the finished embroidery file freely?
Do not assume that you can. Ask the digitizer or follow the software's documented resizing workflow, then review the result for the new size and material.
What should I approve before ordering the full run?
Approve the artwork, dimensions, placement, fabric, thread choices, production file version and any required physical sample. Keep a record of the accepted result.
Make the first sample easy to judge
Finish the simple version before adding ornament. A recognizable pear, an agreed placement and a documented sew-out give you something concrete to approve. Create the source artwork, collect the production answers and let the sample show which details deserve another revision.
Create a simple embroidery concept in Image Lab
Hero image: AI-generated editorial illustration. Examples are original planning exercises, not measured model tests.