
AI handbag photography is useful only when the bag in the finished picture remains the bag you sell. A beautiful background does not compensate for a moved zipper, a different strap attachment or an interior that never existed. Build the gallery from real views of the exact item, then review the small construction details before approving an edited scene.
This guide plans a six-view gallery for a fictional structured tote. It concentrates on hardware, interior construction and scale, which need more attention than a general product-photo prompt can provide. You can use the same review process for a shoulder bag or crossbody by changing the view list.
Photograph the evidence before styling the scene
Start with the actual sale variant. Empty the bag, remove temporary packing and decide whether a removable strap ships with it. Photograph the front, back, both sides and interior before creating any lifestyle variation. Include a close view of the clasp, zipper pulls and strap attachment points.
An exterior reference cannot prove how many pockets are inside. If you need an open-bag view, photograph the opening and lining directly. Do not ask a generator to reconstruct the interior from a closed front view. The result might look plausible while showing a pocket configuration that belongs to a different product.
Record the item's dimensions from your verified product information. Keep the measurement method consistent: a body height and a handle drop describe different things. If a strap adjusts, note which setting appears in the reference photograph instead of using its maximum length for every image.
Give each gallery view a separate question
The front three-quarter image establishes shape. A side view shows depth. An open view shows access and lining. A hardware close-up explains fastening, while a back view reveals features that the hero hides. A carried view helps a customer interpret scale when it is supported by a real source.
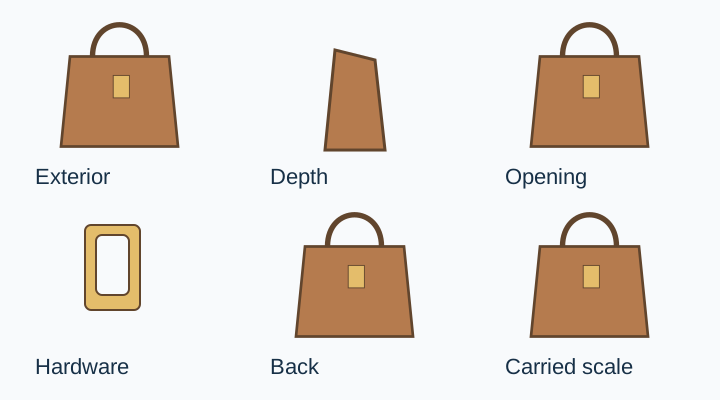
Use the product photography shot-list guide for the overall listing plan. The handbag-specific step is to identify which construction details could change between views. A front buckle that becomes a magnetic snap in a later image is a product mismatch, even if both pictures look polished.
Avoid filling the gallery with six almost identical hero angles. A customer comparing bags needs to understand the opening and depth as well as the silhouette. Decide those roles before generating a supporting background.
Make a construction checklist from the real bag
List the visible anchors: two front handles, one detachable strap, a specific seam path, a particular buckle shape and the observed zipper direction. Keep this list short enough to use while comparing images. The more general the instruction, the easier it is to miss a small but meaningful change.
For the fictional tote, the front panel has a vertical seam near each side and two brass handle rings. The back has no decorative buckle. An edited rear view that adds the front buckle should be rejected. The checklist turns that into a quick decision rather than an argument about whether the picture still feels similar.
Photograph material close-ups in a way that shows the actual grain and finish. Do not add artificial texture to make synthetic material look like a different grade of leather. Describe only the material you can verify from the product information.
Write a background brief around a fixed product
Use a source image that already contains the required angle. Ask for a restrained supporting scene and keep the bag's construction out of the creative brief. Start with one output, compare it to the source and stop if the product changes.
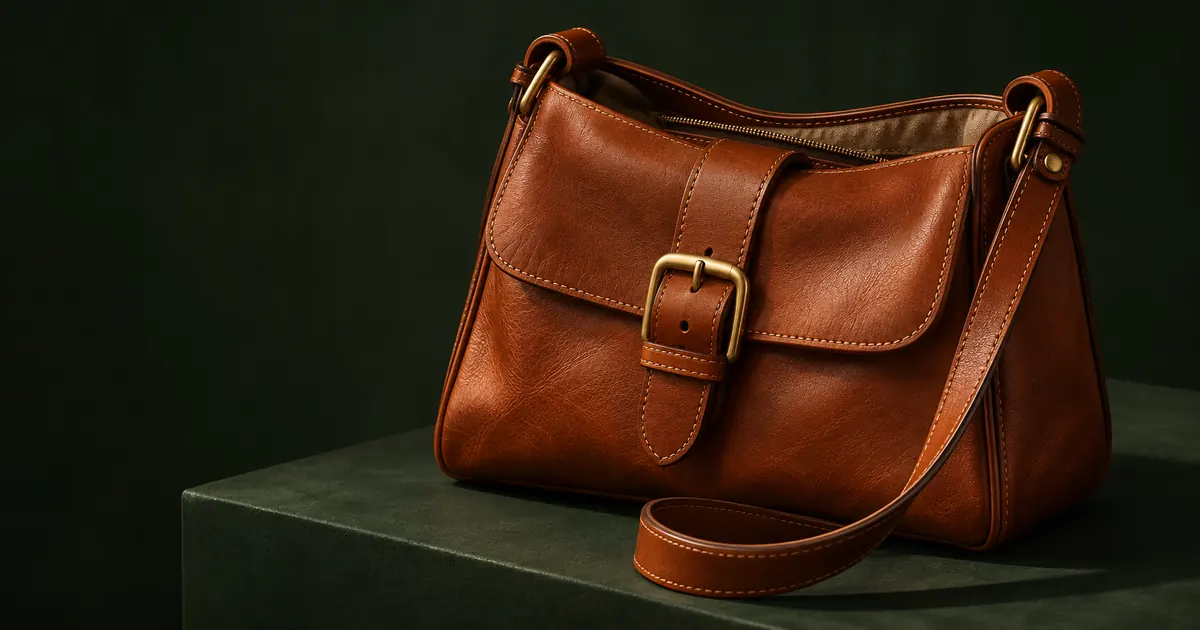
Use the attached photograph of this exact tote as the product reference. Create a supporting ecommerce scene on a dark green matte plinth with soft light from camera-left. Preserve the silhouette, panel seams, handle rings, zipper, strap attachments, material finish and approved color. Keep the complete bag visible with a grounded contact shadow. Do not add pockets, change hardware, open the bag, alter proportions or invent a logo. The background may change; the product must be reviewed against the source before use.This wording does not lock every pixel. It gives you clear acceptance criteria. If the image changes the handle spacing or seam, return to the original and use a conventional background edit or a better source view. Repeating a longer version of the prompt is not a substitute for inspection.
Check a carried view against real scale
A bag can look correct on a plinth and much too large on a model. The strongest carried reference is a real photograph of the actual item on an authorized adult model. Keep the strap setting and body angle connected to that source.
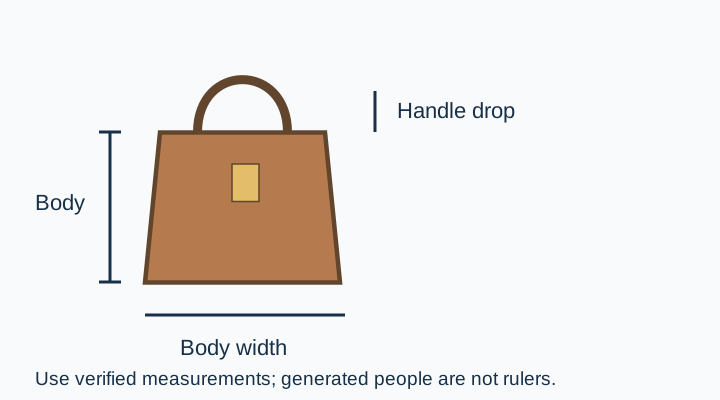
If you only have an isolated packshot, do not treat a generated carried image as proof of fit or capacity. Use a dimension graphic based on measured information, or arrange a real scale photograph. The product photo scale guide explains why a familiar prop can still create a misleading size impression.
Review contact points too. A strap should meet the shoulder naturally and attach to the same rings visible in the source. Hands should not merge with handles. A pleasing pose cannot rescue an impossible attachment.
Inspect the opening without inventing capacity
Use the real open-bag photograph to show the lining and visible compartments. Keep optional styling items out unless their presence is clearly understood and allowed by the destination. A tablet placed in a generated bag does not demonstrate that the actual tablet fits.
If you want to show capacity, use the actual item with the actual objects, and identify the objects in your source record. Do not infer a waterproof lining, reinforced base or laptop protection from how a generated interior looks. Those are claims that need separate evidence.
An interior source may need exposure adjustment to reveal detail. Preserve its material and construction while making that correction. If the dark lining cannot be photographed clearly, improve the light and capture it again before adding a dramatic background.
Approve one SKU before expanding the set
Compare all six views at the same time. Check color, material, hardware and included straps across the contact sheet. Then enlarge the hardware views and inspect the opening. A set can be internally consistent yet consistently wrong, so keep the real item and source photographs in the review.
Download the bag-view worksheet and record which source supports each output. Name files with the SKU, color and view so a hardware close-up from another variant cannot quietly enter the gallery. The product photo approval checklist provides a final pass before upload.
Explore a supporting scene in QuestStudio
Use Image Lab with the actual product view as your reference. Compare the output with that source before trying another setting. Keep the approved background brief and construction checklist together so the next scene starts with the same requirements.
The goal is a gallery that answers real purchase questions. An accurate opening view and a clear hardware detail often do more work than another elaborate lifestyle background.
Download the bag-view worksheet and replace its fictional example entries with your own approved sources.
Frequently asked questions
Can AI create an interior view from a closed bag photograph?
It can invent a plausible interior, but that is not evidence of the real product. Photograph the actual opening and compartments instead.
How do I keep the hardware consistent?
Record the observed buckle, rings, zipper and attachment points. Compare each output with the same source views and reject changed construction.
Can a generated model demonstrate bag size?
Do not use a generated body as a measurement standard. A real carried reference and verified dimensions provide a stronger basis for scale.
Should a removable strap appear in every photograph?
Show it where it helps explain the item, and make clear whether it is included. Keep the same strap type and attachments across the gallery.
What if the background edit keeps changing the bag?
Return to the source and use a more controlled edit or reshoot. Preserve the product rather than approving a visually attractive reconstruction.