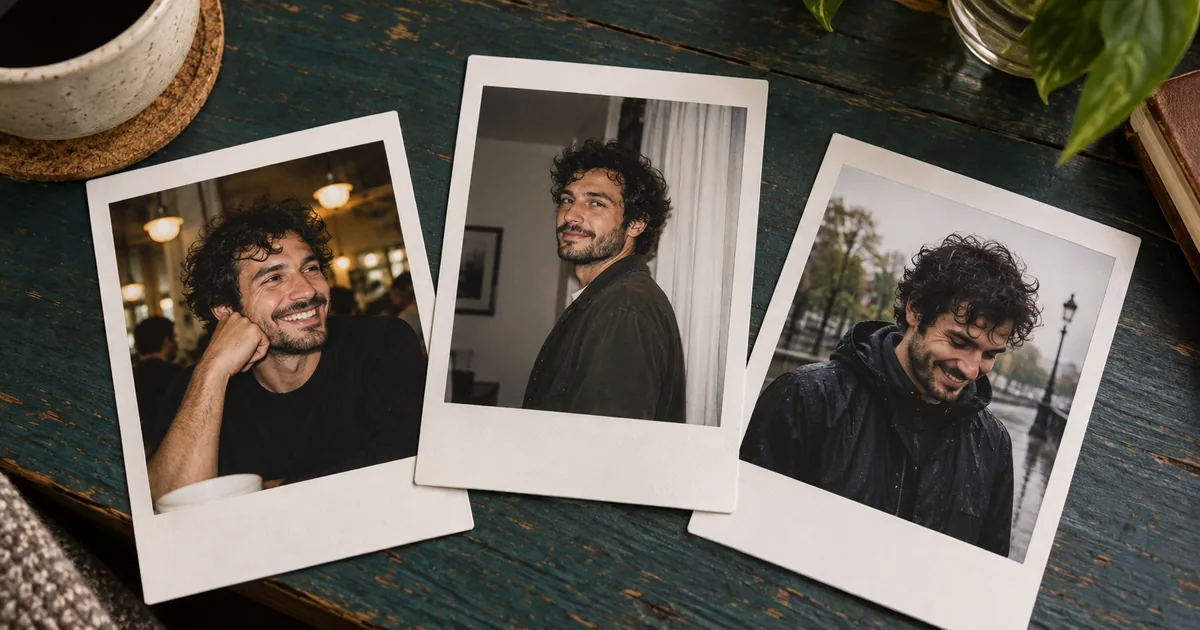

The easiest AI Polaroid prompt gives you a white border. The useful one gives you a photograph worth putting inside it. Start with a single source image, choose how much of the scene may change, and build a three-photo set with the same flash treatment and print finish.
Download the planning worksheet · Try one instant-film photo
Prepared September 18, 2026. Original planning examples; AI-generated hero illustration.
Copy this restrained AI Polaroid prompt first
This is a conservative edit. It deliberately keeps the scene because you need a baseline for judging whether the person survives the treatment. If the result already looks good, stop. More artificial damage does not make it more convincing. If the source is a sunlit outdoor portrait, keep a daylight interpretation instead of forcing a dark-room flash effect that requires relighting the entire face.
The term Polaroid describes the familiar instant-photo look here. You do not need a brand logo or a claim that the generated picture came from a particular physical camera.
Choose between a filter-like edit and a new scene
These are different requests. In a filter-like edit, the content stays close to the source and the finish changes. In a scene reconstruction, the model must invent surroundings, perspective, shadows, and sometimes clothing. A detailed face-preservation instruction helps define the goal, but it cannot make those additional changes risk-free.
| Request | Keep | Allow | Best first check |
|---|---|---|---|
| Finish the existing photograph | Person, pose, room, objects | Color, texture, frame | Did facial structure change? |
| Move the person into a new setting | Identity and selected clothing | Background and plausible lighting | Does the new perspective fit? |
| Create a fictional instant photo | Your written character description | Entire scene | Does it match the intended story? |
Google's image-editing documentation distinguishes editing an uploaded image from creating one using references. Check the capabilities of the model you select; a workflow that accepts only text cannot infer your exact face from a written description.
Control exposure before adding texture
Think about what illuminated the original scene. For a party snapshot, a nearby face can be brighter than the room behind it. For an outdoor instant photo, daylight may illuminate the whole scene. Both can read as instant film. Combining a bright sunny background, a pitch-black room, and several contradictory light sources produces an incoherent image even if the border looks right.
Request a restrained treatment and inspect the eyes, nose, teeth, and hairline. If they turn waxy, lower the requested softening. If the face becomes gritty, remove the heavy grain instruction. If the room becomes a studio backdrop, tell the model to preserve its existing objects and depth. A little imperfection is a creative choice, not evidence that the image is authentic.
For a useful comparison, create one version with only color and flash changes, then a second version with gentle grain added. Look at both at the actual posting size. Texture that seems tasteful when enlarged can turn into dirty shadows on a phone.
Build a three-photo story with separate generations
Use a simple sequence: arrival, shared activity, and a quiet closing detail. For example, a fictional evening at a record shop could show the person at the entrance, looking through records, and a final still life of a blank sleeve on the counter. The last image does not need another face. That gives the set variety while reducing the number of difficult identity edits.
Keep a small style record: warm-neutral color, soft flash, visible background, light grain, and clean paper. Start each person image from the original reference rather than repeatedly editing the last output. Save the chosen images separately before arranging them into a collage.
Photo A: an arrival portrait
Photo B: a quieter activity
Photo C: an object that finishes the story
These prompts describe an invented outing. If you publish it as a personal story, make the synthetic scene clear rather than suggesting it documents something that happened.
Assemble the border and caption without another redraw
If the photo itself passes but the frame bends, keep the photo. Crop to its image area and place it on an off-white canvas in an ordinary editor. This separates the picture from a simple layout job. It also makes every border consistent without regenerating a good face.
Here is an original digital layout recipe, not a physical Polaroid specification: create a 1,000 × 1,200 pixel canvas, place an 880 × 880 square image 60 pixels from the left and 60 pixels from the top, and leave the remaining 260 pixels below it. The math gives 60-pixel side borders and a generous lower caption area. Use the same recipe for all three prints.
Add a short caption as an editable text layer if you want one. Keep the spelling, baseline, and size consistent, and avoid labels that pretend to establish a real capture date. For a collage, rotate each completed print slightly rather than warping its image. Paper shadows should follow one light direction across the page.
Review the contact sheet at two sizes
First compare the face crops beside the original. Check the feature relationships, expression, and age, not simply whether each output is attractive. Then view the whole three-photo arrangement at phone size. The set should look related without repeating exactly the same pose and framing.
If one photo has stronger contrast, correct that image or use a gentler version. If two photos look like different people, do not hide the mismatch with more grain. Return to the source and reduce the requested scene change. If only one good portrait exists, use it alongside two object images. A coherent smaller story is more useful than an inconsistent three-portrait collage.
Common instant-photo problems and the smallest fix
- A perfect studio portrait inside a frame: ask for a specific candid lighting situation and less polished fine detail.
- Heavy damage covering the eyes: remove scratches and keep texture subtle.
- A different face in each print: return to the original reference and retain the source angle.
- Uneven or folded borders: make the frame in a layout editor.
- Nonsense handwriting: remove it from the generation and add an editable caption.
How QuestStudio helps
Use Image Lab to compare the restrained edit with one scene reconstruction. Keep the same source and change one instruction at a time. Save your chosen treatment with the prompt so the next image has a clear reference.
If you actually want mall portraits, roller-rink lighting, or other decade-specific scenes, use the broader 1980s photo guide. This workflow is about a consistent instant-print set. Finish the first usable photo before expanding the story.
Example notes
Prepared September 18, 2026. The prompts, layout measurements, and review procedure are original planning examples. The generated hero shows a fictional three-print arrangement; it is not evidence of a particular provider preserving a real person's identity.
Frequently asked questions
What is a good AI Polaroid prompt?
Specify the source image, what must stay unchanged, one lighting treatment, restrained color and grain, and a blank instant-print border. Begin with a conservative edit before requesting a new scene.
Can an AI Polaroid prompt keep my face exactly the same?
No wording guarantees exact identity. Use a model that accepts a photo reference and compare the output with the original, especially the eyes, facial proportions, age, and expression.
Should I generate three Polaroid photos at once?
Separate images are easier to inspect and repair. Approve each photograph first, then assemble the set in a layout editor.
Why do my AI Polaroid photos look too clean?
The prompt may describe only the border. Choose a coherent candid exposure and restrained texture, while keeping enough detail to recognize the person.
How do I add a readable handwritten caption?
Add it as an editable text layer after generation. This preserves the approved image and gives you control over spelling, alignment, and size.