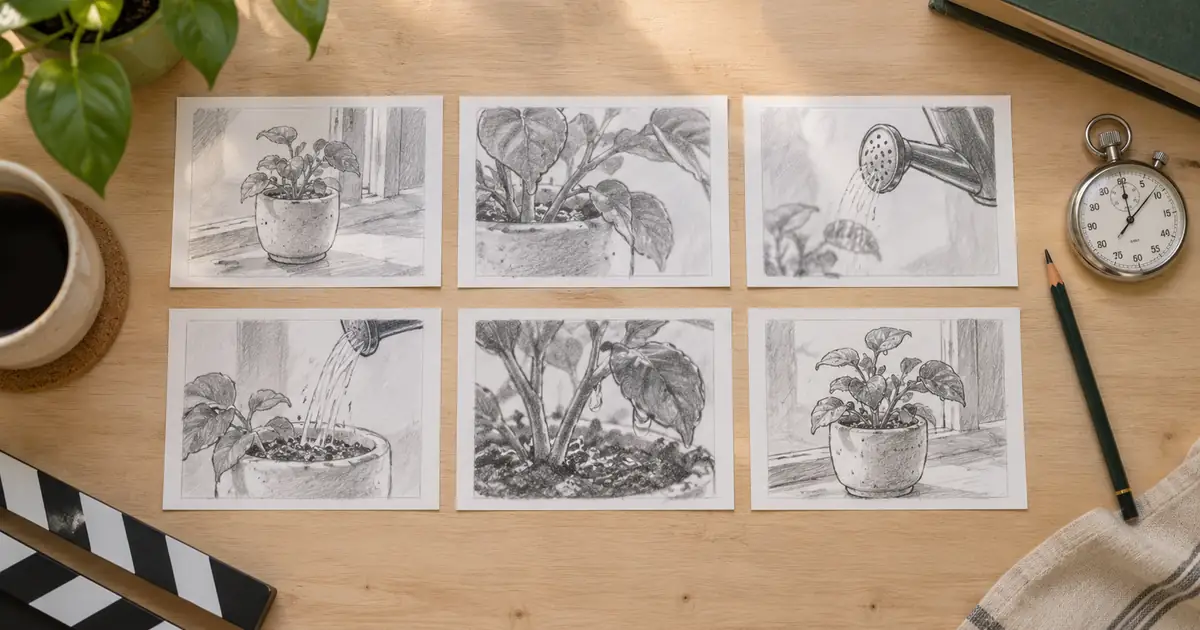

To turn AI storyboard frames into an animatic, arrange the still images on a video timeline, give each one a provisional duration and play them against the intended narration or sound. Revise the timing before generating polished footage. The animatic should answer whether the sequence makes sense in time, not whether every frame already looks finished.
A storyboard shows what happens. An animatic tests when it happens and how long the viewer has to understand it. This guide builds a fictional 20-second plant-care explainer. Its timings are a starting exercise, not a formula for every video.
Start with a sequence that can be read without explanation
Lay out the frames in order. Each should contain one clear visual idea: a drooping plant, a hand checking soil, water entering the pot, and the completed care step. If the meaning depends on a paragraph beside the frame, simplify the image or split the action into another beat.
Keep shot identifiers separate from the artwork. A file such as plant_S03_v02 is easier to track than “final-final-new.” Record the intended action, framing and continuity details in a shot sheet. The AI storyboard workflow covers planning the frames before this timing stage.
Do not regenerate every image to make the drawing style match perfectly. At this stage, readable action and consistent subject identity matter more than texture. Placeholder frames are acceptable when their purpose is obvious.
Make the first timing pass deliberately simple
Create a project in your chosen video editor at the intended aspect ratio and frame rate. Import the storyboard frames in order. Use cuts first. Elaborate transitions can hide weak sequencing and consume time that the main action needs.
Assign provisional durations based on how much information each frame contains. A simple establishing image may read quickly; a hand completing a meaningful action may need more space. In Toon Boom's timing guidance, the animatic stage gives storyboard panels and scenes their duration. You can apply the same basic principle in another timeline editor.
| Shot | Time | Visual job | Question to test |
|---|---|---|---|
| S01 | 0–3 seconds | Show the drooping plant | Is the problem readable? |
| S02 | 3–7 seconds | Show a soil check | Does the viewer see the action? |
| S03 | 7–12 seconds | Show a controlled watering step | Is the key motion understandable? |
| S04 | 12–16 seconds | Show drainage and the pot | Does this add useful information? |
| S05 | 16–20 seconds | Close with a recap card | Is there enough reading time? |
The example tests a sequence, not horticultural advice. Replace the instructions with your approved subject matter. Download the animatic timing worksheet to track your own shots and revisions.
Add a scratch read before polishing the visuals
Record a plain temporary narration at a natural pace, or generate a draft read from the approved script. Place it on the timeline and align each sentence with the visual evidence that supports it. Avoid squeezing every sentence into an arbitrary shot length.
If the narration says “check the soil” while the image has already moved to watering, the sequence is asking the viewer to reconcile two different steps. Extend the earlier shot, move the audio or rewrite the sentence. Fix the mismatch before creating more detailed motion.
Mark intended silence as carefully as speech. A short visual action may communicate more clearly when the narration pauses. Temporary music can help test mood, but mute it during a review pass so that rhythm does not conceal missing information.
Review once for comprehension and once for pace
In the first pass, watch without stopping. Write down where you became confused, where the action seemed to jump and where a card disappeared before you finished reading. Do not make cosmetic edits during this pass.
For the second pass, inspect those moments on the timeline. Decide whether the problem is duration, missing coverage or unnecessary content. Adding half a second cannot rescue a frame that never shows the important object. Another camera angle cannot fix a sentence with too many ideas.
If another person can review the animatic, ask what happened and what they understood, without explaining it first. Their description can reveal assumptions that the creator no longer notices. Keep feedback specific to observable moments rather than a vague request to make it more dynamic.
Use temporary movement only when it tests a real decision
A slow crop or pan across a still can approximate camera attention. Use it to test whether the viewer has time to find an object or follow a reveal. Label the movement as provisional; it does not prove that a generated clip will perform the same motion cleanly.
A storyboard image with several actions may need two or three timed panels. Do not rely on a zoom to stand in for a complex interaction between hands, tools and objects. Draw or generate a clearer intermediate frame instead.
Keep important titles and diagrams as editable overlays in the timeline. Text painted into an AI frame can be difficult to revise and may not remain legible during motion. Test the final aspect ratio, especially when a horizontal sequence will also become a vertical cut.
How QuestStudio helps after the timing decision
Use Video Lab to create a selected shot once its purpose is established. Where the chosen model supports image references, use the approved storyboard frame or a clean reference image. Ask for one action and one camera behavior.
Select duration and other controls from those actually offered by the chosen model. The prompt cannot guarantee exact frame timing. Generate enough usable action for the edit, then trim and align the clip in your timeline. Build the animatic itself in an editor; this workflow does not claim a dedicated QuestStudio animatic assembly tool.
If the project is driven by an interview, use the transcript-to-B-roll shot list to choose supporting material before generation.
Replace placeholders one shot at a time
Keep a copy of the approved animatic. Replace one still with its candidate video and compare the edit. Does the meaningful action occur early enough? Is there a usable start and end? Does movement pull attention away from the narration?
A generated shot may need a different trim than the placeholder. Adjust locally, then replay the whole sequence. Avoid allowing every replacement to lengthen the project until the original pacing decision disappears.
Maintain a simple status for each shot: placeholder, approved for generation, candidate under review or accepted in edit. Only accept a clip after checking continuity, action and timing together. The animatic earns its value when it helps you reject an attractive shot that does not serve the sequence.
Frequently asked questions
What is the difference between a storyboard and an animatic?
A storyboard arranges visual beats as still frames. An animatic places those frames in time, often with temporary narration, sound or camera movement, so you can evaluate pacing and comprehension.
Do animatic images need to be polished?
No. They need to communicate the action and composition clearly enough to test the sequence. Rough readable frames are often more useful than detailed images that are difficult to revise.
Can I use AI voice for scratch narration?
Yes, if it gives you a representative read. Treat its timing as provisional and check the sequence again when the approved final narration is available.
Should I generate every video shot before making an animatic?
Usually build the rough timeline first. It can reveal unnecessary shots, missing coverage and narration problems before you spend time generating polished footage.
Can a video prompt guarantee the exact action timing?
No. Available controls vary by model, and the generated action still needs review. Use the timeline to trim, align and test the final shot.
Spend the next generation on a known need
Finish one rough sequence, identify its weakest beat and generate only the footage needed to solve that problem. Open Video Lab with a clear action, duration target and edit point.
Hero image: AI-generated editorial illustration. Examples are original planning exercises, not measured model tests.