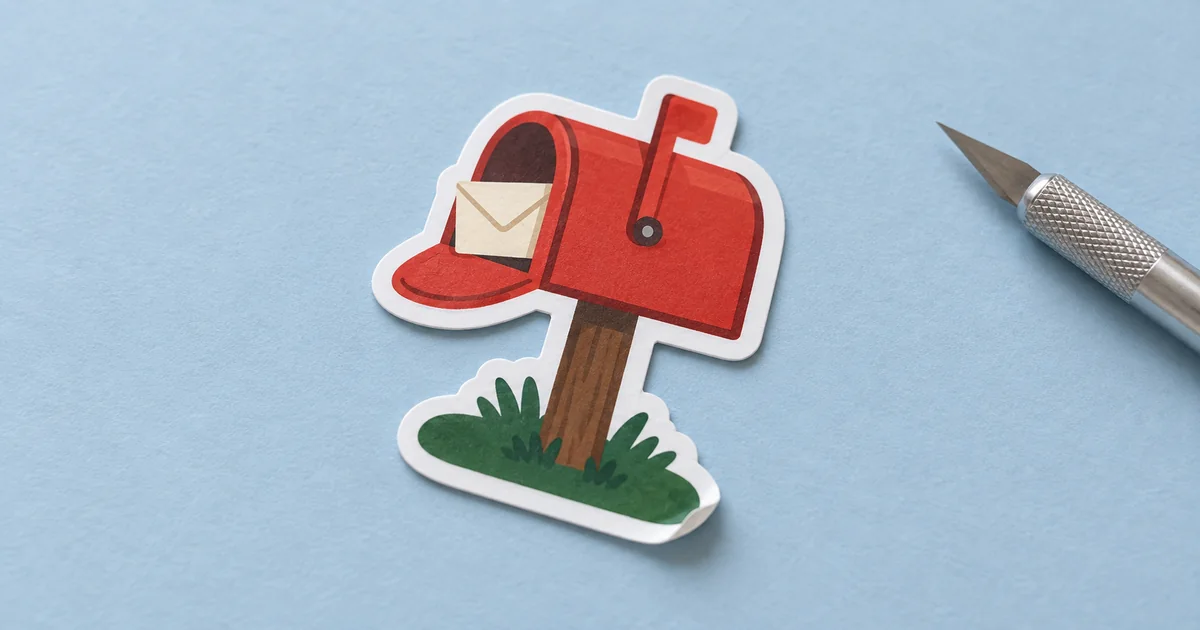

A checkerboard in an image is not transparency, and a white outline is not a finished cutting instruction. The useful deliverable is a sticker that survives background removal, layout, printing, and peeling at its actual size.
Download the sticker proof checklist · Create a simple sticker concept
Editorial guide checked September 13, 2026. Examples and worksheets are original planning material; the hero is an AI-generated illustration, not a model benchmark.
Design for the object you will peel
A sticker has a physical edge, a printed surface, and a backing material. An AI image has pixels. Turning one into the other means making decisions that a pleasing preview cannot make for you. Start with the intended size, material, and cutting method so the artwork can be judged against a real object.
Our original example is a red mailbox with a small cream envelope and a broad green base. The mailbox is the recognizable silhouette. The envelope gives it personality without requiring tiny lettering. A narrow post or floating flag might look charming on screen but leave a fragile shape after cutting, so the first design review focuses on connected, readable forms.
Choose one sticker before designing a sheet. A sheet multiplies every edge problem and makes reprinting more expensive. Write the target longest dimension in the worksheet, along with whether you will cut by hand, use a cutting machine, or send the file to a supplier. Those routes do not necessarily accept the same deliverable.
Generate a simple base illustration
Use Image Lab to explore the artwork. Ask for a clear silhouette and a plain background. Requesting transparency can be useful when a model supports it, but the actual exported file must prove that it contains alpha. A model can draw a checkerboard just as easily as it can draw a mailbox.
Compare the concepts at approximately the size of the finished sticker. Reject an attractive version if the envelope merges into the mailbox opening or the flag becomes a thin red splinter. You can simplify an accepted drawing, but it is usually easier to begin with a silhouette that already serves the material.
Avoid asking the generator to add a photographic paper edge, curled corner, or tabletop shadow to the production artwork. Those effects are useful in an editorial mockup such as this article’s hero. They are not part of the flat file you want to print and cut.
Remove the background and verify the export
Make the subject cutout, then inspect the mailbox flag, envelope corners, and the gap near the post. Automatic removal can erase pale artwork or retain a ring of background. Our background-removal guide covers the general cleanup process; this sticker pass concentrates on the edge that the final object will expose.
Adobe’s Photoshop sticker tutorial shows subject selection, masking, edge refinement, an outline, and PNG export. Keep the mask editable while you work. That lets you restore an envelope corner without rebuilding the whole sticker.
Reopen the exported PNG over both a light and a dark background. White around the mailbox should be intentional border, not a leftover rectangle. The empty area outside that border should reveal the background underneath. Also inspect a saturated color behind the file; it can make a pale halo easier to notice than the editor’s checkerboard.
Set size before choosing the border
A border measured only in pixels changes its physical thickness when the artwork is resized. Choose the intended print dimensions first. Then judge the border in the layout and follow the relevant cutter or supplier guidance. Do not assume a value that worked for a large laptop sticker will work for a tiny planner sticker.
For an arithmetic example, a 900-pixel-wide file placed three inches wide has 300 pixels per inch. The same file placed six inches wide has 150 pixels per inch. This describes available sampling, not a guarantee of print quality. A blurred mailbox remains blurred even when its metadata says 300 DPI. Check the supplier’s current requirements and inspect an actual proof.
The mailbox’s border needs to bridge awkward narrow projections without swallowing the design. If increasing it creates an unattractive blob between the flag and body, revise the silhouette. Border thickness should provide a deliberate finish, not conceal an unresolved drawing.
Separate the artwork from the cut instruction
A transparent PNG is not automatically a vector cut path. Some cutting software derives a contour from the transparency; a print service may prepare a path and send a proof; another workflow may require a separate vector outline. Open the actual cut preview and inspect what the machine or supplier intends to follow.
The practical Tom Dahne sticker walkthrough includes photographed finished examples and a PNG-to-cutting workflow. Its useful lesson is to follow the asset through production. Treat specific pixel borders or software screens as workflow-specific, rather than universal instructions for every cutter.
| Check | What can go wrong | Useful repair |
|---|---|---|
| Outer contour | Cut follows a rectangular background | Fix transparency or the imported shape |
| Flag and post | Thin sections tear or curl | Simplify silhouette or revise contour |
| Inner gaps | Unexpected holes are included | Review contour rules and intended cutouts |
| White border | Artwork sits visibly off-center | Check alignment and calibration before redesigning |
Distinguish a white printed area from the color of the material. On white sticker stock, an unprinted area may supply the visible white. Clear or colored stock behaves differently, and some production methods need a white-ink layer. Ask the selected supplier’s file requirements to settle that question before approving the artwork.
Make one physical proof
Print at the intended size using the actual material and the relevant printer settings. If your workflow adds registration marks, preserve the layout produced by that software. An independent “fit to page” change can alter the relationship between print and cut. Follow the device’s current instructions for calibration and material loading.
Inspect the proof before peeling, then peel it. Does the envelope still read? Is the red acceptably close to the intended color? Does the edge feel clean? Does the base bend or tear? A screen review cannot answer those questions. Note the printer, material, scale, and settings so the next proof tests one changed variable.
If the print is sharp but the cut is displaced, investigate alignment. If the cut is accurate but the mailbox looks muddy, revise color or line detail. If the post is fragile, adjust the shape. These are different failures; applying a thicker border to all of them can make the design worse.
Package the approved file for repeat use
Save the editable artwork, transparent export, cut or supplier proof, and a short production note. Include the intended physical dimensions in the filename or handoff document. Keep mockups separate so someone does not accidentally print the hero photograph with its paper texture and shadows.
Only after the single sticker passes should you arrange a sheet or order a larger quantity. Recheck spacing and the cut preview after duplication. The approved object, rather than the most attractive generation, becomes the reference for future designs. That is the point where a quick AI concept turns into a repeatable craft workflow.
Frequently asked questions
Is a checkerboard background automatically transparent?
No. It can be painted into the pixels. Reopen the exported file over a colored background to test its alpha channel.
Does a transparent PNG contain a vector cut path?
Not necessarily. Cutting software may derive a contour from transparency, while a print supplier may require a separate path or proof.
How thick should the white border be?
Choose it at the intended physical size and follow the cutting or print service requirements. A fixed number of pixels is not a universal answer.
Can I order a batch directly from an AI preview?
Make and inspect one physical proof first. Color, edge quality, and material behavior are not established by a screen preview.