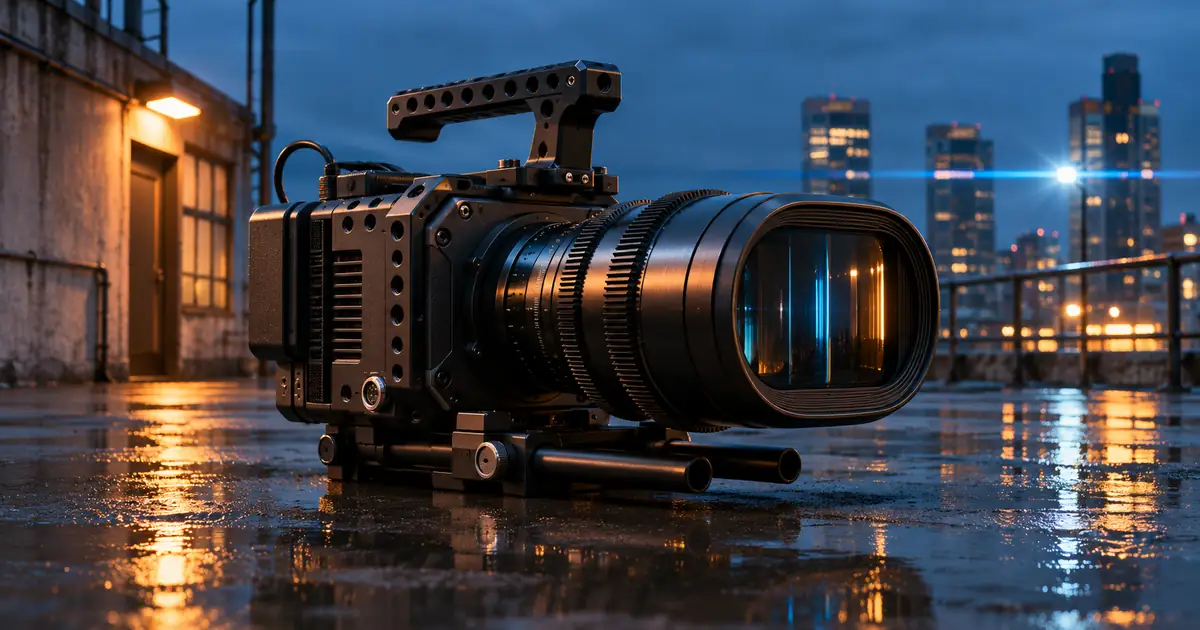

A round jar looks tall and narrow. The footage fills the timeline, but the product no longer has the shape you photographed. If it was recorded through an anamorphic lens, check the de-squeeze before changing the crop or trying to stretch individual objects back into place.
My recommendation is to separate three decisions: how the source was recorded, how it should be displayed, and what frame you need to deliver. Mixing them together can produce a video that looks cinematic while quietly misrepresenting a face, bottle, or logo.
What an anamorphic de-squeeze does
For a conventional horizontally squeezed anamorphic setup, the recorded image needs a corresponding horizontal expansion to restore its intended proportions. A nominal 1.5× squeeze calls for a 1.5× horizontal correction. SIRUI's de-squeeze guide explains that relationship and distinguishes the correction from the final delivery ratio.
Do not choose the factor because it makes the frame resemble a movie. Get it from the lens and recording setup. A monitoring preview may already be corrected while the recorded file is not. Some workflows also carry interpretation metadata, so inspect the imported file before applying another transform.
This guide uses ordinary horizontal squeeze examples. A rotated adapter, unusual capture mode, or footage that has already been processed needs its own interpretation. Start with the production notes rather than applying a familiar preset to every clip in the folder.
Use a known circle to separate shape from framing
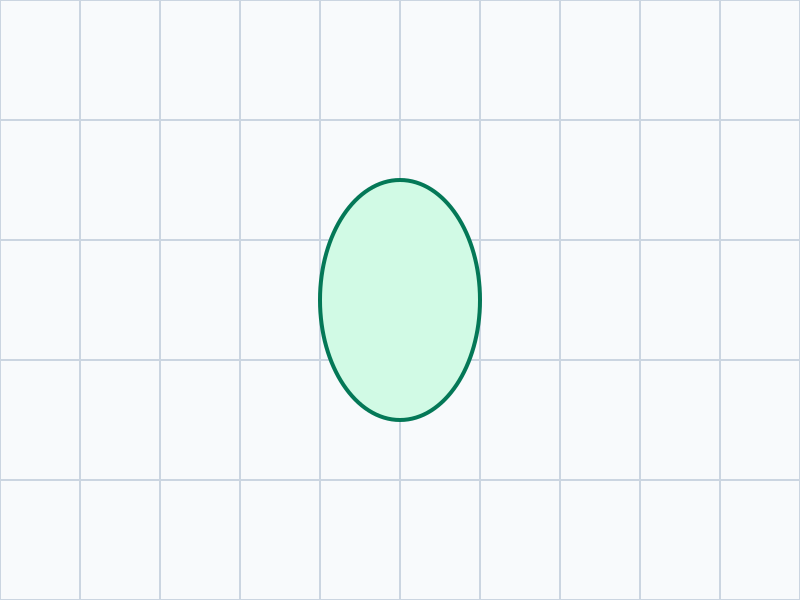
The original diagram below uses a deliberately simple geometric fixture. Its source frame is 800 × 600 pixels, with a nominal 1.5× horizontal squeeze. The ellipse represents a circle that should be round after correction. This is a teaching drawing, not footage from a particular lens.
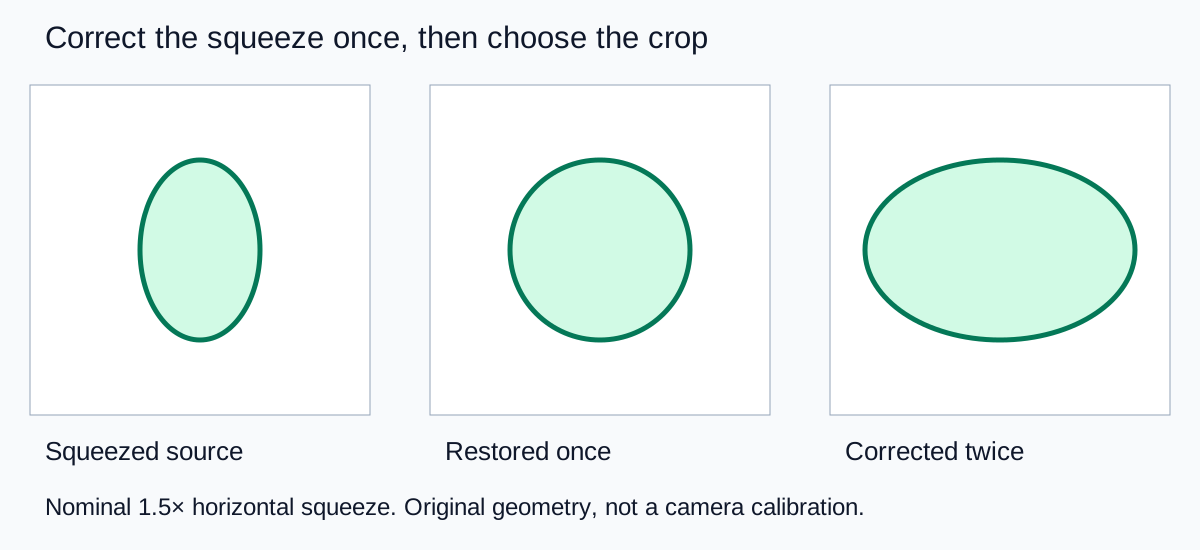
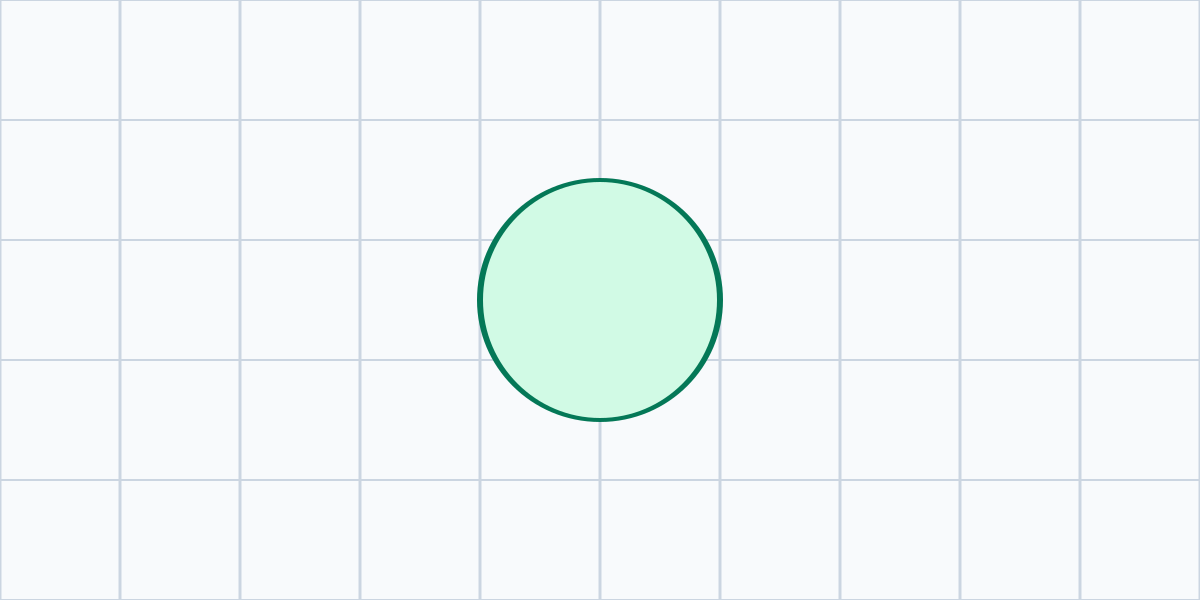
The stored frame ratio is 800 ÷ 600, or 4:3. Multiplying its width by 1.5 gives a 1200 × 600 display shape, or 2:1. The circle's horizontal and vertical diameters then match. If you apply another 1.5× horizontal stretch, it becomes too wide.
Those numbers also explain why “anamorphic” does not mean one universal aspect ratio. A different recording frame or squeeze factor produces a different full-image shape. Only after restoring proportions should you decide whether to keep that entire image, crop it, or place it inside another frame.
Download the squeezed geometry fixture and restored reference to compare the relationship. They are vector illustrations, so use them as visual checks rather than camera calibration targets.
Choose one place to correct the source
Editing applications can interpret non-square pixels or apply a non-uniform horizontal transform. Adobe's footage interpretation documentation distinguishes pixel aspect ratio from frame aspect ratio. That distinction is useful even if you use a different editor.
Pixel aspect ratio describes the displayed width-to-height relationship of a pixel. Frame aspect ratio describes the whole image. A square-pixel 1920 × 1080 export has a 16:9 frame; an anamorphic interpretation can change the display shape without simply changing the stored pixel count.
- Keep an untouched source. Work from a copy or a reversible interpretation in the project.
- Record the known squeeze factor. Note the lens, capture mode, and whether the supplied file was already de-squeezed.
- Inspect automatic interpretation. Look at clip attributes, pixel aspect ratio, and existing transforms before adding another correction.
- Apply the correction once. Use the editor's documented interpretation or transform method for your setup.
- Check a known shape. A front-facing circular object or a documented reference helps reveal a wrong factor. Perspective and lens distortion still matter, so do not use a tilted circle as a precise ruler.
- Save the interpretation with the project. Keep it consistent when creating proxies, replacing media, or handing the edit to someone else.
I would avoid a global “looks about right” adjustment across mixed footage. A folder may contain corrected clips, squeezed originals, and ordinary spherical-lens shots. Group them by source treatment first so one batch action does not stretch everything.
Decide between keeping the frame and filling the frame
Once the product looks correct, decide what the platform or client needs. A wide full image placed inside a 16:9 canvas leaves space above and below. Filling that same canvas removes content from the sides. Neither choice requires changing the product's proportions.
| Choice | What stays | What changes |
|---|---|---|
| Keep the full corrected image | All source composition | Output ratio or empty space in the delivery canvas |
| Fill a narrower canvas | Correct object proportions | Some content is cropped from the sides |
| Stretch to fill | The frame is occupied | Object proportions change again |
For the 1200 × 600 example, a 16:9 crop at the same height would retain about 1067 pixels of width. A centered crop would remove roughly 67 pixels from each side. That is calculated geometry for this example, not a recommended universal export preset. Your editor must use valid integer output dimensions and the actual delivery specification.
For a product campaign, I would check the cap, base, and any hands before approving the crop. A shot that works as a wide banner may not support a vertical version. The video reframing guide addresses the separate composition decision after the shape is correct.
Catch a double correction before export
A common diagnostic clue is a round object that becomes too wide after a seemingly correct setting. Check whether the source interpretation already applied the squeeze factor and whether a timeline transform adds it again. Also check nested sequences and adjustment layers when the result differs between previews.
Use a short export as your final test. Reopen that file in a normal player and, if the delivery matters, in the destination's preview. Compare the known shape with the source reference. A correct editing viewer does not guarantee that every exported setting or downstream player handled the interpretation as intended.
If the proportions are correct but the edges look soft, investigate resizing and compression separately. De-squeezing does not magically capture additional physical detail. Expanding the displayed width and sharpening the result are different operations, with different limits.
Match AI footage through composition, not an arbitrary stretch
If you create an accompanying shot in QuestStudio Video Lab, first identify the actual dimensions and proportions of that output. Asking for an anamorphic style does not establish that the resulting file contains optically squeezed footage.
I would match the generated shot's subject size, camera height, color, and delivery crop to the corrected real footage. Do not apply a 1.5× transform simply because the prompt included “anamorphic.” If the bottle already has the intended shape, stretching it can create a new accuracy problem.
Use the perfume-ad storyboard to plan which views need a wide composition and which should be dedicated close-ups. A sequence designed for the final frame usually works better than trying to rescue every wide shot with a severe crop.
Keep a short source-to-delivery note
Save the source dimensions, squeeze factor, correction location, and final frame dimensions with the project. Add one exported still that shows the approved product proportions. Those five items make the next revision easier and help another editor avoid correcting the same footage twice.
My priority is the recognizable object. Restore its shape, choose the composition, and then export. The wide-screen feeling should support the product rather than change what the customer thinks it looks like.
Frequently asked questions
What does de-squeezing anamorphic footage mean?
For a horizontally squeezed source, it means restoring the intended proportions with the corresponding horizontal display correction. The factor comes from the recording setup, not a preferred cinematic aspect ratio.
Does every anamorphic clip become 2.39:1?
No. The full corrected ratio depends on the recorded frame ratio and squeeze factor. A chosen delivery crop can then produce another ratio.
Why is the image too wide after de-squeezing?
Check whether the file or editor already applied a correction. A source interpretation plus a second horizontal transform can stretch the image twice.
Does the monitor preview prove the recorded file is corrected?
No. Some systems correct only the monitoring view. Check the exact camera or recorder documentation and inspect the imported file before applying another correction.
Should AI-generated anamorphic-style footage be de-squeezed?
Only if the actual file requires that interpretation. A style prompt does not prove that the output is squeezed. Check dimensions, metadata, and object proportions first.
Technical references
Continue with a useful next step
 Video
Backup Hard Drives for Video: Plan a Real Restore
Choose backup storage for video projects by retention and recovery. See where an 8 TB WD My Book fits, then run a nondestructive project-restore exercise.
 Video
How to Upscale Image to Video Outputs Without Artifacts
Learn how to upscale image to video outputs for cleaner detail, sharper frames, and fewer artifacts with a simple workflow that works.
 Video
Kling AI: Pricing, Watermark Rules, and the Best Prompt Templates
Kling is popular because it can produce highly realistic motion and cinematic-looking shots, but most creators run into three problems right away: pricing feels unpredictable, watermark rules are confusing, and prompts that work once do not always work twice.
Hero: AI-generated editorial illustration. Supporting diagrams and exercises: QuestStudio.