
Coffee bag photography prompts need to describe the package before they describe the cafe. The roast name, net weight, valve, seams and finish tell a customer which product they are buying. When those details drift, a warm tabletop scene can become a polished photograph of the wrong bag.
Build a small packaging gallery from the real item, keep the label artwork separate and check each sale variant before exporting. This workflow uses two fictional coffee bags to show how a simple SKU check prevents an attractive but incorrect image from reaching a listing.
Separate the bag from the coffee mood
Decide whether the image sells a packaged product or an atmosphere. A bag listing needs the actual bag clearly visible. A cafe campaign might use a cup, grinder or serving scene, but those objects do not replace a readable product view.
For the first frame, use a clean front three-quarter photograph with the complete package in view. Straighten the bag gently without rebuilding its construction. Keep the real top seal, base and side gusset. If the bag is intentionally crumpled or has an irregular paper finish, decide which surface marks belong to the product and which are temporary handling damage.
Use the general product photography prompts for broad scene ideas. This guide adds the packaging controls that a single coffee prompt cannot settle: label identity, the valve, the package volume and the differences between variants.
Build a packaging reference record
Photograph the front label squarely enough to read it. Take another view of the top seal, a side seam and the valve if it is visible on the package. Record the actual material finish and the weight printed on the approved label.
Keep the production artwork as a separate asset. If the photograph's label is too soft, use a better photograph or place the approved artwork with a conventional editing workflow. Do not ask an image model to guess the smallest type from a distant reference.
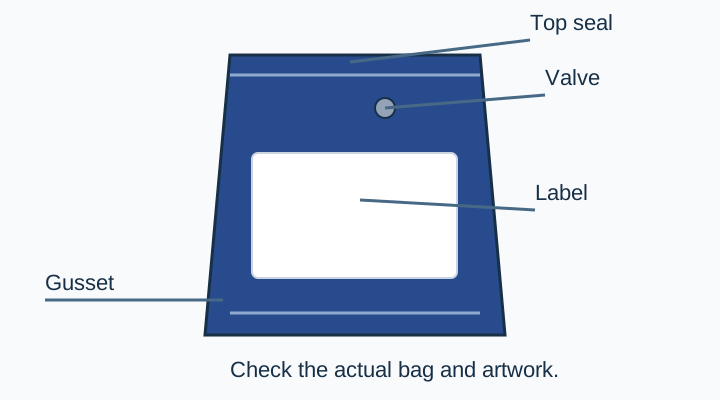
The package may have different artwork on its reverse. Do not copy the front label onto the back because a generated rear view suggests it. Keep ingredient, origin and certification text under the same factual control as the main product name.
Photograph the front before adding props
Set the bag upright on a stable surface. Start with a large soft light and adjust its position until the package shape is readable without a bright reflection covering the label. A matte package and a shiny laminate can need different light positions even when their dimensions match.
Inspect the bag's edges and base. A dark side panel can merge into a dark background, while a pale bag can lose its outline on a white sweep. Use the source photograph to solve that separation before adding beans, cups or textured surfaces.
Props should clarify the scene. A small bowl of beans can suggest the category, but its contents should not be used to imply a specific roast appearance unless that is supported. Keep optional equipment out of a product image when it might look like part of the order.
Ask for a restrained packaging scene
Start from a real product reference and describe a single surface, light direction and supporting object. Avoid a prompt that asks for an open bag, floating beans and pouring coffee all at once. Each added action creates another opportunity to change the package or hide the label.
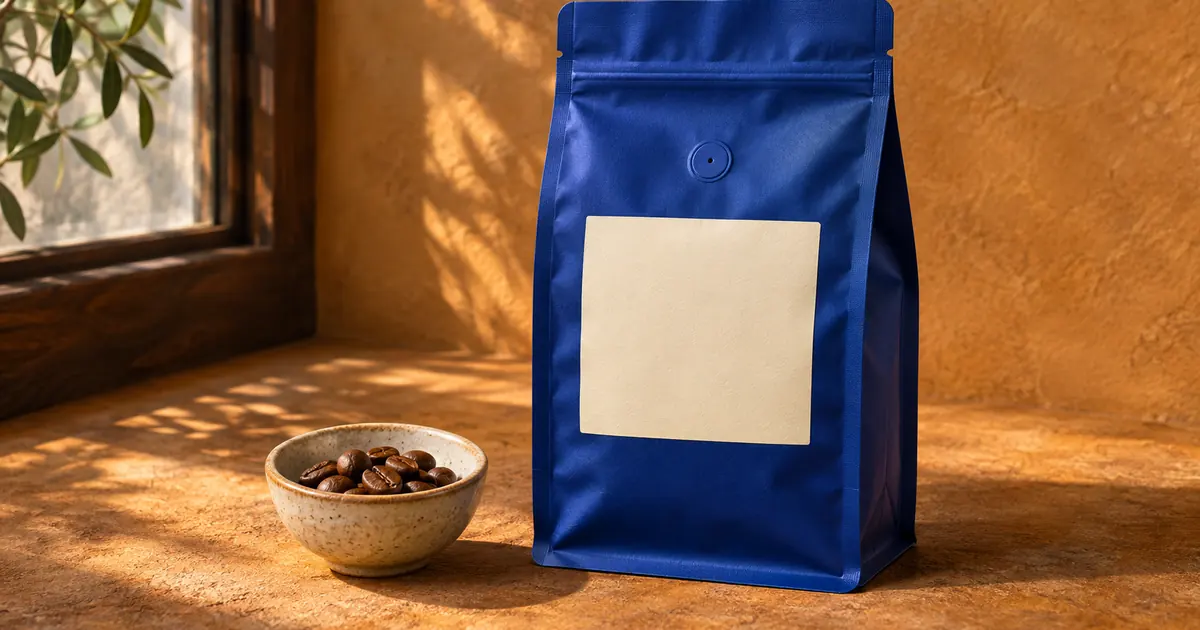
Use the attached photograph of the approved coffee bag as the fixed product reference. Create a supporting product scene on warm textured paper with soft window light from the left and a small bowl of roasted beans beside the bag. Preserve the bag's dimensions, gusset, seal, valve, material finish and complete approved label. Keep the full package visible. Do not rewrite text, change the roast or weight, add claims, open the bag or place props over the label. Review the package against the original before approval.Do not promise perfect label preservation because the request contains that phrase. Compare the result to the approved artwork and source photograph. If the smallest text becomes invented marks, replace or remove the generated product region rather than treating a distant resemblance as sufficient.
Keep two variants from becoming one
The fictional example uses a blue bag for Harbor Blend and an ochre bag for Ridge Decaf. Both carry a 250 g label, but the roast names and side accents differ. The source record gives each a separate SKU and view prefix.
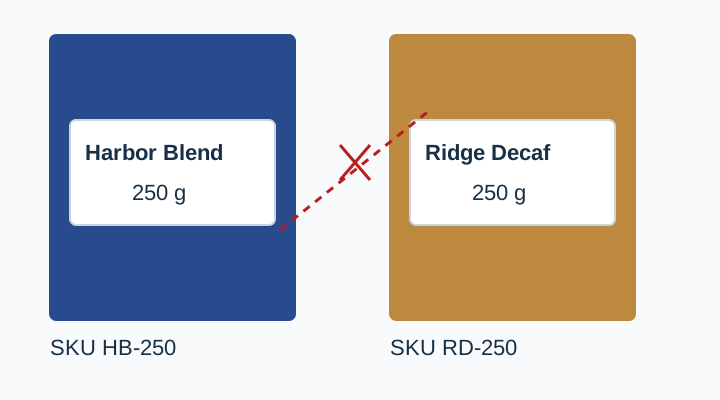
Review color and text separately. The correct blue background does not prove the correct label was used. Read the product name, decaf indication where applicable, weight and any variant-specific information from the actual final export.
A campaign set can mix a newly photographed bag with an old label close-up. Prevent that by keeping the source date and label version in the worksheet. When artwork changes, search for every output tied to the old version before replacing the listing images.
Do not add claims through styling
Avoid adding certification marks, origin statements or tasting notes that are absent from the approved product information. A generated medal, badge or map can imply a claim even if you never mention it in the caption.
The same applies to the package itself. A valve, resealable closure or viewing window is a real construction detail. Do not add one because it makes the bag look more premium. If your image needs to explain a feature, photograph the actual feature and use a clear caption outside the image where the destination permits it.
For a drink-focused image, move to a separate brief. The drink photography workflow handles the appearance of a served beverage; it does not verify the contents or construction of a retail coffee bag.
Export a set that stays connected to its sources
Prepare a clean package view, a label detail, a construction detail and an allowed supporting scene. Check them together on a contact sheet and individually at the destination size. The smallest label that matters should remain legible in the actual file you upload.
Use filenames that include SKU, label version and view. Download the packaging worksheet and record the source file for each image. If a photo contains a different package size, correct the image rather than hoping the listing title will explain the mismatch.
Develop the scene in QuestStudio
Use Image Lab to explore a supporting environment around the source photograph. Keep the verified packaging checklist beside the result, and save the scene prompt only after the product passes review.
The product photo approval checklist adds a final check for included parts and variant accuracy. A coffee campaign is ready when its atmosphere supports a clearly identified product and every package detail still agrees with the approved source.
Download the packaging and variant worksheet and replace its fictional example entries with your own approved sources.
Frequently asked questions
Can a prompt preserve every word on the label?
It can request preservation, but you must inspect the output. Keep approved label artwork separate and use a controlled edit or a clearer photograph when lettering changes.
Should I show the valve in the hero image?
Show the product clearly first. A separate detail view can explain the valve if its position is hard to see in the main angle.
Can I use the same scene for several coffee variants?
Yes, if each image starts from the correct package and passes its own label and color check. Do not assume a color change also updates the roast name or weight.
Is a cup of coffee required beside the package?
No. Props are optional and should not obstruct the bag or confuse what is included. A clean package photograph may answer the listing's main question more directly.
What should I do when the artwork changes?
Create a new label version in the source record and review every output linked to the old artwork. Check the final listing set for mixed versions.