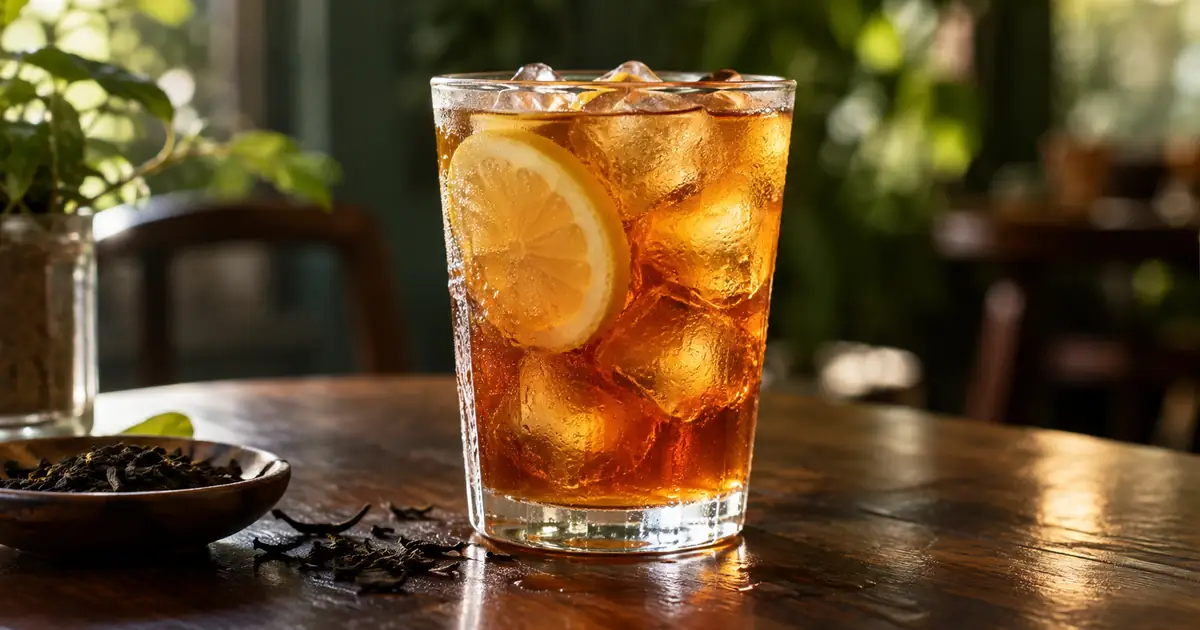

For a real menu, begin AI drink photography with a photograph of the actual serving. Lock the glass, fill level, liquid color, ice and garnish. Improve the setting or lighting in small steps, then inspect the places where glass and liquid interact. A convincing splash is less valuable than a drink customers recognize when it arrives.
Our example is a fictional café's iced lemon tea. We will prepare a menu crop and a social crop from the same approved source. This is a production exercise, not an image-model comparison. For imagined campaign concepts, you can generate a drink from scratch, but label that work as a concept and keep it separate from photographs representing a real order.
Write down what belongs in the glass
Before editing, record the standard glass shape, portion, color, ice style and garnish. Keep a reference photo that shows the rim and base clearly. If the café serves one lemon wedge, the image should not grow three decorative slices. If the tea is still, a sparkling surface changes what the customer expects.
The record can be short: clear straight-sided glass, amber tea, irregular ice, one lemon slice, no straw. Confirm those facts with the person who prepares the drink. Seasonal substitutions and different cup sizes need their own references.
For a branded bottle or can, preserve the actual label artwork and photograph the relevant face clearly. Reconstructed lettering may look plausible at thumbnail size while changing an ingredient, volume or brand name. Our image-text workflow explains how to keep critical typography editable.
Build the scene before adding fresh ice
Set up the empty glass and choose the camera angle before making the final serving. Clean fingerprints from the glass and remove distracting objects that reflect in it. Take a test frame to see whether a bright window appears as a useful highlight or an opaque white stripe across the drink.
For translucent tea, try soft light from behind and slightly to one side. Use a pale card near the camera if the front becomes too dark. The exact arrangement depends on the glass and room; move the light or camera until the rim, liquid and base remain distinguishable.
Make the drink last and photograph it promptly. Keep the best original file rather than a screenshot sent through messaging software. The clearer the reference, the less an editing model must guess about the ice and glass boundary. Save an unedited copy before starting any cleanup.
Inspect three physical layers
Review the container, the liquid and the surface separately. This makes a vague “looks fake” judgment easier to fix.
| Layer | Keep from the source | Typical rejection |
|---|---|---|
| Glass | Rim shape, wall thickness, base and handle if present | Broken ellipse or ice fused with the rim |
| Liquid | Color, fill level and transparency appropriate to the drink | Tea becomes opaque juice or gains invented layers |
| Surface details | Actual ice, garnish, foam and droplets | Repeated cube pattern or garnish floating through glass |
Refraction matters because the scene behind a glass of liquid does not simply remain a flat, undistorted backdrop. Background replacement can change the surroundings while leaving the old scene visible through the drink. Compare that region carefully, especially with strong stripes or patterned tables.
Do not apply a universal droplet formula. Condensation depends on temperature and humidity, and it can appear in different places as the glass cools. Preserve a plausible observed pattern rather than enforcing an artificial rule such as identical drops below one exact line.
How QuestStudio helps with a restrained first edit
In Image Lab, choose a model that supports editing with your source photograph. Attach the image and request one bounded improvement. Avoid asking simultaneously for a new glass, dramatic splash, different garnish and a new camera angle.
The prompt requires the real source image. It is not a recipe for generating a substitute serving. If the result changes the liquid or glass, reject that edit even when the lighting is attractive. Try a narrower request or use conventional local adjustments on the original photo.
If transparency is the main problem, the transparent-product photography guide goes deeper into reflective and see-through objects. A simple cutout does not automatically reconstruct what should be visible through glass.
Make menu and social crops from one approved image
Approve the drink before creating alternate layouts. For a menu crop, leave enough space to identify the glass and serving. For a social crop, reserve any headline area in the surrounding scene. Add the actual words in a layout editor instead of asking the image model to invent them.
Keep the whole rim inside the crop unless the close-up deliberately focuses on another detail. A crop that hides the base can make glass size harder to judge. Do not enlarge the drink relative to surrounding objects just to fill the frame.
Review the image at its final small display size. The lemon should read as a garnish, the ice should look like ice, and the drink should not disappear into the background. Then zoom in to check glass edges, duplicated objects and strange reflections. Those are different review tasks and both matter.
Fix the failed ingredient of the image
If the tea looks orange, compare it with the source under consistent viewing conditions. Correct the color at the stage where it changed. The product color correction workflow provides a reference and export check.
If the ice melts into the rim, return to a clearer source or restrict editing to the background. If the glass carries two incompatible light directions, simplify the lighting request rather than adding more “photorealistic” adjectives. If the label changes, retain the source product and handle the surrounding composition separately.
Sometimes the smallest correction is a new photograph. A blurred rim, hidden garnish or badly clipped highlight gives the model less evidence than a quick reshoot. Record why you changed the source so the next drink is captured with that weakness in mind.
Give the person making the drink a final vote
Use the drink-photo acceptance worksheet to compare serving facts against the final export. Ask the café team whether the image represents what they will serve, including portion and garnish. Creative approval alone is not enough for a menu.
Retain the source, approved edit and both crops with the drink name and recipe revision. When the glassware or portion changes, replace the affected image instead of reusing an attractive but outdated version. Review the actual menu or ordering page after upload for unexpected cropping.
Do not infer a sales increase from a better-looking image. First establish accuracy and clarity. Any commercial effect needs a separate comparison that accounts for price, placement, availability and the rest of the offer.
Frequently asked questions
Can I generate a menu drink without a reference photo?
For a drink sold to customers, a real serving photograph is the stronger starting point. A generated concept can explore styling, but should not be treated as evidence of the actual portion or ingredients.
Why does AI ice look wrong?
Models can repeat cube shapes, merge ice with the rim or invent reflections. Compare each boundary with the source and limit edits when the original ice already looks correct.
Should I add condensation to every cold drink?
No. Use the actual drink and environment as your reference. Too many identical droplets can look less believable than a restrained edit of a real photo.
Can a background remover handle a glass automatically?
A cutout may retain the old background inside the glass or remove useful translucent areas. Inspect the result on the intended new background and use a more controlled composite if needed.
Can the same image work for a menu and social media?
Yes, if the approved source has enough resolution and crop space. Make separate exports while preserving the same serving facts and keeping important glass details visible.
Make the drink recognizable first
Start with the photo of the drink you actually serve. Improve one lighting or background issue, compare the result with the source, and keep the version that still describes the order.
Hero image: AI-generated editorial illustration. Examples are original planning exercises, not measured model tests.