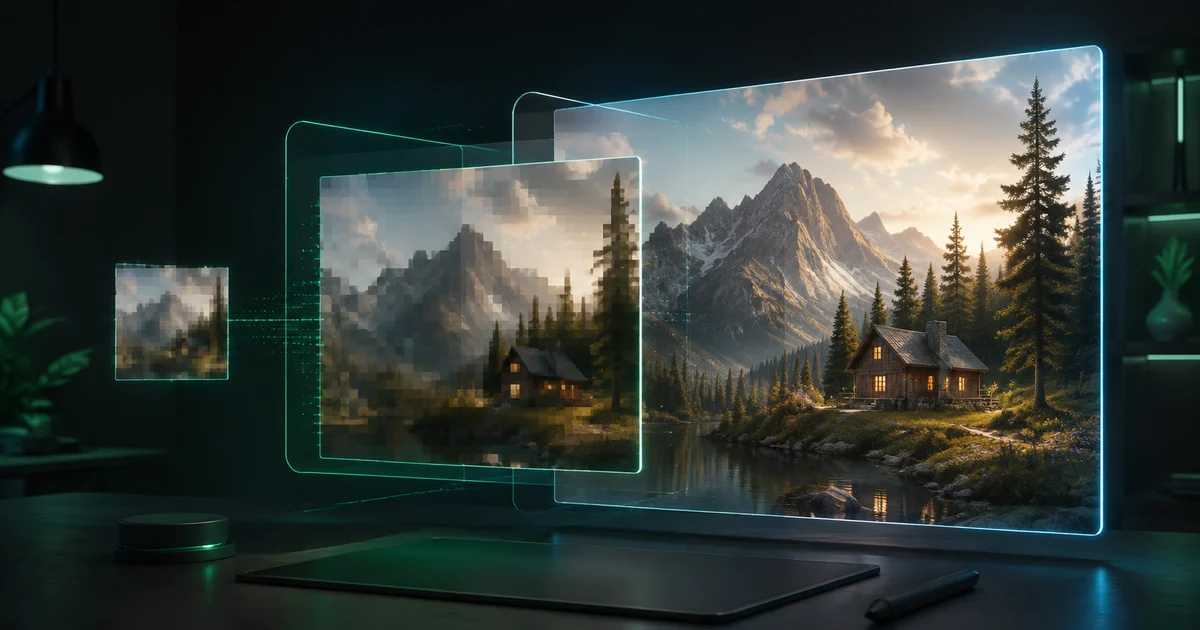

Use Real-ESRGAN 2x when it already reaches your delivery size; use 4x when the destination truly needs more pixels and the source can survive closer inspection. More resolution is not automatically more truth. Every larger output gives the model more room to create plausible texture, but it also makes warped lines, changed labels, brittle hair, and false detail easier to notice.
This guide separates an output-scale decision from a quality promise. It uses the original Real-ESRGAN repository, model documentation, and research paper checked on September 2, 2026. The practical recommendations are a review workflow, not a claim that one scale wins for every image.
First calculate the output, not the marketing number
Scale multiplies both dimensions. A 4x upscale does not create four times as many total pixels; it creates sixteen times as many because width and height each become four times larger. That changes file size, review time, and how visible any invented detail becomes.
| Source | 2x output | 4x output | 8x output |
|---|---|---|---|
| 800 × 600 | 1600 × 1200 | 3200 × 2400 | 6400 × 4800 |
| 1000 × 750 | 2000 × 1500 | 4000 × 3000 | 8000 × 6000 |
| 1024 × 1024 | 2048 × 2048 | 4096 × 4096 | 8192 × 8192 |
| 1200 × 630 | 2400 × 1260 | 4800 × 2520 | 9600 × 5040 |
Write down the required final width and height before running anything. A 1200-pixel source intended for a 2000-pixel web placement needs 2x, not 4x. If print is the goal, calculate the printer's requested pixel dimensions rather than relying on a vague “high resolution” label. The print-on-demand upscaling guide covers DPI and supplier-template checks.
Real-ESRGAN 2x vs 4x
Choose 2x when
- The final placement only needs twice the width.
- The source is already reasonably clean.
- Faces, text, labels, or product geometry must stay conservative.
- You need a smaller file and faster review.
Choose 4x when
- The destination needs substantially larger dimensions.
- The source contains stable edges and readable structure.
- A crop will discard much of the original frame.
- You can inspect fine texture and geometry before publishing.
The official Real-ESRGAN model zoo lists separate 2x and 4x general-image checkpoints, plus specialized options for anime images and animation video. The project also documents arbitrary final output sizes for its Python workflow, where the chosen model can be followed by conventional resizing. That means an interface scale and an underlying model checkpoint are related, but they are not always the same technical choice.
Audit the source before choosing a scale
An upscaler cannot see the original scene. It sees the pixels in the file you provide, including compression, blur, sharpening halos, noise, and earlier edits. Use the highest-quality source available and check these five areas first.
- Dimensions: record the actual pixel width and height, not the file's display size in a document.
- Compression: look for square JPEG blocks, mosquito noise around text, and color banding in gradients.
- Focus: distinguish a slightly soft image from motion blur or a genuinely out-of-focus subject.
- Critical identity: mark faces, packaging, lettering, logos, architecture, and other details that cannot change.
- Previous processing: note whether the file has already been denoised, sharpened, restored, or upscaled.
If the source is scratched, faded, or badly compressed, restoration may need to come first. The general image-upscaler guide explains that wider workflow, while the photo-restoration guide focuses on damaged originals.
What Real-ESRGAN can do, and what it cannot prove
The original Real-ESRGAN paper describes blind super-resolution for images with unknown, complicated degradation. Its training process synthesizes combinations of blur, resizing, noise, JPEG compression, ringing, and overshoot so the model can learn to restore a wider range of real inputs.
That design can make a degraded image look cleaner and more detailed, but visual plausibility is not ground truth. The researchers explicitly document limitations: twisted lines in some building and indoor scenes, unpleasant GAN artifacts, and failure on unfamiliar degradations. In some cases, the model may amplify the problem. Treat a crisp output as a candidate that passed through a generative restoration process, not as evidence that a tiny label, facial feature, or texture is historically exact.
The official repository also separates general, anime, and face-enhancement workflows. Use a specialized option only because the source calls for it, then compare it against the standard result. A face enhancer can improve a weak portrait while also shifting identity or skin texture.
A seven-step upscale and approval workflow
- Set the destination. Record required dimensions, file type, maximum file size, and whether the image will be viewed closely.
- Preserve the original. Work from a copy so you can compare without another save cycle.
- Run the smallest useful scale. If 2x satisfies the destination, test it before creating a much larger output.
- Compare at equal display size. Resize the larger result down for a fair visual comparison; otherwise size alone can feel like quality.
- Inspect at 100% zoom. Check eyes, teeth, hair, fingers, text, logos, straight lines, repeating patterns, and hard edges.
- Check the real placement. Review the image in the product listing, page, thumbnail, or print proof where it will be used.
- Save the decision. Record source, scale, face-enhancement choice, output format, and why the version passed.
Reject the upscale if you find
- changed words, numbers, labels, or small logos
- double edges, halos, or ringing around high-contrast lines
- plastic skin, altered eyes, teeth, or facial identity
- twisted railings, windows, tiles, shelves, or product geometry
- invented fur, fabric, wood, foliage, or masonry texture
- new noise, banding, grid patterns, or oversharpened grain
How to test Real-ESRGAN in QuestStudio
QuestStudio exposes the Real-ESRGAN workflow through the existing HD Image Upscaler in Magic Editor. Upload the cleanest source, choose 2x or 4x from the destination math, and generate one controlled result. Use 8x only when the file genuinely needs those dimensions and the lower scale already passes.
Keep the source and output side by side. If faces are important, compare face enhancement on and off instead of assuming “on” is safer. If the output passes, continue with the same project assets; if it fails, fix the source, lower the scale, or choose a more suitable restoration step. Review plans only when the workflow produces a repeatable, approved result.
Frequently asked questions
Should I use Real-ESRGAN 2x or 4x?
Use 2x when it already meets the delivery size or when faces, text, and product details must stay conservative. Use 4x when the destination genuinely needs four times the width and height and the source is clean enough to support closer inspection.
Does Real-ESRGAN recover the original missing detail?
No upscaler can recover ground truth that is absent from the source. Real-ESRGAN predicts plausible detail while trying to handle blur, noise, compression, ringing, and other degradations, so the result still needs a fidelity review.
What does 4x upscaling do to image dimensions?
A 4x scale multiplies both width and height by four. A 1000 by 750 pixel source becomes 4000 by 3000 pixels, which contains sixteen times as many total pixels.
When should I use face enhancement?
Test face enhancement only when faces are important and visibly weak. Compare it with the standard result because a separate face-restoration step can change identity, skin texture, eyes, teeth, or makeup.
Is 8x always better than 4x?
No. 8x creates a much larger file and makes invented texture or edge errors easier to see. Use it only when the destination needs those dimensions and a 4x result passes inspection first.