
To remove a fence from a photo with AI, separate the easy background repairs from the wires crossing important subject details. Mask the obstruction carefully, inspect a small test, and compare the result with the untouched original. Where a wire completely hides an eye, letter or marking, the editor must invent something; it cannot verify what the camera never recorded.
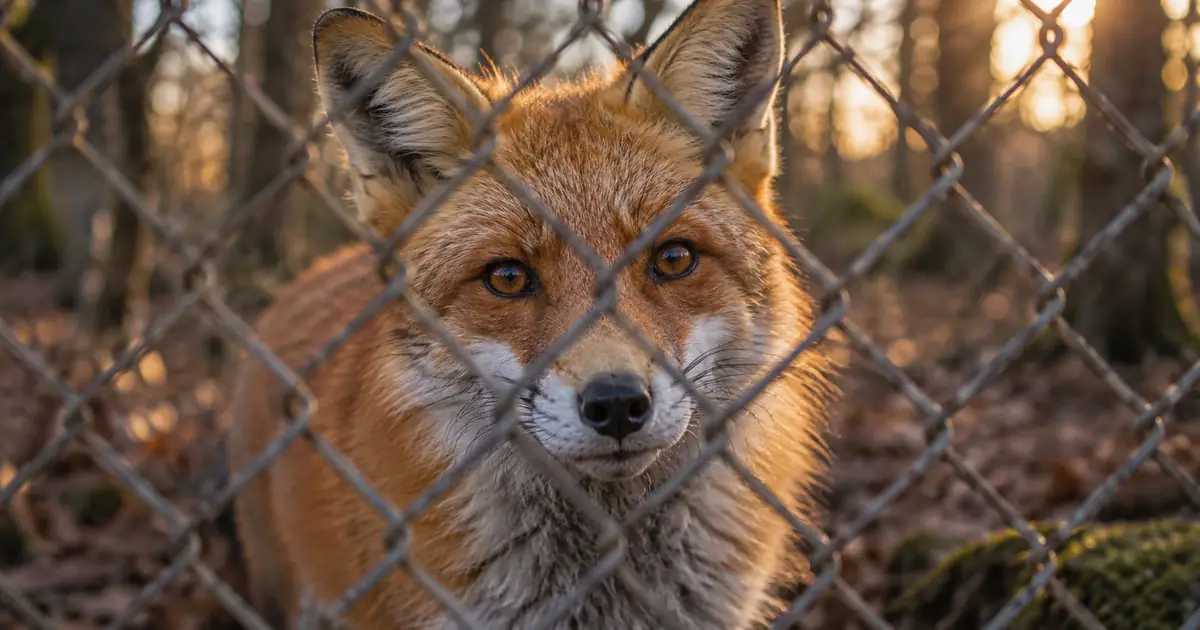
The useful goal is a believable creative edit with preserved visible detail. This guide uses a fox behind chain-link fencing as an illustrative planning example. The hero is generated artwork, not proof of an actual restoration. Download the fence-repair worksheet to mark which areas can be repaired confidently and which need a different source.
Check whether the photograph contains enough information
Start with the largest original file you have. A screenshot or compressed message attachment can erase fine fur and edge detail before the repair begins. Keep a protected copy and perform each experiment on a duplicate.
Examine the obstruction at normal size and close up. A thin sharp wire over soft grass is a different problem from a broad blurred band covering half a face. Record whether the fence is sharp, blurred, brightly reflecting light or casting a visible shadow. Those conditions affect what needs selection.
Image de-fencing research treats the task as obstruction removal and reconstruction, as in this conditional generative network paper. A visually plausible reconstruction is not evidence that a hidden feature has been recovered accurately. Keep that distinction in mind when the photo documents identity, a product detail or a factual scene.
Divide the image into three repair zones
For the fox example, the distant woodland is the low-detail zone. The ears and body outline are the structural zone. The eyes, nose and distinctive markings are the identity zone. Give each zone a different review threshold.
| Zone | Example crossing | First approach | Stop condition |
|---|---|---|---|
| Low-detail background | Wire over soft leaves | Small masked reconstruction | Repeated or obviously smeared texture |
| Structural edge | Wire across ear outline | Local repair with surrounding context | Ear shape or silhouette changes |
| Identity detail | Wire across an eye | Compare another genuine source if available | New eye shape or invented expression |
| Straight object | Wire across a railing behind the fox | Preserve line direction through repair | Bent or broken continuation |
This division prevents a common mistake: approving a convincing woodland repair and assuming the same process will preserve the face. You can accept the background while rejecting a subject edit. There is no requirement to complete every part of the photograph with one method.
Choose a mask that covers the actual obstruction
If the tool offers a brush or inpainting mask, include the wire and its visible edge contamination. A selection that hugs only the wire's darkest center may leave bright rims. An unnecessarily broad selection may replace good fur or background detail that did not need repair.
Work at a zoom level where you can follow the wire. Use separate passes for areas that require different reconstruction, and keep enough surrounding image for context. Do not erase a whole rectangular region merely because it contains several diagonals.
At wire intersections, inspect whether the mask includes the knot or overlap. Then check the selection at a smaller scale. It is easy to miss a short wire segment when zoomed in, and an incomplete pattern can become more distracting after most of the fence disappears.
The mask-planning guide explains why the selected area and surrounding context matter. The exact mask controls depend on your chosen model and editor; do not assume every image-editing route exposes the same controls.
Run a background test before touching the face
Choose a short wire crossing over soft foliage. Make one repair and compare it with the original at matched size. Look for repeated leaf shapes, a sudden change in focus, invented objects or a color patch. If the easy area already looks poor, revise the mask or method before editing the eyes.
Use this instruction with a real source and a suitable image-editing workflow. A text request to preserve the fox is not an identity guarantee. If the tool changes the whole image despite a local instruction, return to the original and choose a more controlled editing method.
Keep the best test and the rejected version. The difference helps you decide whether the problem comes from the selection, the source or the tool's interpretation. Avoid repeatedly editing an already softened result until the original detail is no longer available for comparison.
Repair structural crossings separately
Move to an ear edge or shoulder only after the background test is acceptable. Trace the visible outline on both sides of the wire. The repair should connect that contour without changing the animal's proportions. Inspect the result against the original rather than judging whether the new ear looks attractive by itself.
For repetitive fur, watch the direction of strands. A smooth patch can look like a successful wire removal when viewed small and become obvious at full size. A clone or healing tool in a conventional editor may be more controllable for a small texture repair where nearby genuine detail is available.
If the wire crosses a straight background feature, follow that line across the repaired area. AI can fill the texture while bending the geometry. Use a targeted manual correction when the line's direction is known; do not regenerate the animal to fix a distant rail.
Diagnose haze and leftover patterns
A blurred fence can reduce contrast across a wide area without leaving a neat line to brush out. Removing a narrow mask may not address that haze. Try a modest conventional tonal adjustment on a duplicate and compare whether it improves visibility without exaggerating noise or halos.
Do not use aggressive sharpening to hide a poor reconstruction. Sharpening can emphasize the artificial edge between generated and original texture. If a diamond pattern remains, identify whether it is an unremoved wire, its highlight, a shadow or a broad contrast change before expanding the repair.
Review the final image at intended delivery size and at full resolution. The first catches distracting overall patterns; the second catches damaged fur, eyes and edges. Keep the edited file separate from the original and retain notes about regions you could not verify.
How QuestStudio helps
Use Image Lab with a supported image-editing model to test a narrow repair from your source. Check the selected workflow's available reference and mask controls. The goal is a small comparison you can inspect, not a promise that every fence will disappear cleanly.
Keep the original, test result and zone worksheet together. If the subject changes, reject that version immediately and return to the source. A controlled partial improvement is more useful than a clean-looking image that quietly changes the animal or person.
Frequently asked questions
Can AI recover the exact detail behind a fence?
Not from a single image when that detail is fully hidden. It can create a plausible reconstruction, which needs a different standard of review from visible source detail.
Should I select the whole fence at once?
For a difficult image, test a small background area first. Separate subject edges and identity details so you can evaluate each repair without replacing unnecessary pixels.
Why are bright lines left after removing the wire?
The mask may have missed the wire's highlights or edge contamination. Inspect the original and adjust the selection deliberately rather than painting a much larger area automatically.
Will upscaling fix a damaged eye?
No. A larger or sharper invented eye is still unverified. Use a genuine alternate source when accurate facial detail matters.
What should I do with a very blurred fence?
Assess whether the problem is a broad haze or a distinct obstruction. Try restrained tonal correction and compare the original; a clean reconstruction may not be possible.
Preserve the detail you can actually see
Start with the background, protect the silhouette and be strict about identity features. Use the worksheet to record where a repair is supported by visible information and where it becomes interpretation. That makes the final edit easier to trust and easier to revise.
Test one small fence repair in Image Lab
Hero image: AI-generated editorial illustration. Examples are original planning exercises, not measured model tests.