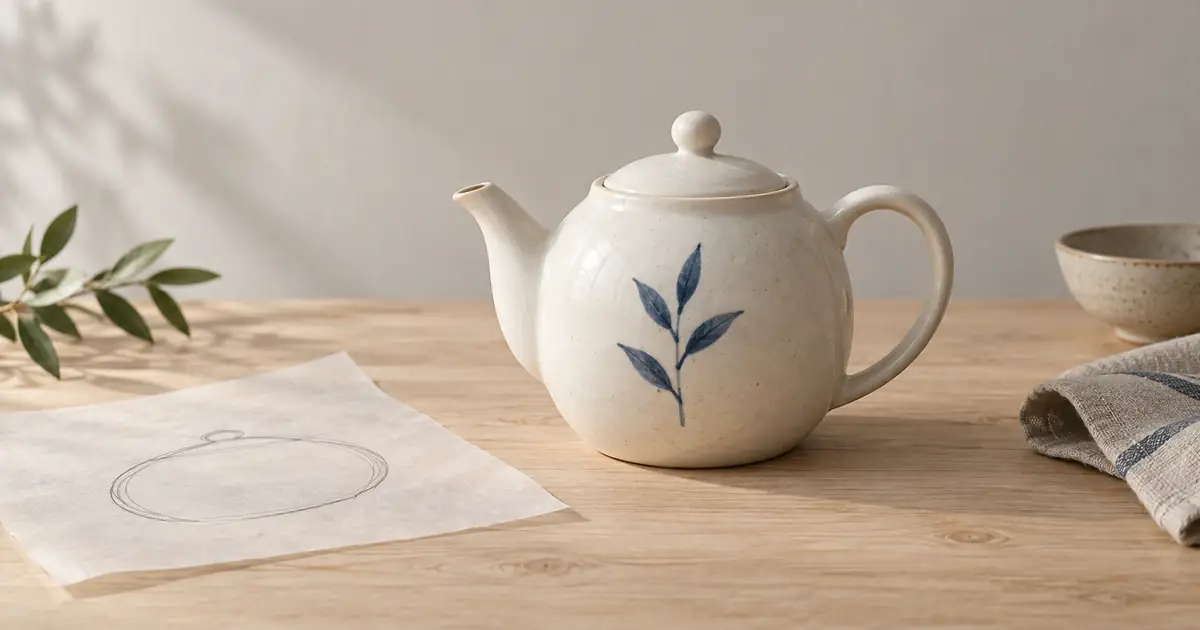

If one handle looks wrong, regenerating the whole teapot puts every correct detail back at risk. Ideogram Magic Fill lets you work on a selected area. The skill is choosing enough space for a believable repair while protecting the design you already approved.
Download the mask experiment worksheet · Make a concept to refine
Feature guidance checked September 14, 2026. The teapot exercise is an original illustration workflow, not a product-accuracy benchmark. The hero is an AI-generated concept image.
Distinguish the mask from the generation window
The official Magic Fill guide describes a two-part setup: mask the area to modify, then adjust the generation window and prompt options. Its examples include surrounding image content in that window so the generated area has context.
The mask and window answer different questions. The mask identifies where a change is allowed. The window gives the operation a view of the scene around that change. A tight mask with no useful surroundings can leave the model guessing about scale, light, and material.
In our exercise, a cream teapot has a small blue ornament on its body and an awkward handle. The desired edit is a curved ceramic handle that joins the pot naturally. The spout, lid, ornament, body shape, and tabletop should remain as approved.
Decide whether the image is appropriate to edit
A fictional teapot concept is a good practice asset because you can approve a new handle design. A photograph of a real product being sold has a different requirement: the handle must match the actual object. If you do not have evidence of its correct geometry, an attractive generated repair can invent a feature buyers will never receive.
For the concept exercise, save a clean original and make a working copy. You can create the starting concept in Image Lab, then move it into Ideogram Canvas for this mask workflow. Magic Fill is an Ideogram operation, not an implied QuestStudio control.
Choose a source large enough to inspect the handle and its attachment points. If the detail occupies only a few blurry pixels, decide whether a new source or a closer concept view would be more useful. Enlarging the canvas does not establish hidden geometry.
Write down what must survive
Before painting the mask, identify five protected landmarks: the tip of the spout, the lid knob, the blue ornament, the base contour, and the edge of the tabletop shadow. These make the preservation check concrete. “Keep everything else the same” is easy to say and easy to overlook during review.
Also describe the desired handle in relation to the body. It should have enough clearance for the intended design, a consistent ceramic thickness, and two plausible attachment points. For a concept image, these are visual design decisions; they are not claims about manufacturing strength or ergonomics.
A useful edit description names the whole local scene briefly, then the change: “Cream ceramic teapot on a pale wooden table, small blue ornament on the body, a smooth curved ceramic handle attached at the upper and lower side, soft light from the left.” Adapt the wording to your actual reference.
Compare three mask choices
| Mask | What it includes | Likely tradeoff to inspect |
|---|---|---|
| Tight | Only the visibly malformed handle | May leave an old edge or too little room for a new curve |
| Contextual | The handle, attachment edges, and a small surrounding margin | More room to join the repair; nearby body details need review |
| Broad | The handle and a large part of the pot | More freedom, with more approved geometry exposed to change |
These are hypotheses for your comparison, not measured Ideogram results. Start with the contextual mask if the whole handle must be redesigned. Keep the same prompt and source while testing a tighter or broader selection so you can understand the effect of the mask.
Include the old silhouette that needs to disappear and the area where the new silhouette may extend. A mask painted only inside a broken handle can leave its outside contour untouched. If the handle will move outward, leave space for that move without swallowing unrelated objects.
Give the repair enough scene context
Adjust the generation window to show the body of the teapot, the attachment region, and the relevant light and shadow cues. Ideogram’s documentation distinguishes this surrounding context from the masked edit region. Follow the controls in the current Canvas interface and inspect the preview before generating.
For our teapot, the lid and spout help establish scale and orientation. The tabletop helps explain the direction of light. If the window contains only an isolated handle, a locally attractive curve may still feel wrong once placed against the complete object.
Keep the first prompt focused. Changing glaze, background, lid design, and handle at the same time makes preservation impossible to judge. After one repair passes, save that version before starting a different edit.
Inspect the join before the overall beauty
Zoom into both attachment points. Look for doubled edges, a dark seam that resembles a crack, inconsistent thickness, and a highlight that stops abruptly. Then inspect the space inside the handle. It should reveal the appropriate background or body surface rather than an unexplained patch.
Next view the whole image at normal size. A repair can look convincing at close range but make the teapot unbalanced. Compare the handle’s scale with the spout and body. Decide whether the new curve belongs to the design rather than merely looking smooth.
Finally compare the five protected landmarks with the original. Do not assume preservation just because the model’s task was local. Export dimensions, selection boundaries, or subsequent placement can complicate comparison. Keep the original available and examine corresponding areas at the same scale.
Use the failure to choose the next change
An old edge remains: expand the mask to include that contour and enough surrounding area for a continuous replacement. Repeating the same selection with stronger wording may leave the same physical restriction.
The ornament changed: reduce the masked area near the decoration and make sure you did not accidentally include it. If the ornament cannot be protected while rebuilding the handle, consider a manual composite or a different source rather than accepting silent damage.
The handle looks pasted on: inspect lighting, attachment, and local shadow. Give the generation window useful context, and describe the material and light direction consistently with the image.
The shape is elegant but wrong for the product: stop treating visual plausibility as evidence. Return to a verified reference, retake the photograph, or use a manual correction grounded in the actual object.
Save the successful edit as a repeatable decision
Keep the original, a screenshot of the mask, the generation-window placement, prompt, chosen result, and a note about rejected candidates. If you later repair a cup or jug from the same concept family, this record helps you start with a sensible selection.
Check the final export in the layout where it will appear. Small seams can become conspicuous after a close crop, while excessive detail can disappear in a card. Approve the exported file, not only the Canvas preview.
A fence spreads small obstructions across many different surfaces. Use the fence-removal mask and detail guide to separate background repairs from subject edges and hidden facial features.
Frequently asked questions
What is the difference between the mask and generation window?
The mask selects the region to modify. The generation window includes that region and surrounding image context used during the edit.
Should I always use the smallest possible mask?
No. The mask needs enough room for the intended new shape and its joins. A tiny selection can preserve the very contour you need to replace.
Can Magic Fill repair a real product photograph?
It can create a plausible edit, but product accuracy requires a verified reference. Do not invent buyer-relevant geometry that the original does not establish.
Where does QuestStudio fit?
Use Image Lab to create a concept or starting image. The specific masking and Magic Fill steps in this guide take place in Ideogram Canvas.