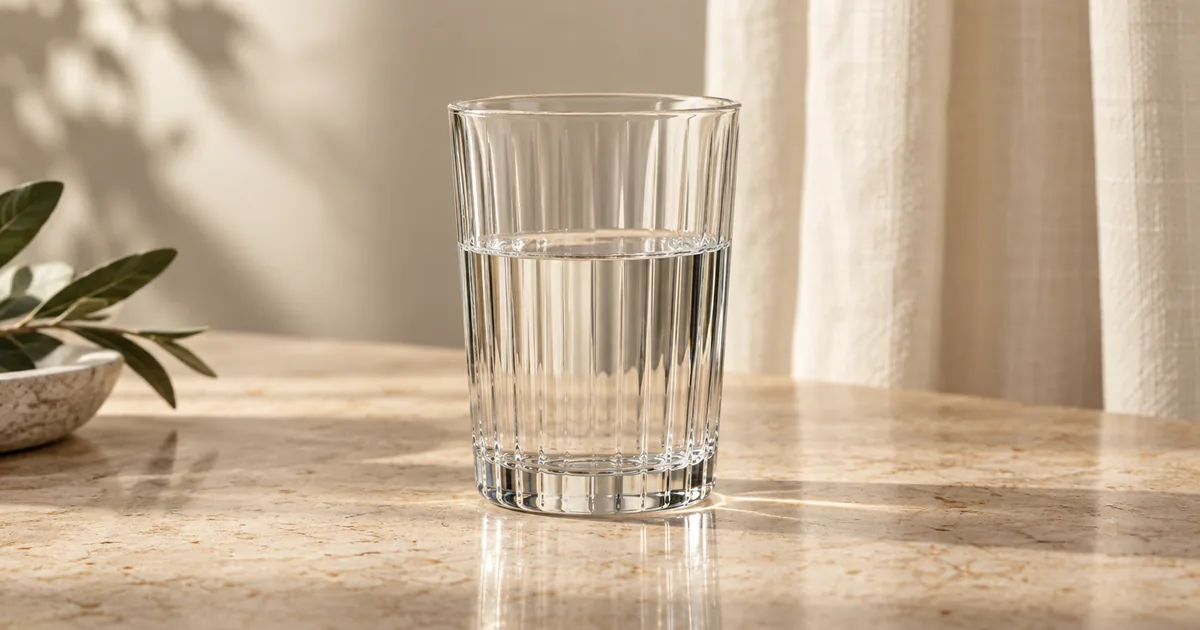

Replacing the background behind a glass is not the same as replacing it behind a cardboard box. The old scene can still appear through the glass. Preserve every original pixel and you may preserve the wrong background; regenerate everything and you may change the product.
Download the review worksheet · Plan one glass product scene
Why a simple cutout can fail
Clear glass transmits and reflects its surroundings. Its visible appearance includes the background seen through it, highlights on its surface, and distorted edges caused by its shape. A background-removal operation does not automatically disentangle those contributions.
Imagine a drinking glass photographed against a blue wall. Moving a cutout onto cream paper can leave blue inside the bowl. That remaining color is not necessarily blue glass; it may be the previous environment. Conversely, erasing all interior tone can make the object look like an empty outline.
Photta’s transparent-product guide discusses this background-contamination problem directly. The practical approval method here adds a zone sheet and a comparison against real product references. It does not claim that one prompt can solve transparent compositing automatically.
Gather references that answer product questions
Photograph the actual SKU in a clean, readable arrangement. Include the full silhouette, rim, base, and any label or molded detail. A second view helps verify thickness and construction that the main image hides. Keep the reference set tied to the exact product variant.
For our fictional example, the product is a clear ribbed tumbler, half filled with water. The hero is a generated editorial illustration, not evidence of a real catalog item. For a commercial job, record whether liquid and accessories are part of the sale or only styling.
Avoid a source where a blown-out highlight hides the entire rim or a dark reflection obscures a label. AI may invent what it cannot see. A cleaner capture can be more efficient than repeatedly trying to recover a boundary that the photo never recorded.
Divide the image into material zones
Treat the product as several editing problems. Opaque labels and printed marks should remain accurate. Transparent areas must relate to the new background. Bright reflections should match the intended light. Contact areas must connect the base to the surface.
| Zone | Preserve or verify | Typical failure |
|---|---|---|
| Rim and silhouette | Actual shape and thickness | Double rim or changed opening |
| Transparent body | Ribbing and plausible view through glass | Old background trapped inside |
| Label or print | Approved artwork and placement | Invented letters or missing marks |
| Liquid | Intended fill level and surface | Tilted level or impossible overlap |
| Base and contact | Construction and grounding | Floating glass or melted base |
This is why “keep the product unchanged” needs a careful interpretation. Keep the product’s actual design unchanged. Some appearance must change with a different environment. A controlled composite can preserve structure while rebuilding the transmitted background, but that may require manual masks and material-specific work.
Choose a manageable background
Begin with a quiet surface and a simple light direction. Pale stone, paper, or a softly graded studio setting makes edge problems easier to spot. A busy kitchen with several bright windows adds reflections and refractions that are difficult to verify.
Transparent does not mean invisible. A glass needs some contrast at its edges and surface transitions to read as an object. A perfectly white outline-free glass on pure white may disappear. Do not solve that by painting an equally dark border around every edge.
Use the background that serves the actual placement. If the final image must be on a specific brand color, test that color early. Approving the product on cream and switching to saturated green at the last minute changes the material problem.
Write a reference-based scene brief
Describe the material, fixed product features, setting, and light separately. Keep claims about capacity, durability, or included accessories out of the image. Add exact text later from approved artwork when a generated version cannot preserve it.
If your source glass is empty, remove the water instruction. If it has an opaque label, specify that label as a protected zone. Match the brief to the reference rather than adapting the product to a convenient example.
Run a two-background comparison
Review the product against both the intended background and a contrasting diagnostic background in your editor. The second view is a way to reveal halos, trapped color, or overly opaque areas. It is not a second approved commercial image unless you complete the full review for it.
For example, a cream production background and a medium gray diagnostic background can expose a pale fringe that was hard to see on cream. Use the same product scale and inspect the rim and base closely. Avoid judging only a thumbnail where transparency errors blend into the scene.
If the glass turns equally opaque on both backgrounds, you may be looking at a painted object rather than a convincing transparent composite. If the old environment remains visible inside, return to the material zones instead of simply softening the outer edge.
Check the water, reflections, and shadow together
A still liquid surface should make sense within the vessel and its orientation. Look for a waterline that crosses the outside of the glass, duplicated edges, or a reflection that behaves like a second object. Do not infer actual capacity from a generated fill level.
The base should sit on the surface. Glass can produce complex transmitted light and bright patterns, but an arbitrary dark oval is not always convincing. The contact and cast-shadow checks help you separate grounding from decorative shadow.
Check labels and ribbing at full size. Count a few identifiable ribs or details against the reference where they are visible. If the design repeatedly changes, preserve more of the real capture or choose a simpler scene instead of approving a plausible substitute.
How QuestStudio helps
Use Image Lab to explore a bounded scene around a real reference. Keep the original alongside each draft. Exact transparent compositing, masks, and approved typography may need finishing in your image editor.
The background replacement workflow explains the broader production choice. Finish with the product photo approval checklist before making more variants. A convincing mood image and a verified product image are different review stages; record which one you have reached.
Frequently asked questions
Can AI replace the background behind clear glass?
It can attempt the scene, but transparent regions may retain the old background or change the product. Review material zones and use controlled compositing where accuracy requires it.
Why does my transparent product look cloudy?
The edit may have made transmitted areas too opaque or confused reflections with material color. Compare with the real source on more than one background.
Should I preserve every product pixel?
Preserve the actual design and verified details. Pixels showing the old background through glass may need a different treatment when the environment changes.
Can I use an AI glass image as proof of product capacity?
No. Generated shape or fill level does not establish a real product measurement. Use verified specifications and real evidence for those claims.
Start with one version you can inspect. Plan one glass product scene, then use the worksheet to decide what needs another pass.