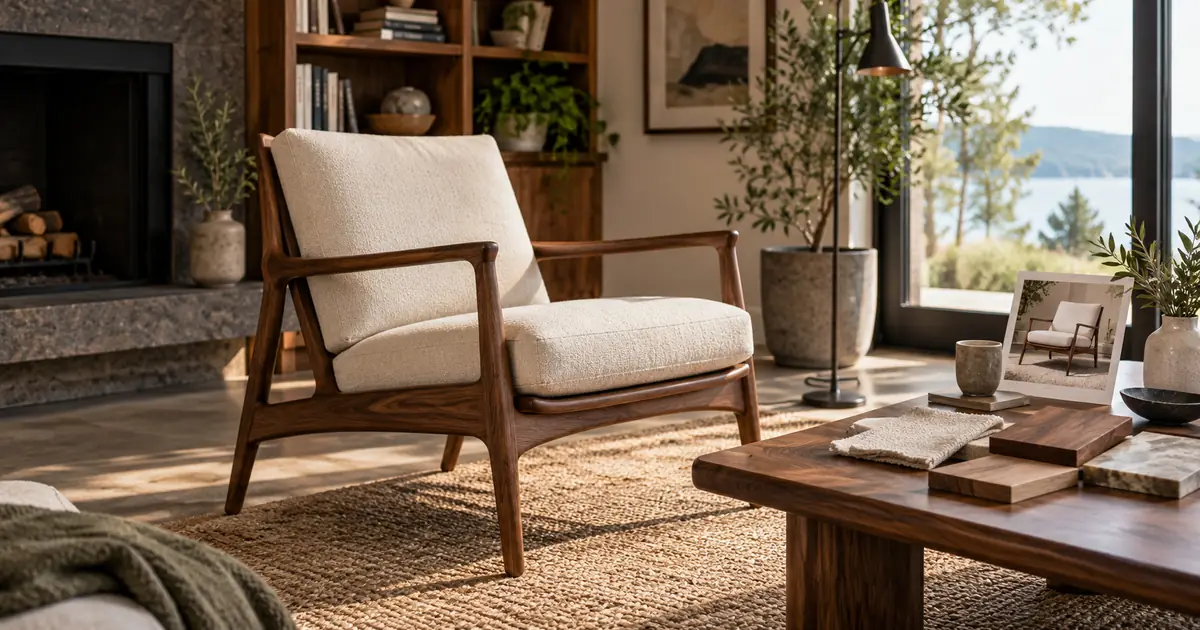

An AI furniture photograph should help a shopper understand the item they will receive. Start with a reliable photo of the actual product, preserve the visible structure, and use the generated room as a setting. Check the result against that reference before it enters the gallery.
The difficult failures are often subtle. A chair can gain a thicker cushion. A cabinet can lose one drawer. A compact sofa can appear enormous because the room's other objects have changed size. Good styling does not make those changes accurate.
Give each gallery image one job
Separate the images that document the product from the images that suggest a setting. A clean product photo can show shape and finish. A close-up can show upholstery, hardware or wear. A room scene can help someone imagine a style combination.
Do not make the room scene carry every factual claim. Keep measured dimensions in an editable diagram or product specification. Keep real detail photographs where a buyer needs to inspect texture or construction. A generated room is not a substitute for a measured fit check.
For example, a small furniture seller might need four images for a walnut lounge chair: the real three-quarter view, the real rear view, a cushion-and-joint detail, and an illustrative reading-corner scene. That plan has a reason for each file and makes missing evidence obvious.
Photograph the angle you intend to use
Capture the entire item with space around the edges. Use an angle that reveals the visible legs, arms and seat without hiding important intersections. Remove temporary packaging when appropriate, but preserve marks that a used-item buyer needs to see.
An image model cannot verify an unseen back panel from a front photograph. If the room scene requires a different view, photograph that view or use an approved model of the product. Asking the generator to rotate the item can create plausible construction that the real item does not have.
Record the source file and product identifier before editing. Similar chairs can differ in leg angle, cushion seams or wood color. A reference folder organized only by “brown chair” makes it too easy to use the wrong variant.
Make a short geometry checklist
List the features you will compare before you generate the room. Use visible landmarks instead of a general instruction to “keep the product the same.”
| Landmark | Example check for the lounge chair | Reject when |
|---|---|---|
| Front legs | Two visible legs, same outward angle | A leg merges into the rug or changes thickness |
| Seat cushion | One cushion with one front seam | Cushion count or seam location changes |
| Arm profile | Open space below each wooden arm | A solid upholstered side appears |
| Back support | Same visible rails and joinery | New rails or decorative studs appear |
| Finish | Walnut tone compared with the approved source | Wood becomes orange or glossy without justification |
This is an original inspection example, not a model accuracy claim. Adapt it to the real item. A cabinet needs drawer and handle checks; a table needs top thickness and leg placement checks. The product catalog consistency workflow extends the same discipline across multiple products.
Build a room around the product camera
The reference photograph already implies a camera height, viewing angle and light direction. Choose a room that can accommodate those cues. A high-angle product photo pasted into a low-angle interior can look wrong even when every leg survives.
Begin with a restrained setting: one floor plane, one wall and enough space to read the silhouette. Add decorative objects only when they serve the image's job. A pile of throws may make a chair look inviting while hiding the construction the buyer wants to inspect.
Try this bounded brief with a supported reference-image workflow:
A preservation instruction is a request, not a guarantee. Compare the resulting pixels with the source before accepting it. If the product keeps changing, composite an approved cutout into a separately prepared room instead of repeatedly regenerating its structure.
Treat scale as something to verify
A familiar lamp or doorway can make a scene feel plausible, but those objects may also be generated at the wrong size. You cannot prove that a chair is 32 inches wide because it looks proportionate beside a fictional table.
For an illustrative lifestyle scene, assess obvious plausibility and keep precise measurements elsewhere. For a claim that an item fits a particular room, use that room's measurements and a dimensionally controlled layout or 3D workflow. Confirm clearances directly rather than inferring them from a picture.
Avoid dimension arrows burned into generated artwork. Add verified measurements in a layout editor, with a clear indication of what each measurement covers. A seat width and an overall frame width answer different buyer questions.
Inspect contact, shadow and material
Zoom in on every place the furniture meets the floor. Look for floating feet, disappearing chair glides and a shadow that belongs to a different shape. Then zoom out and check whether the whole item feels grounded.
Compare shadow direction with the room's main light source. The result does not need a dramatic shadow, but it does need a coherent one. A dark band around a cutout is not a contact shadow. Review the background-removal workflow when edges need cleanup.
Inspect upholstery and wood at a useful viewing size. Fine fabric can turn into a repeating pattern. Wood grain may change direction across a joint. Keep the actual detail photograph as the reference for material claims; do not approve a finish because the AI version looks more expensive.
Review the gallery as a set
Place the lifestyle scene beside the real product images. The product should not appear to change finish, silhouette or cushion shape between frames. If it does, identify the specific mismatch and revise that image.
Use a color correction pass carefully. A warm room can affect the apparent finish, but pushing the product toward a completely different color creates confusion. The product-photo color workflow helps separate a lighting problem from an actual variant difference.
Download the furniture scene worksheet and keep the source photo, generated version and review notes together. Mark an image as approved only after another person can follow the comparison, not just after its creator has stopped noticing the defect.
How QuestStudio helps
Use Image Lab for reference-based scene experiments when the selected model supports that input. Start with one product and a simple room. Compare the output against the geometry checklist before attempting a full catalog.
Keep precise product dimensions, gallery labels and final compositing in tools suited to those tasks. If a scene is attractive but repeatedly changes the item, the useful outcome may be the room background alone.
Frequently asked questions
Can one furniture photo generate every product angle?
It can inspire additional views, but unseen construction is not verified. Use real photographs or an approved dimensional model for angles that document the actual product.
How do I stop AI from changing chair legs?
Start with clearly visible legs, preserve the source viewpoint and reduce scene complexity. Inspect every output. If geometry still changes, use a cutout or a more controlled compositing workflow.
Are AI room scenes accurate enough for fit planning?
An attractive room scene does not prove dimensions or clearances. Use measurements and a controlled layout for a fit decision, and present lifestyle imagery as illustration.
Should I remove scratches from used furniture photos?
Keep condition information visible in the factual gallery. A buyer needs to understand the item being sold, including wear that affects its appearance or condition.
How many scenes should I generate for each item?
Start with one scene that answers a real gallery need. Add another only if it contributes different useful context without repeating the same image or hiding product details.
Approve the product before the room
A useful lifestyle image keeps the furniture recognizable and helps the buyer imagine its setting. If the scene improves while the item changes, return to the reference and repair the product first.
Test one truthful room scene in Image Lab
Hero image: AI-generated editorial illustration. Examples are original planning exercises, not measured model tests.