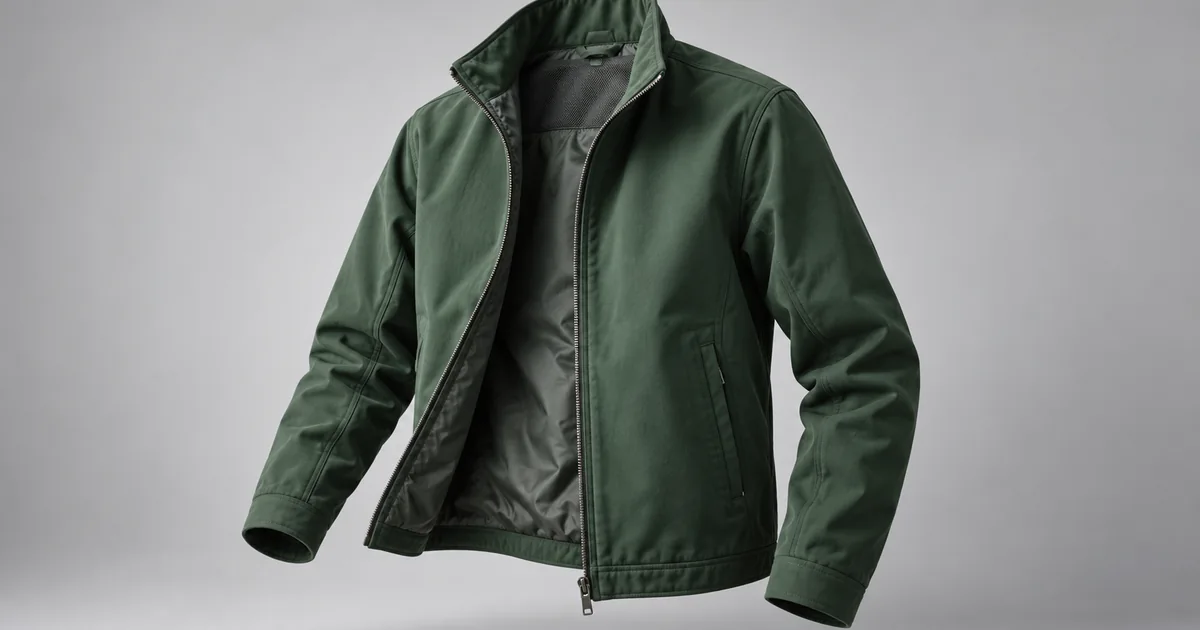

A ghost mannequin image should show the shape of a garment without a visible person or form. AI makes that presentation easier to explore, but it can also invent a lining, narrow a waist, or move a pocket. The useful workflow starts with what you can verify about the actual item.
Download the garment construction map · Review a garment edit in Image Lab
Decide whether you need a hollow garment image
Ghost mannequin photography is useful when the structure matters: a jacket's shoulder shape, a shirt's collar opening, or the fall of a dress. A flat lay may be clearer for a simple graphic tee. A person wearing the item may communicate styling better. Choose the presentation that answers the buyer's question rather than using the same effect for every product.
A hollow image does not establish how a garment fits every body. It is a product view with a particular shape and angle. Do not let an attractive generated waist become an implied fit claim. For a real listing, the garment's construction and proportions take priority over an idealized silhouette.
The traditional method combines views of the garment and its hidden interior. Pixelz's invisible mannequin guide documents that source-based approach. AI can assist with the edit, but a plausible interior generated from nothing is still a guess.
Build a source inventory for one jacket
Use a green zip jacket as the worked example. Capture a front view on a suitable form, a back view, the inside neckline, and a readable view of any construction that will become visible when the form disappears. Keep lighting and camera position as consistent as the physical setup allows.
The front photograph supplies the exterior shape. The interior photograph supplies facts about the lining, collar seam and label position. A detail photograph helps verify the zipper or pocket, but does not necessarily provide the correct perspective for compositing. Assign each source a job so the editor does not treat every image as interchangeable inspiration.
| Source | What it establishes | What it cannot establish alone |
|---|---|---|
| Front on form | Visible silhouette, closures and pockets | Hidden inner neck or back lining |
| Back on form | Rear seams, hem and shoulder shape | Front closure construction |
| Interior view | Actual lining, neck seam and label location | Exact geometry of every exterior angle |
| Detail view | Stitching, texture and hardware | Overall garment fit |
Keep filenames tied to the item identifier. A lining photo from a similar jacket is not an acceptable substitute just because the color looks close. If the inside is missing, capture it before asking the model to fill the gap.
Prepare the garment before the edit
Straighten the closure and check that sleeves are not tangled or twisted. Decide which real wrinkles to retain. A wrinkle caused by poor setup can distract; a seam, dart or fabric texture is part of the product. “Make perfectly smooth” may remove both kinds without distinction.
Place the camera so the garment is not strongly tapered by perspective. Give the cuffs and hem enough breathing room. If a cuff is clipped in the source, the model must invent its missing edge. Keep the working crop generous until the construction passes review.
Use the same neutral background for the first attempt. Do not ask for a new garment angle, a new environment and mannequin removal in one instruction. When the pocket moves, you will otherwise have no clear idea which request caused it.
Write an edit brief that names the protected construction
If your chosen model supports only one reference, do not imply it has read the interior photo. You may need to build the source composite in an editor first, use a model with suitable reference support, or keep the hidden area out of the deliverable. The interface's actual inputs set the workflow.
For a local problem, such as a small remnant of the mannequin inside a cuff, use a bounded edit if available. Whole-image regeneration can solve the cuff while altering the rest of the jacket. Check the complete output even after a narrow correction.
Inspect five construction zones
Start with the outer silhouette: shoulder width, sleeve taper, waist and hem. Compare at the same size as the source. A slightly slimmer jacket can feel more polished while becoming a different product. Then look through the neck opening. It should read as an interior, with believable depth, rather than a black hole or a second collar.
Follow the closure from top to bottom. Count visible buttons or snaps when relevant and verify zipper alignment. Inspect pocket openings and seam junctions next. These are small enough to escape a quick glance but distinctive enough to expose an inaccurate edit.
Finally check material. A woven cotton jacket should not become glossy leather; ribbed cuffs should not turn into smooth tubes. Review color under a neutral display setting and use your real product source as the reference. A cinematic grade belongs after product accuracy, if it belongs at all.
Choose a repair based on what failed
| Failure | First response | Stop condition |
|---|---|---|
| Interior lining is invented | Supply or composite the real interior source | No source exists for a detail you need to show |
| Pocket moved | Return to the original and narrow the edit | Repeated outputs keep redesigning construction |
| Mannequin edge remains | Try a small local correction | Correction repeatedly damages the garment edge |
| Fabric becomes plastic | Reduce smoothing and return to source texture | Source texture itself is unreadable |
| Body shape changes | Keep the original silhouette and angle | Output cannot be reconciled with the actual item |
Set a small revision budget for the first item. Two careful attempts that move the same seam tell you more than ten unspecific requests for realism. Switch to a source-based composite or conventional retouch when that provides tighter control. The goal is an approved image, not maximum use of generation.
Make a catalog set from an approved master
Once the front view passes, establish a repeatable crop, background tone and garment scale. Apply those presentation decisions to other real views. Do not generate an unseen back from a front photograph and treat it as product documentation. A catalog set is only as trustworthy as its source views.
Review the set together for size drift. The same jacket should not occupy different proportions of the frame without a reason. A detail image can intentionally be closer, but a back view should not accidentally look like a different size.
Archive the sources, accepted output and review sheet together. Note any illustration-only version separately. If you later change the listing background, repeat the edge, color and construction checks rather than assuming the approved garment survived unchanged.
How QuestStudio helps
Use Image Lab for reference-based apparel edits supported by your selected model. Compare the output against the construction map and keep the accepted source visible during review. The Lab is a place to create and compare candidates; it does not automatically verify garment measurements or hidden details.
Frequently asked questions
Can I make a ghost mannequin image from a flat lay?
You can generate a hollow-form interpretation, but volume and hidden construction may be invented. Use additional real references and review the result before presenting it as a product image.
Do I need an interior photograph?
If the finished view reveals lining or neck construction that the main source hides, an interior photograph provides evidence the model otherwise lacks.
Is ghost mannequin the same as virtual try-on?
No. A ghost mannequin view presents a hollow garment. Virtual try-on places clothing on a person and introduces additional body, pose and fit questions.
Should every wrinkle disappear?
No. Remove distracting setup problems carefully, while preserving fabric texture, seams and construction. Excessive smoothing can change the material.
Can AI produce an accurate unseen back view?
A generated back is not evidence of the actual back. Photograph the real view when it matters to a listing.
Approve the construction before the catalog style
Start with one garment, one angle and a complete source set. Once the five zones match, move on to consistent catalog presentation. Image Lab can help you compare that first edit.
The worked example is a proposed creative exercise, not a measured model benchmark. The hero is an original AI-generated editorial illustration.