
AI phone case photography needs to show the case that fits the named device. A scene can look clean while the camera opening, buttons or charging-port cutout belong to another model. Start with real installed and empty-case views, keep the artwork separate, and inspect the fit before approving a promotional image.
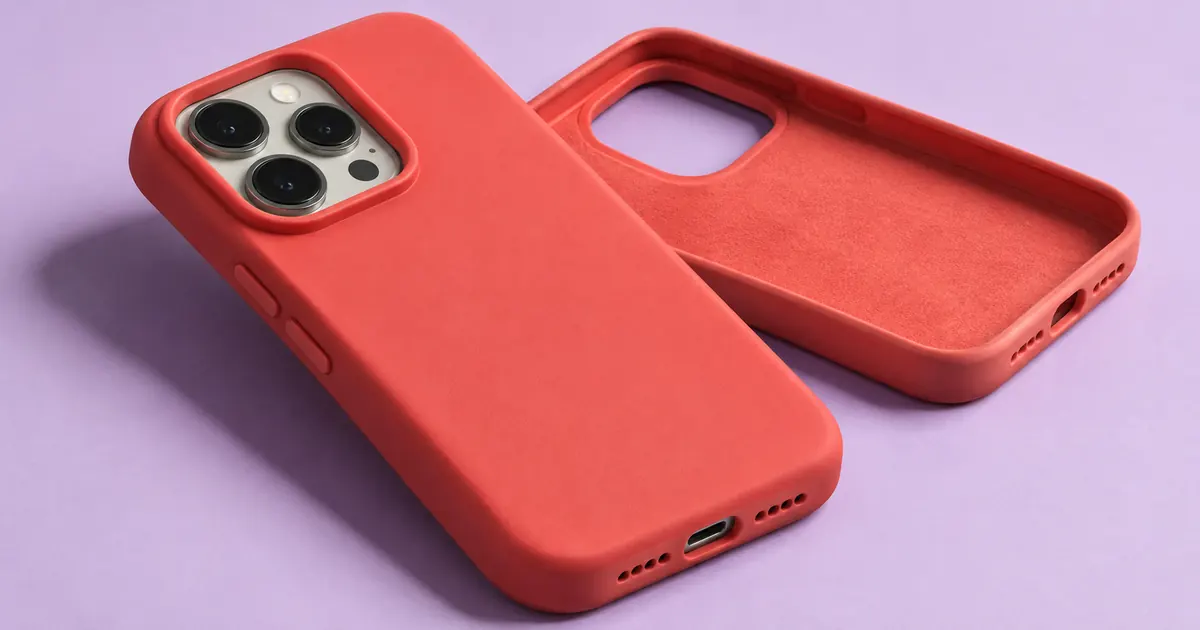
This guide builds a small gallery for a fictional coral case. It covers the back, edge and installed views, followed by a printed-art check. It does not treat an attractive mockup as evidence of physical compatibility or protection.
Match the case to the exact device first
Record the case SKU and the full device variant it is designed for. Similar device names can hide different dimensions and camera arrangements. Use the correct real phone or an accurately specified production dummy when photographing fit.
Photograph the installed case from the back and side, then photograph it empty. The installed view shows how the lip and openings meet the device. The empty view reveals interior construction and features that the phone covers. Neither replaces the other.
Keep the manufacturer's verified compatibility information beside the image record. Do not infer compatibility from a generated camera cluster or from a case that seems to fit a familiar-looking phone. If the sample and product record disagree, resolve that before styling a scene.
Build three views before adding lifestyle scenes
Begin with a back view that shows the complete design, a side view that shows the edge, and a close view of the camera opening. Add a charging-port or button view when those features need explanation. Use a stable camera position and light that separates the case from the device.
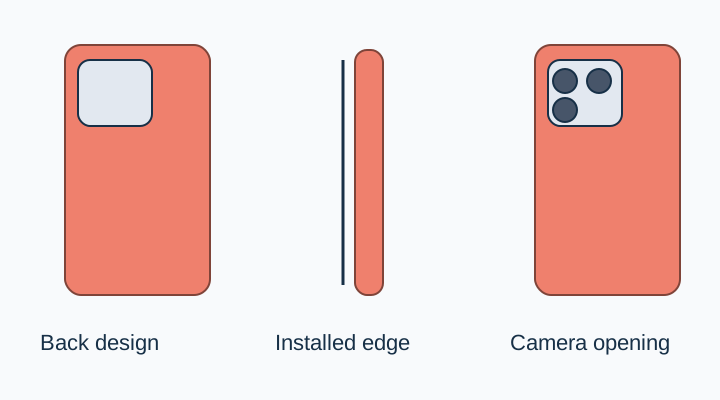
Inspect glossy and clear materials carefully. A bright reflection can hide the exact edge you need to show. Move the light or camera until the shape is readable rather than simply lowering exposure until the rest of the image becomes dark.
The transparent product photography guide covers edge separation for clear materials. For an opaque case, the most important challenge may instead be preserving its color and texture across angles.
Keep cutouts anchored to source photographs
Make a short feature list from the sample: camera opening shape, flash opening, button covers, speaker and charging cutouts, and any visible raised lip. Some products use individual openings; others use a larger shared opening. Preserve the design you actually sell.
Use a close source for small details. A distant lifestyle image cannot establish the precise corner radius of a cutout. If a generated result invents the geometry, return to a sharper real view rather than asking for “more accurate details” without supplying evidence.
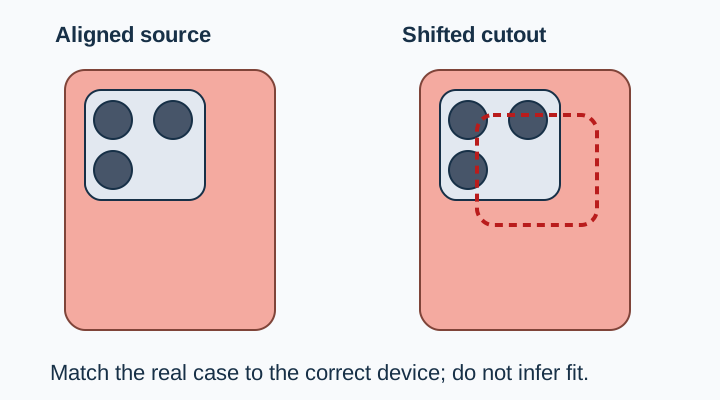
Review an installed image as one assembly. The case edge and device should meet naturally, without floating gaps or a case that passes through the camera bump. Check each corner, not just the most visible one.
Write a scene prompt that leaves fit alone
Once the factual views are clear, use one of them as the reference for a supporting scene. Keep the surface simple and the complete product visible. Avoid a request that changes the phone model and case angle at the same time.
Use the attached photograph of this exact case installed on its correct device. Create a supporting product scene on pale lilac paper with soft side lighting and a natural contact shadow. Preserve the case color, material texture, camera opening, button positions, port cutouts, edge thickness and device geometry shown in the source. Do not redesign the phone, add a magnetic ring, change the case finish or invent a logo. Keep all product features available for comparison with the original.Treat these instructions as acceptance criteria. The output still needs a close comparison. If a camera opening changes, reject that version even when the new shape looks more elegant. A gallery must explain the actual product, not a proposed redesign.
For a scene where the case is held, use a real holding reference when possible. Check that fingers do not cover the feature the image is supposed to demonstrate or merge into the case edge.
Keep printed artwork out of the reconstruction job
If the case has a printed design, retain the approved artwork separately from the product photograph. Identify a few anchor points: where the motif begins, how close it sits to the camera opening and whether it wraps onto the edge. Compare those points in the final image.
A flat image and a curved printed surface are different assets. Use a controlled placement workflow when the exact artwork matters. Do not ask an image model to redraw a small logo or line of text from memory. The image text workflow explains why readable production text needs its own review.
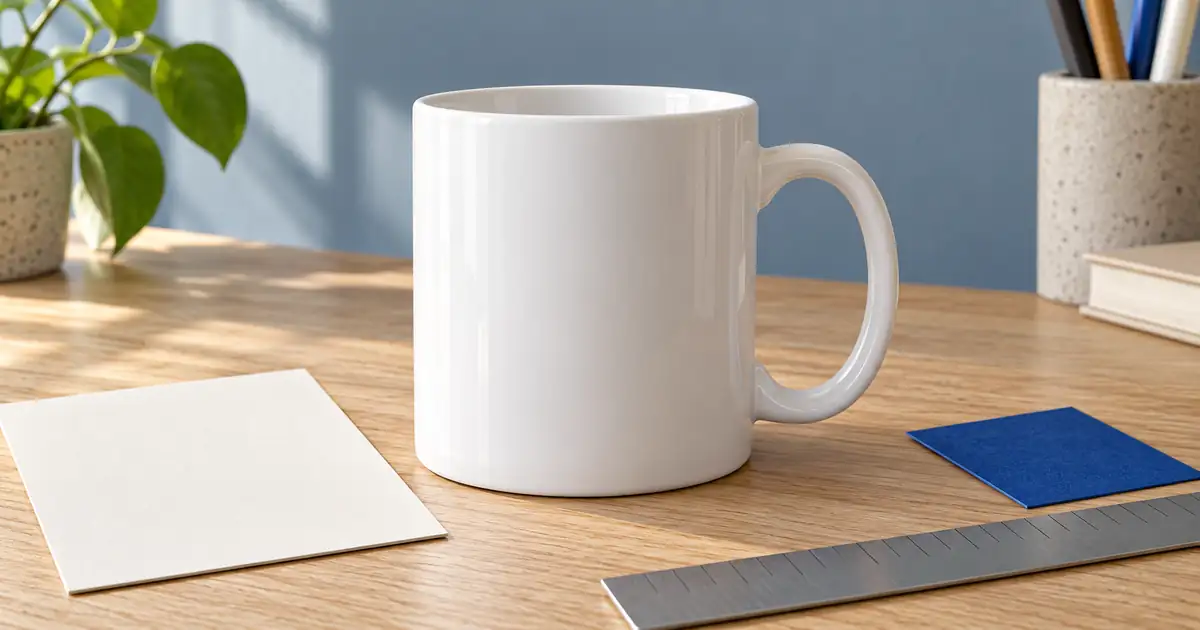
The mug mockup guide addresses another curved print surface. A phone case adds device-specific openings, so a visually pleasing print placement still needs a fit check around the camera and buttons.
Do not turn the picture into an unverified claim
A raised-looking edge in a generated scene does not prove drop protection, water resistance or charging compatibility. Use verified product information and actual testing for performance claims. Keep unsupported icons or badges out of the image.
If a charging accessory appears in a lifestyle scene, confirm what the picture implies. The visible presence of a charger can suggest a compatibility claim even without written text. A simpler scene is better when you cannot support that implication.
Keep included parts clear too. An empty case, installed case and screen protector arranged together may look like a bundle. Only show that as the contents of an order when those are the actual included items.
Review the final gallery as one SKU
Use the same device and colorway across the required views. Check the camera cutouts, side buttons, finish and artwork at full size, then inspect the listing thumbnails. A small crop can hide a compatibility detail or make a glossy finish appear matte.
Download the case-fit worksheet and connect every output to a source view. Include the SKU, device variant, artwork version and approval status in the record. The product photo approval checklist adds a final check for mismatched variants and implied contents.
Explore a supporting scene in QuestStudio
Use Image Lab to develop the environment around the approved source. Keep the real installed view available and compare the product region before saving the output. If fit changes, use a more controlled edit or return to the original photograph.
The useful result is a small set that makes the case understandable: what the design looks like, how the edge meets the phone and which device it actually fits.
Download the case-fit worksheet and replace its fictional example entries with your own approved sources.
Frequently asked questions
Should I photograph the case empty or installed?
Use both when they answer different questions. The installed view explains fit, while the empty view can show interior construction and hidden details.
Can AI adapt one case photo to another phone model?
Do not use that as proof of compatibility. Photograph the actual case and correct device, and verify the product information separately.
How do I keep a printed design accurate?
Keep the approved artwork separate and check its position against fixed case features. Use a controlled placement workflow when exact text or artwork matters.
Does an image of a raised edge prove protection?
No. Protection claims need appropriate product evidence. A generated shape cannot establish performance.
What should I reject first in a generated result?
Reject changed compatibility features: camera openings, buttons, ports and device geometry. A better background does not make those changes acceptable.