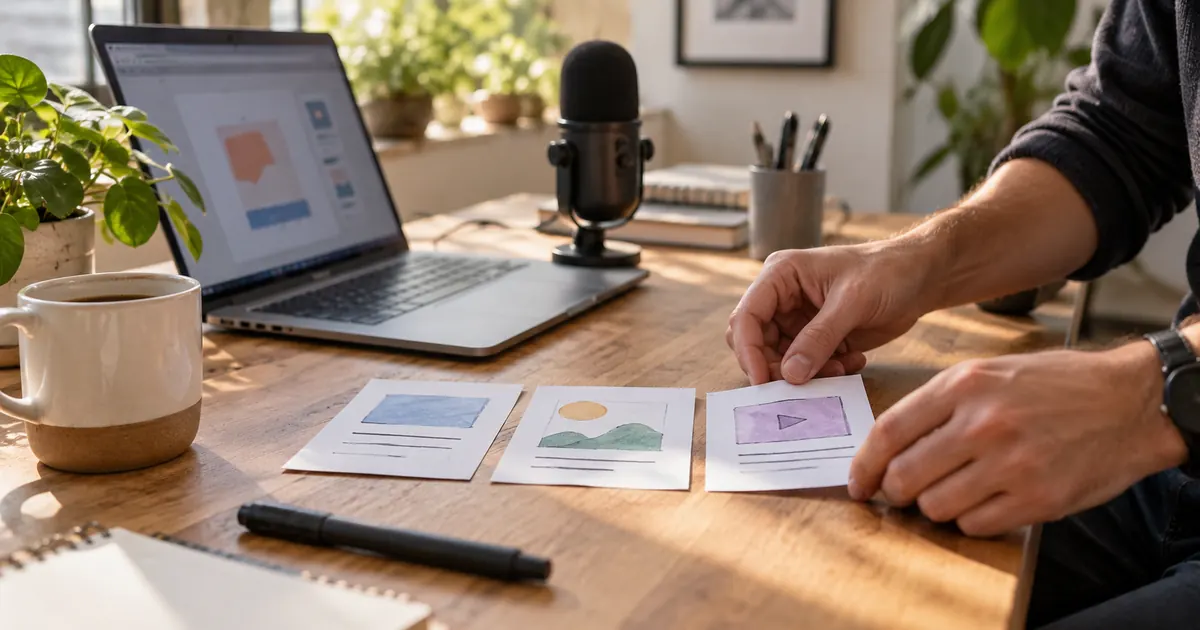

To make an AI SaaS explainer video, record the product doing one useful job, write narration around that evidence, then use AI for the voice and supporting visuals. Keep buttons, results and customer-facing promises tied to the real application. A beautiful invented dashboard cannot demonstrate software that buyers will actually use.
This guide builds a roughly 60-second homepage explainer for a fictional review app called ReviewDesk. The example is a planning exercise, not a tested product or a performance claim. You can replace its workflow with your own and download the editable shot ledger before recording.
Choose the question your explainer will answer
A homepage explainer should help a visitor understand what the product does and whether it fits their problem. A tutorial teaches someone how to complete a task. A launch teaser creates curiosity. Decide which job you are doing before selecting a voice or generating clips; these formats need different amounts of explanation.
For ReviewDesk, our viewer is a freelance designer who sends revisions to clients. The question is: “How do I collect feedback without searching through several message threads?” We will show one file being shared, one comment being resolved and one approval being recorded. We will not squeeze billing, team management and reporting into the same minute.
Write your own brief in one sentence: “Help [specific viewer] understand how [actual workflow] gets them from [starting problem] to [visible result].” If the result cannot be shown, choose a narrower promise.
Separate product evidence from visual explanation
Mark every planned shot as a recording, an illustration or an editor graphic. Recordings show what your software really does. Illustrations communicate an idea, such as scattered feedback. Editor graphics supply readable labels, arrows and an end card. Keeping these categories clear also makes production estimates more useful: a screen capture needs preparation, while an illustration may need several generations.
Tight Studio’s explainer guide makes the useful distinction between screen-recorded product demonstrations and generated supporting material. Our next step is to attach each spoken promise to a specific piece of evidence.
| Promise | Evidence to record | Do not imply |
|---|---|---|
| Share a review link | Create a link and open it in a separate browser session | Every recipient has unrestricted access |
| Keep feedback with the file | Add a comment to the actual file view | All external messages sync automatically |
| See that a revision is approved | Show the real approval state and relevant version | Approval is automatic or legally binding |
If a feature only works on a particular plan or requires a setup step, show that condition or revise the line. Remove unsupported time savings and invented testimonials entirely.
Build a 60-second script around three real actions
The following timings are a starting allocation, not a requirement to speak at a fixed speed. Read the script aloud, record a rough take and let the product actions breathe. A click that changes a small status needs enough screen time for the viewer to notice the change.
| Time | What the viewer sees | Narration job |
|---|---|---|
| 0–8 seconds | Three messy feedback notes, made as simple editor graphics | Name the familiar frustration |
| 8–18 seconds | Real file upload and share-link creation | Introduce the workflow |
| 18–34 seconds | One actual comment beside the file | Explain what stays connected |
| 34–48 seconds | Revised file and genuine approval state | Show the result |
| 48–60 seconds | Clean product view and readable end card | Offer one next action |
Here is a short illustrative narration draft. Use the extra room for visible actions rather than adding more features:
Only use this draft for practice unless your product really supports every statement. Replace the invented name before producing a public voiceover. For more help shaping a sequence, the storyboard workflow covers shot planning in detail.
Prepare screen recordings that survive a phone-sized view
Create a demonstration workspace with fictional names and files. Close unrelated tabs, hide notifications and remove private messages from view. Set up the initial state before recording so the viewer does not watch you search for a file. Use a conventional screen recorder; this workflow does not depend on QuestStudio capturing your desktop.
Record each action separately with a short pause before and after it. Keep the cursor still when the viewer should read. If a menu is important, enlarge the relevant part of the interface in your editor instead of shrinking a full desktop into a decorative laptop frame.
Check the recording at the size it will appear on the page. A tiny green status change may be obvious to you and invisible to a visitor. A restrained annotation such as “Approved version” can help, provided it describes the actual state. Add the annotation as editable text so it can be updated when the interface changes.
Generate only the supporting scenes you need
Try the first edit with plain graphics and real capture. Then identify a specific gap: perhaps the opening needs a visual metaphor for fragmented feedback, or a transition needs a quiet background. Generate that missing asset rather than assembling a gallery of attractive clips and forcing the story around it.
For a metaphor, a top-down view of several unlettered paper notes on a desk is easier to understand than a futuristic control room. Keep it brief and cut to the real product before making a feature claim. Do not generate a fake cursor clicking an invented dashboard, even if the imitation looks polished.
Use a still when motion adds no information. If you do generate video, ask for one restrained movement and inspect its beginning and ending before buying another variation. Track usable shots and rejected attempts with the cost-per-usable-clip method.
Record narration, then fit the edit to the meaning
Test a representative passage that includes your product name and its most awkward technical word. Listen without reading along. If the words blend together, shorten the sentence before increasing volume or slowing the entire voice.
Generate narration in manageable sections so a revised feature name does not require replacing every line. Preserve the same voice and delivery direction across those sections. Avoid inserting stage directions into a plain speech field where they may be read aloud; use dedicated style controls only when the selected model provides them.
Place the real action on screen when the narration names it. Do not move to the next feature while the voice is still explaining the previous result. Keep background music low enough that quiet consonants remain clear, and listen through ordinary laptop speakers as well as headphones. Silence is a valid choice for a detailed product demonstration.
Use a proof pass before polishing the final export
Watch the draft three ways. First, mute it and ask what task the viewer can see. Second, listen without watching and note any promise that needs evidence. Third, compare each sentence with the visible recording. This catches a common editing problem: individually accurate clips that imply a faster or more automatic workflow when placed together.
- Show required user actions rather than hiding them behind a transition.
- Keep product names, feature labels and captions consistent.
- Label illustrative scenes when their meaning could be confused with real product output.
- Check that the call to action opens the destination you actually offer.
- Save the capture date and app version with the project so outdated scenes can be found later.
Do not use completion rate alone to judge the video. Pair viewing data with the next useful action, such as opening a demo or starting the described workflow. A shorter video that drives confused signups is not automatically a better explainer.
How QuestStudio helps with the production pieces
Start in Voice Lab to test a short approved narration passage. Compare pronunciation and pacing before generating the complete script. Image Lab and Video Lab can supply supporting concept visuals when a real recording cannot explain an abstract idea.
Keep the real screen recordings, generated assets and final text in your chosen video editor for assembly. QuestStudio is supplying creative assets in this workflow; the process does not assume a native screen recorder or automatic software-demo editor.
Download the SaaS shot ledger (CSV)
The worksheet includes the example timings plus fields for the spoken claim, capture evidence, owner and approval. Replace the example with your actual feature behavior, and leave any unsupported row unapproved until it is corrected.
Frequently asked questions
Can AI create the entire SaaS explainer video?
AI can help with narration and supporting visuals, but a credible software demonstration still needs accurate product footage, approved claims and an edited sequence. Use your real app for feature evidence.
How long should a SaaS explainer be?
Use the shortest length that explains one useful workflow clearly. The 60-second example here is a planning constraint, not a universal optimum; tutorials may need more time for the actual steps.
Should I use an avatar or screen recordings?
Use screen recordings when the viewer needs to see software behavior. A presenter can introduce or connect ideas, but should not cover the controls or replace the evidence.
What if the interface changes after publication?
Keep a shot ledger with capture dates, claims and source clips. Replace affected recordings and narration, then check the surrounding sequence for changed terminology or missing steps.
How can I keep production costs under control?
Approve the script and real captures first. Generate only missing supporting assets, test short narration passages and revise individual sections instead of recreating the full video.
Start with the screen that proves your promise
Choose one task, capture its real result and write the explanation around it. Once that small sequence makes sense, voice and visuals can make it easier to follow.