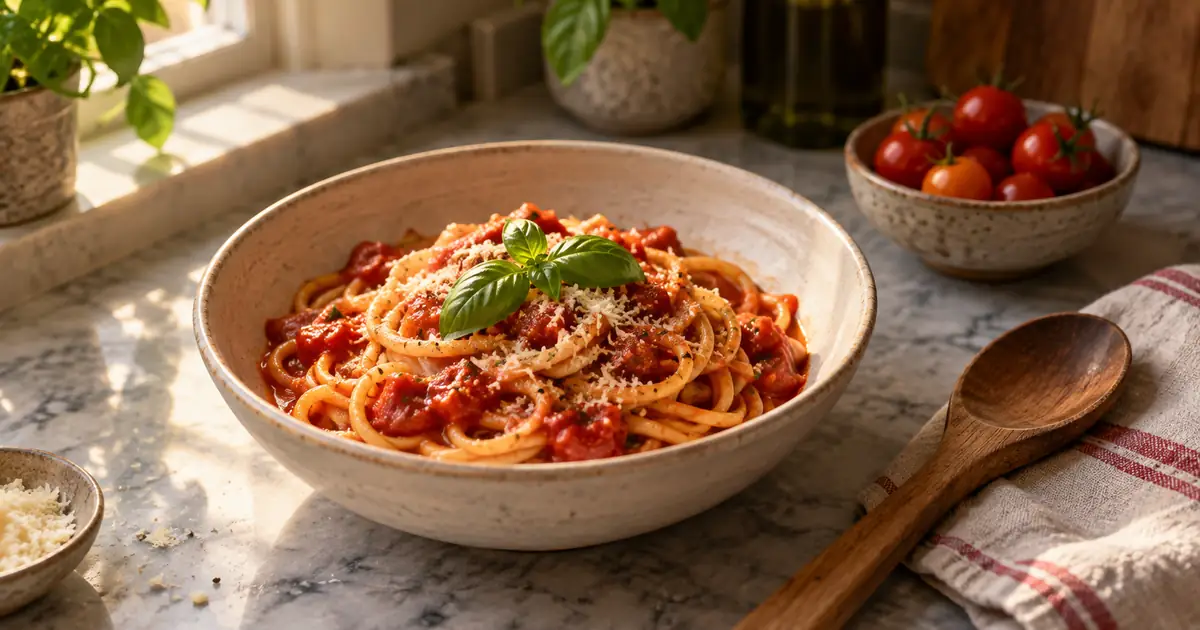

A plate of pasta can become an attractive moving shot. It cannot tell you how much salt went into the pan or whether the sauce simmered for five minutes or twenty. A useful AI cooking video starts by deciding which parts are a recipe demonstration and which parts are visual illustration.
Animate an approved food photo · Download the recipe-to-shot sheet
Checked September 14, 2026. The pasta reel is an original editorial example, not a tested recipe or a model benchmark. The hero is an AI-generated food illustration.
Choose between a food teaser and a recipe tutorial
A food teaser sells the appearance of a dish: a gentle camera move, a fork lifting one serving, or a close view of the finished texture. A recipe tutorial teaches an order of operations. It needs accurate ingredients, quantities, timings, and meaningful intermediate states. Both can use AI visuals, but they make different promises to the viewer.
If you only have a finished-dish photo, begin with a teaser. Do not ask the model to reconstruct the entire cooking process and assume the result is instructional. It may produce a plausible-looking sequence with the wrong ingredients or actions. A real photo of each critical stage is a much stronger foundation for a tutorial.
Current guides such as 8frame's cooking-video workflow separate ingredient, action, and plating shots. That separation is useful. The extra step here is to attach each shot to something you can verify about the actual recipe, rather than allowing visual continuity to stand in for culinary accuracy.
Make a recipe-to-shot map
For a short tomato-pasta reel, our illustrative edit has five beats. Replace the example with your own checked recipe; the table does not specify cooking instructions. Keep a column for what the image proves and another for the words you will put on screen.
| Edit beat | Source asset | Visual job | Instruction source |
|---|---|---|---|
| Opening, 0–3 seconds | Actual finished dish | Show the result clearly | Recipe name and verified description |
| Ingredients, 3–6 seconds | Photograph of measured ingredients | Identify what is needed | Your checked ingredient list |
| Preparation, 6–10 seconds | Real process photo or footage | Show the relevant stage | The corresponding recipe step |
| Combining, 10–14 seconds | Photo of pasta meeting sauce | Explain the transition | The actual order of operations |
| Finish, 14–18 seconds | Plated dish from the same session | Return to the result | Serving note or link to full instructions |
These times are an edit plan, not a demand that one model generate an eighteen-second continuous cooking performance. You can combine stills, short AI clips, and real footage. If an important step cannot be understood in four seconds, extend the edit or direct viewers to a complete recipe. Speed should not erase the information that makes the recipe usable.
Keep the food identity stable
Build a small continuity list from the source photos. For the pasta example, record the pasta shape, sauce color, visible garnish, serving bowl, and spoon. In a restaurant workflow, also record the real portion size and toppings. An edit that quietly doubles the cheese or adds an ingredient creates a different dish, even when it looks delicious.
Check food at transitions. A short tube of pasta should not become a ribbon between shots. A smooth red sauce should not suddenly contain cream unless that change belongs to the actual recipe. The bowl can rotate, but its rim and handle arrangement should remain plausible.
Our food-photography guide helps prepare the still image. Use that stage to correct distracting composition or lighting while preserving the dish. Save an approved still for each recipe stage so you are not chaining increasingly altered generated frames.
Animate only the action the image can support
A single photo gives you appearance at one moment. It does not show the hidden underside of a spoon, the path of a hand, or how thick a sauce is as it pours. Start with motion that asks for little missing information: a slow push toward the bowl, restrained surface movement, or a small shift in the camera angle.
Use an image-reference mode in Video Lab when the selected model supports it. The input image and available controls determine the route. Do not assume a model selected for text-to-video also supports reference images or the same duration. Review the generated clip before moving to the next recipe beat.
For a stir, pour, or chop, real footage is often a better input than a single still. If you do generate the action, watch for impossible utensil paths, disappearing ingredients, and liquid passing through a pan. Reject an incorrect instructional action even if it is visually smooth.
Write narration after the visual sequence makes sense
Read the checked recipe beside your rough edit. Every spoken instruction should match the stage on screen. Avoid narrating a precise cooking duration over a generated timelapse that suggests a different process. If you compress time, use an ordinary edit and a clear instruction rather than letting the synthetic motion imply a measurement.
An opening line can be simple: “Here is the finished tomato pasta. The full ingredient list and method are linked below.” A teaser does not need to masquerade as a complete tutorial. For a full recipe, write the real quantities and actions clearly, then audition the text in Voice Lab. Listen for ingredient-name pronunciation and units; do not approve the voice solely because it sounds natural.
Captions should add missing information, not repeat an ambiguous visual. Put an ingredient quantity beside the ingredient shot and the next action beside the relevant process shot. Keep text away from the part of the food the viewer needs to inspect.
Fix food-specific failures
| Problem | Likely production issue | Practical next step |
|---|---|---|
| Garnish multiplies | The model is changing food details | Reduce motion and return to the approved still |
| Steam appears on a cold dish | A cinematic cue conflicts with the food | Remove the cue and use camera movement instead |
| Spoon bends while stirring | Complex contact from insufficient reference | Use actual stirring footage or a still of the completed stage |
| Ingredients vanish between shots | The edit skips an explanatory step | Add a real intermediate image or clarify the transition |
The distinction matters: a garnish that changes within one clip is a generation defect. A garnish that changes because you photographed two different servings is a source-continuity problem. Regenerating the video cannot fix a mismatch already built into your source set.
Review the exported reel as a viewer would
Watch with sound off first. Can you identify the dish, the important stages, and what the video claims to teach? Then listen without looking. Does the narration still describe a coherent process? Finally, play both together and check whether each instruction arrives while the relevant action is visible.
Export a vertical version when the destination calls for it, but inspect the crop before committing. A plate that fills a landscape frame may lose important edges in a portrait crop. The food-photo motion examples from ClipTrend emphasize letting the source photo define the dish; carry that discipline through the final crop as well.
If AI illustrates a step you did not record, label that use clearly in the video or accompanying description. Keep your actual recipe and source photos available for corrections. The useful finished asset is an appetizing, understandable reel whose visual claims agree with the recipe.
Frequently asked questions
Can one food photo become a complete cooking tutorial?
It can support an animated teaser, but it does not verify the cooking process. A tutorial needs a checked recipe and reliable evidence for the stages it teaches.
Should I add steam to make every dish look fresh?
No. Steam should agree with the actual dish and moment. For cold foods, use lighting, composition, or restrained camera motion instead.
Can I generate all the recipe shots in one clip?
You can experiment, but separate stages are easier to verify and repair. A short reel can combine real footage, stills, and approved generated clips.
What can I make in QuestStudio first?
Start with a finished-dish image in a supported Video Lab reference mode. Check that the food remains accurate before building additional shots or narration.
Once the dish photos are approved, build a short offer-led sequence with the three-photo restaurant promo video workflow and keep prices and ordering information editable.