
Underwater video can look convincing for a moment and then quietly break. A rock changes shape as sunlight crosses it. A fish loses a fin behind a foreground object. Particles follow the camera instead of drifting through the water.
Build an AI underwater video around a small set of connected visual rules: one depth, one lighting situation, a stable environment and an understandable movement. Start with a short, fixed-camera shot before adding schools of fish or a moving diver.
Choose shallow water or deep water
A clear sunlit cove and a deep dark environment call for different visual decisions. Do not combine bright surface light, highly visible distant scenery and deep-sea darkness simply because each phrase sounds cinematic.
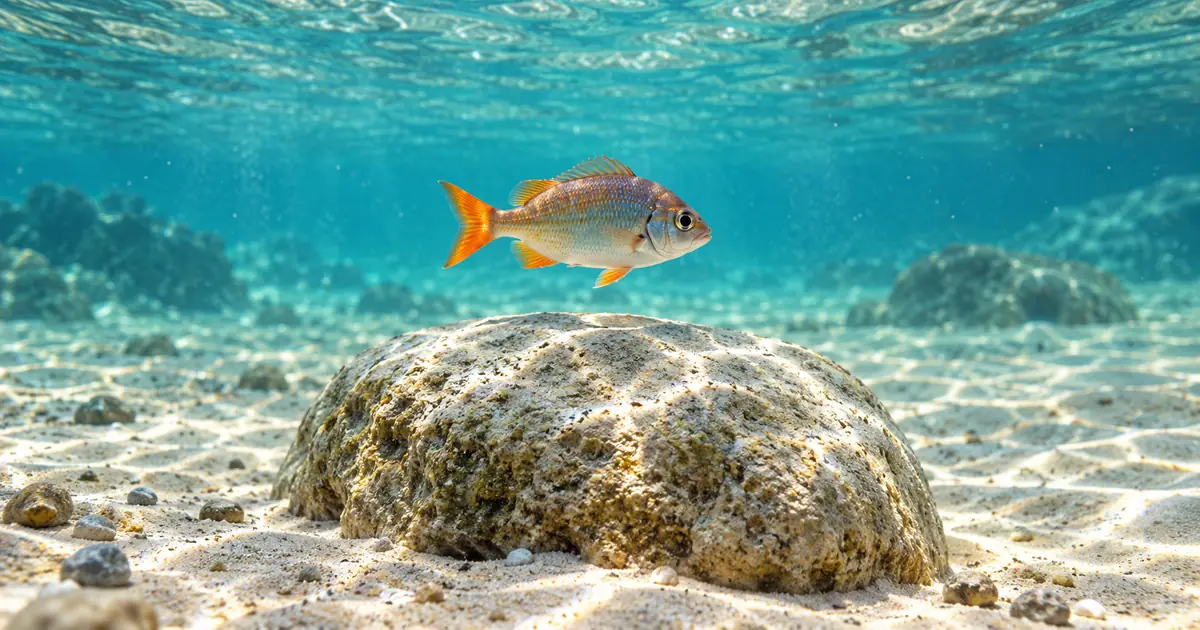
For our planning example, one small fish passes a rounded rock in clear shallow water. The camera stays near the rock. Light patterns move across the sand, while the rock's outline remains recognizable.
NOAA's light and color fact sheet explains that water changes the light and colors available below the surface. Actual conditions vary with depth and water properties. Use that as a reason to choose a coherent scene, not as a universal depth-to-color formula.
Write a short scene agreement before generating: shallow clear water, daylight from above, one fish, one foreground rock and a fixed camera. It gives you specific things to inspect instead of a broad instruction to make everything realistic.
Build a reference with stable landmarks
A useful reference has features you can recognize across frames. Choose a rock with a simple notch, an isolated pebble or a visible sand boundary. Avoid a dense field of almost identical objects for the first attempt.
The fish should also have a readable silhouette. A side-biased view with visible body, tail and a few clear fins is easier to judge than a tiny fish turning directly into the lens.
Use an authorized photograph or an original scene image. If you create the reference in Image Lab, inspect it before animation. A fish with inconsistent anatomy in the still will not become a trustworthy animal simply because it moves.
The establishing-shot guide can help define the location. For this tighter underwater shot, keep only the landmarks needed to understand movement and depth.
Ask for one restrained pass
Use a supported reference-image workflow in Video Lab. Begin with the fish crossing a short distance in front of the rock, without an abrupt turn, camera orbit or scene transition.
This is a starting brief. It does not establish biological accuracy or guarantee that every landmark stays fixed. Review the result as synthetic footage and label it appropriately when the context could otherwise imply a real wildlife observation.
If the intended use requires a particular species or scientific behavior, obtain suitable reference material and qualified review. A generic fish prompt is not a substitute for that evidence.
Separate moving light from changing geometry
Caustic light patterns can move over the rock while its physical form remains stable. A bright patch sliding across a surface is different from the surface growing a new ridge.
Track the rock's outer contour and the same visible notch. Compare their positions relative to nearby sand features. Changes in brightness are expected in this scene; unexplained changes in silhouette are not.
Do not judge only by a frozen frame. A single image can look beautiful while the rock slowly swells over time. Watch normal playback, then inspect the interval where the shape first seems to change.
| Feature | Intended behavior | Failure to investigate |
|---|---|---|
| Rock outline | Stable under a fixed camera | Expanding, shrinking or melting |
| Sunlight pattern | Moves across the surface | Becomes permanent carved texture |
| Sand boundary | Remains a location reference | Slides with no scene explanation |
| Fish body | Moves as one coherent animal | Body stretches independently of motion |
| Suspended particles | Drift through the scene | Stay locked to screen coordinates |
Refraction and perspective can affect appearances in real underwater footage. The practical question is whether the generated changes support a coherent shot. Do not label every small visual variation a physical impossibility; look for repeated or conspicuous contradictions.
Review the fish through the full movement
Follow the head, body and tail together. The fish should maintain a plausible continuous identity. A tail that detaches, a fin that appears on the wrong side or a body that changes thickness deserves review even if the overall swimming direction is correct.
Check the relationship between effort and travel without inventing a universal swimming rule. Different animals move differently. For a generic illustrative shot, seek a coordinated, believable movement rather than claiming a species-specific pattern.
Mark the first moment of any failure. If the fish is coherent for two seconds and changes shape during a turn, a straighter path may be the next useful attempt. Changing the whole environment would make it harder to evaluate that decision.
The mirror-reflection video guide also uses continuity checks, but this scene has a different source of ambiguity: moving illumination can resemble changing surface structure. Keep those observations separate in your notes.
Add occlusion only after the open pass works
Once the simple pass is acceptable, try having the fish pass partly behind the rock. Review the last visible frame before occlusion and the first visible frame afterward. The body size, markings and direction should still make sense.
A common editorial mistake is to inspect only the moments where the fish is fully visible. The transition at the rock's edge can reveal duplication, clipping or a new fish emerging from the wrong position.
Keep the occluding object simple. A dense reef with many overlapping branches makes the test harder to interpret. If the fish cannot pass one clear rock convincingly, adding complexity will not make the underlying continuity easier to manage.
Record an occlusion pass separately from the original open-water pass. It may be a more demanding shot and does not need to replace an already useful simpler clip.
Give particles and bubbles a reason to exist
A few particles can suggest depth, but a uniform screen overlay can look pasted on. Compare near and distant particles and watch their relationship to the fixed landmarks. They should belong to the water space rather than merely decorate the image.
Do not add bubbles by habit. A continuous stream needs an appropriate source in the scene. Random bubbles emerging from a solid rock can undermine an otherwise calm natural shot.
For our simple fish pass, sparse drifting particles are sufficient. If you later add a diver or equipment, that introduces new movement, contact and source questions. Treat it as a new shot plan instead of piling extra objects onto the accepted prompt.
The rain-video workflow similarly asks effects to belong to the scene. Underwater review still needs its own checks for depth, illumination and animal continuity.
Review the source and export separately
Compare the generated clip with the final encoded export. Compression can damage subtle gradients and moving texture. An export problem should not automatically trigger another generation.
Watch at the intended display size as well as a larger inspection view. Excessive sharpening can make particles and small light changes distracting. Preserve a clean source master so you can revise output treatment without regenerating the scene.
Use the underwater review worksheet to record a landmark, a fish feature and a particle observation at several moments. Include a separate field for any occlusion event. The worksheet begins with review questions, not invented results.
If a shorter excerpt is the only clean portion, decide whether it fulfills the intended scene. Trim at a natural movement point and preserve enough time for the viewer to read the environment. A brief coherent shot can be more useful than a long sequence that changes its own geography.
Frequently asked questions
Why does the rock seem to melt in my underwater clip?
The model may be changing geometry while attempting to animate light or water. Track the rock's outline and a fixed landmark separately from the bright patterns moving across its surface.
Should underwater video always be blue?
No. Appearance depends on lighting, depth, water conditions and the creative treatment. Choose a coherent environment and use appropriate references instead of applying one color rule to every scene.
Why does the fish change after passing behind a rock?
Occlusion can interrupt visual continuity. Compare the animal immediately before and after it disappears, and simplify the path or occluding object when its identity does not survive.
Will more bubbles make the scene look realistic?
Only when they fit the scene. Unexplained bubbles can introduce new contradictions. A restrained shot may need only natural-looking light and a small amount of drifting particulate detail.
Can I present the result as real wildlife footage?
Do not imply that synthetic footage documents an actual animal or observation. Label it appropriately, and obtain suitable reference and expert review when scientific accuracy is part of the intended use.
Keep the environment connected
Start with one fish, one recognizable rock and one lighting situation. When those elements remain coherent throughout the shot, you have a useful base for a more ambitious underwater scene.
Build one shallow-water shot in Video Lab
Hero image: AI-generated editorial illustration. Examples are original planning exercises, not measured model tests.