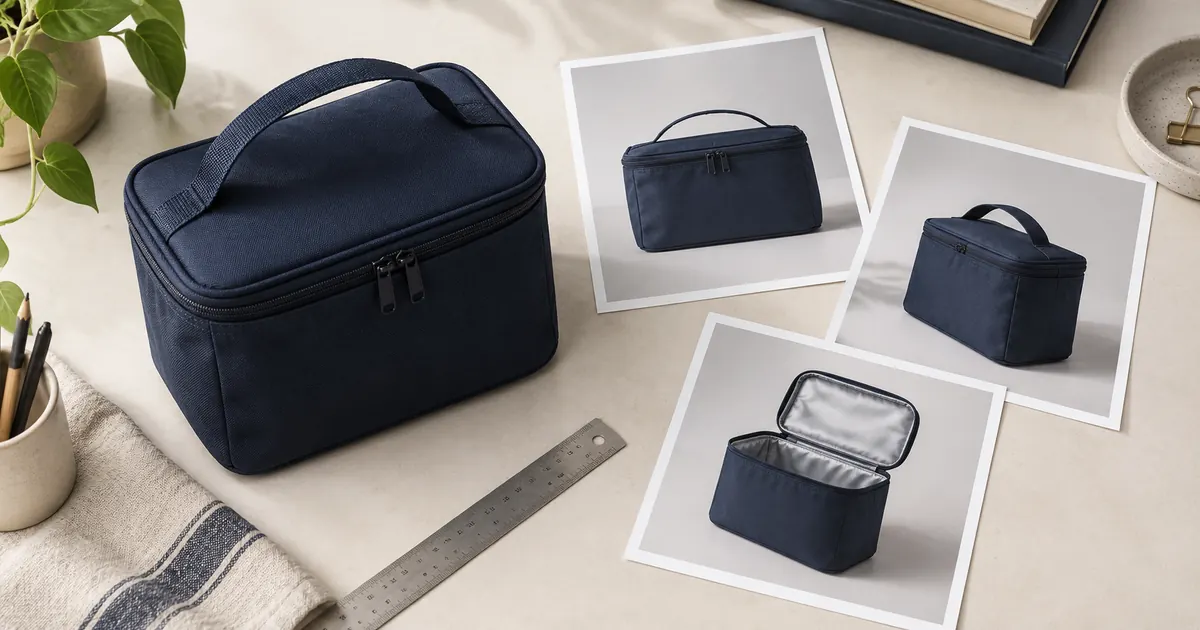

An Amazon product infographic combines a product image with a small amount of explanatory text or graphics. Start with an actual buyer question, choose a photo that answers it, and add only the labels needed to remove uncertainty. Keep dimensions, claims and typography editable until the final export.
This workflow plans five secondary images for a fictional lunch bag. It includes a source ledger and a phone-sized review method. The example is a design exercise, not a tested listing or a promise of higher conversion. Your finished set should make it easier to understand what arrives in the box.
Keep the main image and secondary gallery separate
Your main image has a different job and tighter rules than an explanatory gallery slide. Amazon’s product photography guidance describes the white-background main-image approach and recommends keeping the product prominent. Do not turn that main image into a promotional poster.
Plan infographics for the secondary gallery, then check the current Seller Central image requirements and your category guidance before upload. Rules can differ by category and listing context. A+ Content is another placement with its own modules; a gallery export is not automatically an A+ asset.
Make separate folders for the main image, supporting photos, editable infographic files and final exports. This prevents a designer from accidentally replacing your clean main photo with a text-heavy version. Include the SKU and color variant in every working filename.
Write the five questions before drawing the five images
Gather questions from your own customer messages, product documentation and return explanations. If you have no customer history, start with practical uncertainties you can actually answer. Avoid presenting guesses as research. “Will my container fit?” is more useful than “How do we make this look premium?”
| Image | Buyer question | Visual evidence |
|---|---|---|
| Size | Will it fit on my shelf? | Front and side views with verified external dimensions |
| Interior | Will my own container fit inside? | Open bag, measured usable opening and interior |
| Included items | Does a food container come with it? | Actual contents arranged separately |
| Detail | How does the closure work? | Close photo of the real zipper and handle |
| Use | What does carrying it look like? | Accurate lifestyle photo with clear product scale |
This is a planning sequence, not a universal ranking of image slots. If inclusion confusion causes the most questions, move that answer earlier. For a product sold in multiple sizes, a simple size comparison may matter more than another lifestyle scene.
Build a source ledger that survives a revision
Every dimension or feature statement needs an owner and a source. A photograph can show a zipper; it cannot establish a thermal-retention claim. Separate what is visible from what needs a specification or test. Leave unsupported claims out of the design rather than asking AI to make them sound more persuasive.
For this fictional example, suppose the approved external dimensions are 10 × 7 × 8 inches. Those numbers are invented solely for the exercise. Do not infer the usable interior from them. Padding, seams and a curved opening can reduce the space available for a container.
| Proposed label | Required evidence | Design decision |
|---|---|---|
| 10 × 7 × 8 in exterior | Approved measurement record for this SKU | Label exterior, not capacity |
| Container not included | Current pack-out list | Show contents separately from props |
| Wipe-clean lining | Approved care instructions | Use the exact permitted care wording |
| Keeps food cold all day | Appropriate substantiation, currently absent | Omit from this exercise |
Download the editable source ledger CSV and replace the sample rows. If a supplier changes the handle or lining, you can find the affected image immediately. The product photo approval checklist adds a broader check of product identity before publication.
Prepare a real product anchor for each view
Choose sharp photos of the exact item and variant you will sell. Check the seams, zipper pulls, handle attachment and color under neutral light. Remove dust and correct exposure carefully, but preserve the construction. A beautiful generated bag with an extra pocket is a different product.
Photograph the open interior when the question concerns usable space. Do not ask a model to invent the inside from a closed exterior photo. If a measurement arrow needs a side view you do not have, take that view. Additional source photography is often a smaller job than repeatedly repairing a plausible but wrong render.
For a lifestyle support image, keep the original product as the visual reference and review it again after any background edit. Check the apparent scale against nearby objects. A lunch bag should not quietly grow to fit a larger container just because the prompt asked for a convenient scene.
Use a simple layout with one reading path
Make a rough composition before styling every slide. Place the product where its relevant part is easy to see. Add a brief heading, then arrange two or three labels near the evidence they describe. The number of callouts is a starting limit for this exercise, not a platform rule.
A size slide might read from the heading to the product, then to width, depth and height. Keep arrows outside the silhouette where possible. Their endpoints should indicate the measured boundaries, not the handles or shadows unless those are included in the dimension.
Use one type family, consistent spacing and enough contrast for small screens. Avoid decorative badges that resemble certifications. If your text needs a tiny footnote to correct the impression created by the headline, revise the headline. “Container shown for scale; not included” belongs close to the relevant image, not on a distant slide.
Keep a plain, unstyled proof of the layout. It is easier for a product owner to catch a wrong measurement when they are not distracted by an elaborate background.
Use AI for a controlled supporting asset
In Image Lab, start with one supporting background or an edit using the real product reference, where the selected model supports it. The following is a background-only exercise. Add the actual bag and verified text in your layout editor afterward.
Generating an empty setting gives you a useful separation: the scene can change while the product remains a source photograph. You still need to match perspective, lighting and contact shadows during composition. A background is not proof that the product can be placed anywhere without further work.
QuestStudio can help create or edit the visual asset; use your chosen layout editor for exact typography, dimension arrows and export assembly. The editable image-text workflow explains why critical labels deserve their own layer.
Review at the actual reading size
Open the exported image at a realistic phone display width without zooming. Ask another person to tell you what is included, how large the item is and what each label refers to. If they need to pinch in before finding the main answer, simplify the slide. This is a qualitative review, not a conversion study.
Then inspect at full resolution for different problems: broken cutout edges, misspelled units, arrows touching the wrong edge and altered product details. Both checks matter. A file can be beautifully sharp and impossible to read in the gallery.
- Match the displayed variant to the selected listing variant.
- Check every numeric label against the approved record.
- Remove claims that lack a source or exceed what the source supports.
- Confirm props cannot be mistaken for included accessories.
- Compare the final product silhouette with the source photo.
Export a fresh file after a correction and review that actual export, not just the editor canvas. Compression, font substitution and accidental hidden layers can change the delivered result.
Publish a set you can maintain
Save the approved editable master, source photos, evidence ledger and final filenames together. Record which gallery position uses each asset. Keep dated variants separate so a discontinued size does not return when someone reuses an old project.
After publication, verify the listing on desktop and mobile. Check cropping, order and selected variations. If customers still ask the same question, examine whether the relevant slide is visible and understandable before assuming you need more images.
Evaluate changes with an appropriate listing experiment or comparable periods when available. Price, inventory and traffic sources can change results independently of your images. A useful infographic earns its place by answering a question accurately; a measured commercial benefit requires separate evidence.
Frequently asked questions
Can I put an infographic in the main image?
Keep the main image separate and follow its stricter requirements. Plan explanatory infographics for secondary placements, then verify current Seller Central and category guidance before uploading.
Can AI generate the entire product infographic?
It can produce a draft, but product details, claims, dimensions and text still need review. Use real source photos and editable labels when accuracy or later revisions matter.
How many infographic images do I need?
Use as many as needed to answer distinct buyer questions within the available gallery. The five-image plan here is an exercise, not a required number or a guaranteed best-performing order.
Should dimensions be in inches or centimeters?
Use units appropriate to your marketplace and buyers, and state them clearly. If showing both, verify the conversion and rounding against the same approved measurement record.
Does this guarantee higher sales?
No. Clear images can improve understanding, but sales also depend on demand, price, reviews, delivery and other factors. Measure the finished listing rather than assuming a lift.
Make the first slide answer one real question
Choose the buyer uncertainty you can resolve with the strongest evidence. Build that slide, review it on a phone, then use its spacing and type treatment to finish the rest of the gallery.