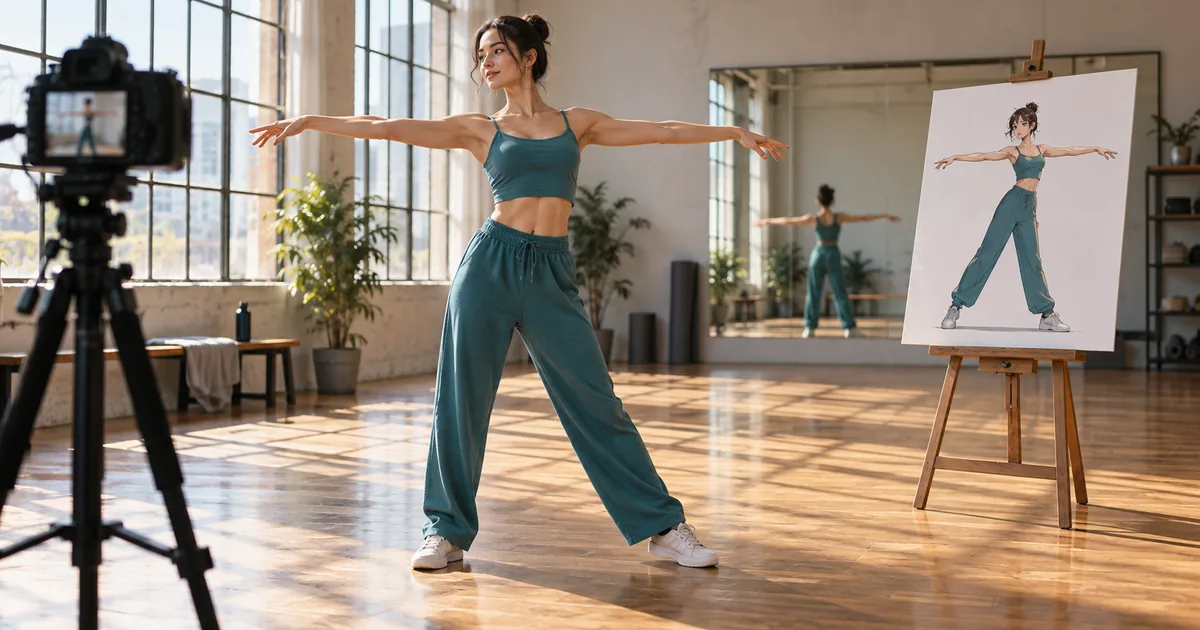

If a transferred dance loses a hand halfway through a turn, another paragraph of cinematic adjectives is unlikely to repair it. The useful questions are simpler: was that hand visible in the source, was there room for it in the new frame, and did the character image show enough of the body?
Download the reference compatibility checklist · Prepare a character reference
Editorial guide checked September 13, 2026. Examples and worksheets are original planning material; the hero is an AI-generated illustration, not a model benchmark.
Motion transfer starts with a compatible pair
Kling Motion Control combines a character image with a movement reference. The practical challenge is that the image and video may describe bodies at different scales, with different amounts of visible space. A shoulder-up portrait cannot provide a clear wardrobe and leg reference for a full-body dance. A character pressed against the edge of an image has nowhere to extend an arm.
Kling's official Motion Control guide covers the 2.6 workflow and the additional face-binding behavior in 3.0. It recommends compatible framing and a clear continuous movement source. Its 3.0 facial element is specifically a face reference, not a replacement for clothing, hairstyle, makeup, or props. Keep those distinctions in mind when following tutorials that mix model versions.
The worked example here is a short arm extension and quarter-turn performed by an authorized adult subject. It is intentionally simpler than a full dance. No paid transfer results are claimed; the purpose is to give you a source-preparation method you can reproduce.
Record a reference that leaves fewer mysteries
Place the camera where the whole action is visible. For a standing movement, include the feet, the full reach of both arms, and some space above the head. Wear clothing that makes the limbs distinguishable from the background. The goal is not a beautiful source video. It is a readable performance.
Begin in a stable pose. Extend one arm, hold briefly, turn a quarter of the way, and return to a stable ending. Avoid an edit inside the reference: a cut from one position to another is a discontinuity, not a body movement to imitate. Keep other people out of the action area so the intended performer is unambiguous.
Watch the source once at normal speed and once slowly. Mark the moment when an arm crosses the torso or the face turns away. Those moments deserve special attention in the output because the new character's hidden surfaces must remain plausible as they reappear.
Use a movement you performed or have permission to use. That also gives you control over retakes. If the reference fails because a hand leaves the frame, recording it again can be far more effective than trying to compensate with prompt wording.
Build the character image around the action
Create a full-body image for a full-body source. Match the general camera height and starting pose closely enough that the transfer does not need to invent an immediate change of viewpoint. Avoid exaggerated perspective unless that distortion is central to the desired character.
Choose a silhouette with readable arms and legs. A long cape, very loose sleeves, or a prop covering the torso creates extra ambiguity. These elements can be added to later experiments, but they make the first comparison harder to diagnose. The reference should show the clothing details you actually need to preserve.
Inspect the still before sending it onward. Count fingers where visible, check shoe shapes, and make sure the costume is coherent. A transfer model should not have to repair a malformed starting hand while also following a new movement.
Choose orientation for a reason
The orientation decision determines which input's spatial arrangement takes priority. In Kling's documented 2.6 workflow, matching the video favors the movement reference's orientation; matching the image favors the image's arrangement and offers a different relationship to camera direction. Use the actual labels in your selected version rather than assuming every provider exposes the same switch.
For the first arm-extension experiment, prioritize following the recorded action. Keep the image and video reasonably aligned so the orientation choice is not being asked to solve a contradiction. Save that choice in the worksheet; otherwise, two attempts may differ for a reason you never recorded.
In the documented 3.0 workflow, face binding is available under the video-matching orientation condition. If the option is absent, first check the model and orientation rather than concluding that your account or image is broken. The ComfyUI integration documentation is another useful reference when working through that particular interface.
Do not ask face binding to solve the whole character
Face binding can address facial identity, but your production still needs a body and costume reference. If the face looks consistent while the jacket changes, that is a wardrobe failure, not evidence that the face feature did nothing. Separate these checks in your review.
Choose face references with the views needed by the motion. A source that turns away and back creates a different requirement from one that remains frontal. If the character is real, use authorized material with suitable expressions and lighting; do not infer that a public portrait provides permission for a new performance.
Kling's guide describes special handling for multiple faces, including selection of the largest face. A simple single-person source is easier to audit than a crowded scene. When you eventually need two interacting characters, treat that as a new capability test rather than assuming the one-person result will scale automatically.
Review four moments, not just the thumbnail
| Moment | Question | What a failure suggests |
|---|---|---|
| Entry pose | Does the character begin in a plausible, complete pose? | Starting image and movement may be misaligned |
| Maximum reach | Are the hands, feet, and garment edges still intact? | The frame or body reference may be too tight |
| Occlusion and turn | Do hidden features return consistently? | The reference may not define the required views |
| Exit pose | Does the action finish without an unexplained jump? | The source may be discontinuous or too complex |
Also compare screen direction. A hand moving toward camera left should not quietly switch sides unless the chosen orientation or shot design explains it. Watch the feet for sliding, the torso for sudden resizing, and the background for movement that makes the character seem detached from the floor.
Playback at normal speed remains the final judgment. Slow motion helps locate an issue, but a frame-level imperfection that no one sees in context may matter less than a rhythmic stumble that is obvious at normal speed. Decide which defects are acceptable for the intended use before selecting the winner.
Repair the source associated with the defect
If a foot disappears, widen the source framing and inspect the character image. If the movement is recognizable but the face changes, improve the face evidence and verify the relevant version's binding options. If the body becomes unstable during a fast turn, try a slower or shorter reference before changing the costume, camera, and character together.
A useful retry log needs only a few fields: image filename, video filename, version, orientation, changed input, and rejection reason. “Better” is not a useful rejection reason. “Right hand disappears at maximum reach” gives the next attempt a concrete job.
Keep a version that passes the simple movement. Then introduce one harder element, such as a prop or a longer turn. This establishes where the workflow becomes unreliable and protects you from spending the entire session on an ambitious source that never had a clean baseline.
Where QuestStudio fits in this workflow
Use QuestStudio Image Lab to create or refine the still character reference and save the accepted image. The current QuestStudio Kling listing is 2.5 Turbo Pro, not Kling Motion Control 2.6 or 3.0. A normal Kling video prompt in Video Lab is a different task from uploading the movement reference described here.
Once your source pair is ready, use a Motion Control interface that explicitly supports the chosen version and options. Bring the completed clip into your editing process, compare it with the reference at the four marked moments, and keep the source checklist beside the accepted output. A carefully prepared pair is reusable; an unexplained lucky render is much harder to repeat.
Frequently asked questions
Is Kling Motion Control the same as a camera-motion prompt?
No. Motion Control uses a reference video to guide character movement. Camera instructions in a text-to-video prompt do not provide the same movement reference.
What should my character image show?
Show the body area needed for the action, keep important limbs visible, and leave room around the subject. Match a full-body movement video with a full-body image.
Does Kling 3.0 face binding preserve clothing?
Kling's guide says its facial element does not include clothing, hairstyle, makeup, or props. Supply those facts through the main image and review them separately.
Can I do this in QuestStudio's Kling model?
The current QuestStudio catalog lists Kling 2.5 Turbo Pro, not the Motion Control 2.6 or 3.0 workflow. Use Image Lab for source preparation and the appropriate Kling interface for transfer.