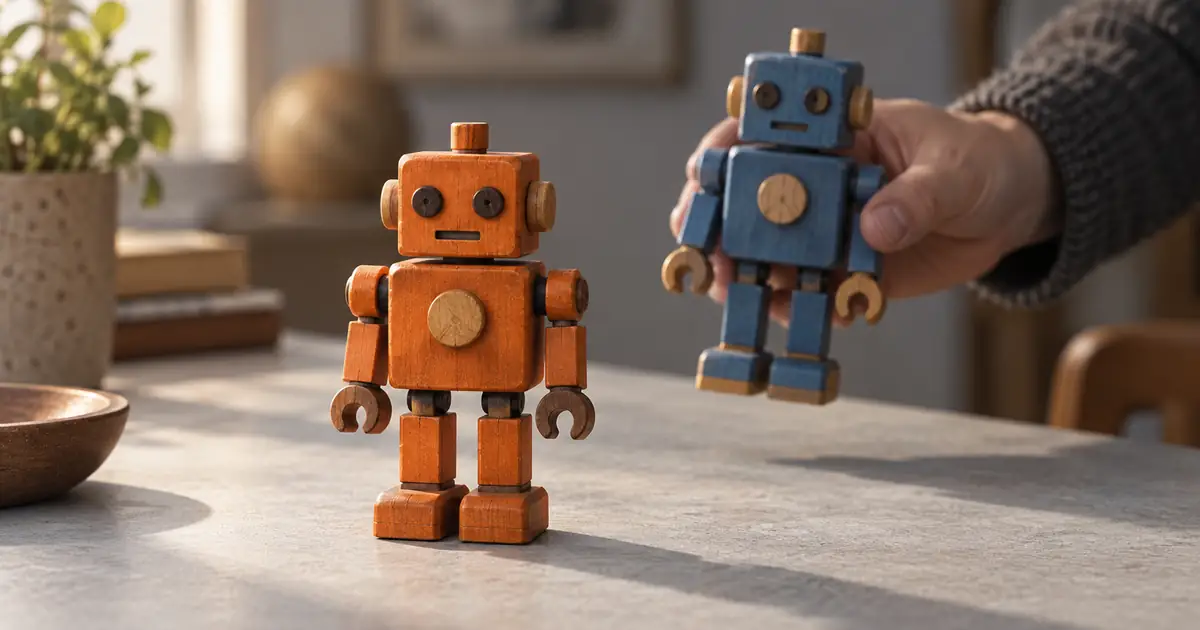

Replacing the toy on a table is easy to describe. Keeping the hand in front of it, the shadow underneath it, and the right reflection in the window is the harder part. PixVerse Swap is most useful when you plan those relationships before generating.
Create a replacement reference · Download the subject-and-contact sheet
Checked September 14, 2026. The toy example is an original production plan, not a measured PixVerse test. The hero is an AI-generated illustration.
Use Swap when the replacement has a clear boundary
The official PixVerse Swap guide describes using an uploaded or generated video, choosing a frame and target area, then providing an image for the replacement. The broader Modify workflow also covers adding elements, prompt-based edits, and restyling. Decide which job you are doing before choosing a control.
A different robot occupying the original robot's role is a swap. Turning the entire tabletop scene into watercolor is a restyle. Removing the robot and reconstructing an empty table is removal. These jobs have different success criteria. Combining them into “make everything better” makes it hard to decide what the model is supposed to preserve.
Our example changes a blue wooden toy robot into an original orange wooden robot. The camera pans gently while a hand places the toy on the table. The hand, tabletop, camera path, and background should retain their roles. This is a conceptual creative shot, not evidence that an actual retail product has a new finish.
Write the replacement contract
List the properties that may change and the properties that must survive. Be specific enough to inspect them in the output. “Keep the quality” is not inspectable; “the hand remains in front of the robot's chest during the placement” is.
| Property | Our choice | Check |
|---|---|---|
| Subject identity | Blue robot becomes orange robot | Orange design remains consistent through the turn |
| Silhouette | Similar head, torso, and leg proportions | Replacement fits the hand's grip |
| Contact | Feet meet the tabletop after placement | No hovering or sinking |
| Foreground overlap | Fingers pass in front of the torso | Correct order during the entire overlap |
| Lighting | Soft source from camera left | Highlights and shadow direction remain plausible |
If you replace a short object with a tall one, the actor may appear to grip empty space. That is not necessarily a selection error. It may be an impossible relationship between the new design and the recorded action. A matched replacement is easier to evaluate than a radical shape change.
Choose the hardest moment before choosing the frame
Watch the entire source. Find the moment when the subject is most covered, turns furthest from the camera, or leaves the frame. That moment determines whether the shot is a sensible candidate. A clean opening followed by several seconds of complete occlusion may be harder than a less polished clip that keeps the object visible.
For the selection frame, prefer a clear view that exposes the subject's edges. Avoid motion blur, a hand covering most of the object, or a partial exit at the edge of the frame. A useful selection frame does not guarantee tracking throughout the video, but it removes an avoidable ambiguity at the start.
Keep an unedited copy of the source. If you trim the clip for another attempt, remember that its frame positions and timing have changed. Rebuild the selection from that revised source instead of assuming an earlier selection still refers to the same content.
Prepare an image that belongs in the shot
Match the reference angle to a view the source actually contains. A straight-on product image is weak guidance for a shot dominated by the back of the object. Keep the replacement entirely in frame and avoid props that might be interpreted as part of its design. Clear lighting is more useful than dramatic rim light if the source scene uses soft daylight.
Image Lab can help develop a fictional replacement. For a real product, use approved photography or accurate supplied references. An attractive generated reference can quietly change the number of buttons, the material, or the shape of a connector. Check the reference before it becomes the basis of a moving advertisement.
Run the swap with one controlled change
- Open the current PixVerse editing workflow that exposes Swap.
- Load the source video and choose a frame with a clear target.
- Select the intended subject, checking that the hand or background is not accidentally included.
- Upload the matched replacement reference.
- Review the available options and displayed cost; generate a short test.
- Download the result and compare it with the source at the contact moments you identified.
Button names and available settings can vary by interface. If you use the API, the Swap endpoint reference specifically requires the source video, keyframe, and mask to belong to the same video context. The guide and the broader Modify documentation describe different mask inputs; follow the selected endpoint rather than transferring assumptions between them.
Do not treat an API upload limit as a promise about the consumer app. This tutorial's recommendation to use a short, simple clip is a production choice. Check the limits shown by the exact workflow you are using.
Inspect occlusion, shadow, and reflection separately
Occlusion is the order of overlapping objects. The hand should cover the same portion of the replacement that it would cover physically. Pause just before contact, at maximum overlap, and just after release. Look for fingers disappearing inside the object, edges popping through the hand, or a ghost of the original subject.
Contact shadow helps anchor the replacement. A dark patch left from a differently shaped source may look wrong even when the new subject is sharp. Check whether the shadow meets the feet and follows the same light direction. A shadow that stays behind when the toy moves is a separate defect from a floating toy.
Reflection creates a second representation of the subject. The visible robot can change while the reflection remains blue. If the mirror or glass is important, inspect it as its own region. A difficult reflected view may justify another shot or a manual composite rather than repeated blind attempts.
Choose a repair that matches the failure
If only the fingers fail during placement, test a source where the actor holds a less important part of the object or releases it sooner. If the new head grows during the turn, use a reference with clearer proportions or reduce the range of rotation. If the replacement is stable but has the wrong color temperature, a restrained grade in an editor may be enough.
A frame-by-frame manual repair can be reasonable for a short approved shot, but estimate the work first. A one-second overlap at 24 frames per second contains 24 frames to inspect; it is not one still-image correction. Keep the result that communicates the intended action with the fewest distracting changes, even if another take has a prettier opening.
Finish a believable creative edit
Watch the complete export at normal speed before judging individual pixels. The audience reads action, weight, and continuity together. Then inspect the critical frames at full resolution. Preserve the original source, reference, selected take, and a note explaining the replacement. This makes later revisions and approvals much easier.
QuestStudio's part of this workflow is the reference or source-asset stage. PixVerse performs the described Swap. If the recorded grip cannot accommodate the replacement, a new shot may be the most practical solution; more detailed prompting cannot change what the actor originally held.
Frequently asked questions
Is PixVerse Swap the same as generating between two images?
No. Swap replaces a selected subject in an existing video. First-and-last-frame generation creates motion between supplied endpoint images.
Will selecting the subject also fix its reflection?
Do not assume so. Inspect reflections and shadows separately, because they may occupy regions outside the selected subject.
Can I replace a product with a very different shape?
You can experiment, but grips, overlaps, and contact points may become implausible. A similar silhouette is a more controlled starting point.
Does QuestStudio include PixVerse Swap?
This workflow uses QuestStudio for reference preparation. The PixVerse Swap steps take place in PixVerse, and final repairs may require a video editor.