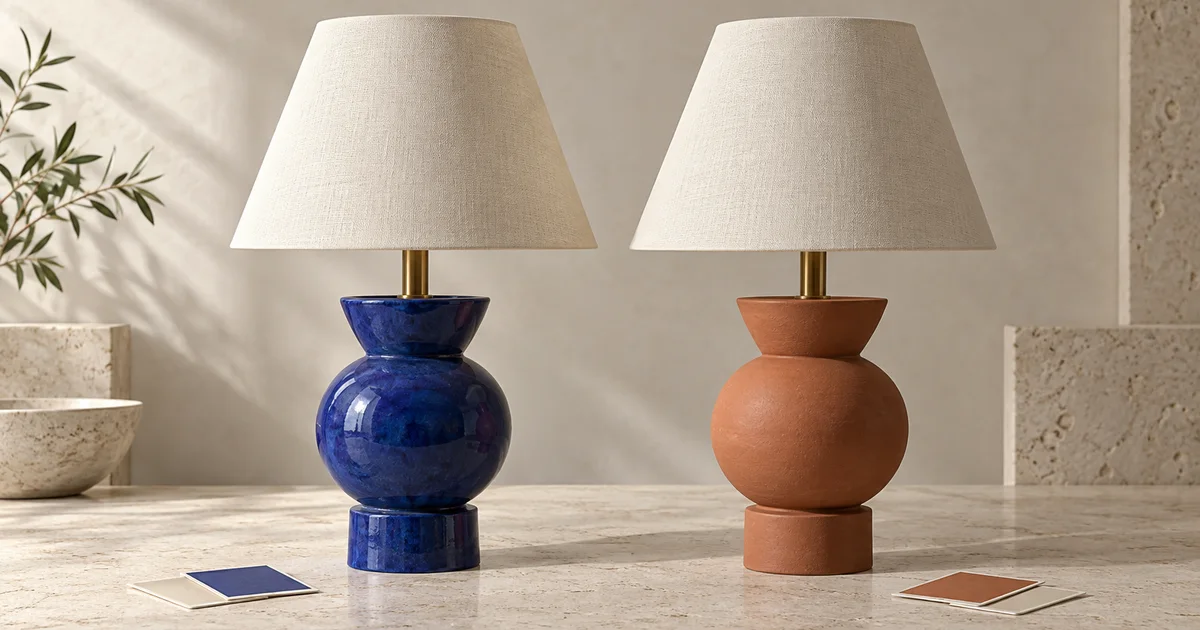

You ask for a blue lamp base. The new image looks attractive, but the shade is wider, the switch moved, and the table now has a different edge. A successful edit must preserve the details you did not intend to redesign. Qwen's editing family makes that distinction especially important because the same name appears on several different models.
Download the image-edit acceptance sheet · Try reference editing in Image Lab
Editorial guide checked September 13, 2026. Examples and worksheets are original planning material; the hero is an AI-generated illustration, not a model benchmark.
Start with the model identifier, not the logo
Search for Qwen image editing and you will find open model releases, hosted APIs, and unrelated services using similar names. An example made with one version does not establish what another interface accepts. Before uploading, record the provider, full model identifier, input controls, and output size. A screenshot of those settings is more useful for reproducing an edit than a bookmark labelled “Qwen.”
Alibaba Cloud's current image editing API reference includes the Qwen Image 2.0 family alongside earlier editing models. The Qwen team's repository separately documents open releases such as Image-Edit-2511. Read the matching documentation before borrowing a multi-image example. Do not infer a model's identity from a third-party page calling itself a Qwen service.
For this exercise, you need one editable source image and a way to provide a written instruction. Multiple inputs, several returned candidates, and larger output dimensions are conveniences, not prerequisites. If your interface only generates a new image from text, it is the wrong mode for testing whether an existing lamp remains unchanged.
Define the edit with a change budget
Imagine a catalogue photograph of a terracotta table lamp. The assignment is to explore a cobalt-blue finish while keeping the same product. Before generating anything, write two lists: the requested difference and the details that carry product identity. This turns a vague aesthetic preference into an acceptance decision.
| Region | Allowed change | Must remain recognizable |
|---|---|---|
| Ceramic base | Terracotta becomes cobalt blue | Contour, surface texture, highlights, attachment points |
| Linen shade | None requested | Width, height, seams, fabric weave |
| Hardware | None requested | Switch location, cord route, metal collar |
| Setting | None requested | Table edge, background, shadow direction, framing |
For a concept board, a small background difference might be acceptable. For a listing that represents a manufactured item, a changed switch or shade can misrepresent the object. Decide that threshold before viewing attractive alternatives. Otherwise, polish can distract you from a revision that no longer satisfies the brief.
The hero illustrates the idea of comparing finishes. It is not a before-and-after Qwen test, and neither the illustration nor this exercise establishes a measured preservation rate. Use a photograph you are authorized to edit when running the worksheet.
Make one bounded request
Keep the original file untouched and name your first output separately. A useful instruction names the object, the change, and a few concrete protected details. “Make it better” gives the model permission to redesign almost anything. “Do not change anything” conflicts with the edit you actually need.
That instruction is a starting specification, not a guarantee of pixel preservation. Qwen's original image editing announcement distinguishes semantic changes from appearance edits. A result can preserve the meaning “table lamp” while changing the exact lamp. Your acceptance check must be more specific than recognizing the category.
Save the full instruction with the output and settings. If it fails, describe the failure before rewriting. “Shade became wider” is actionable. “It looks AI” is not. For the second attempt, address the observed problem without simultaneously requesting warmer light, a new background, and a different camera angle.
Compare protected details at the same scale
First inspect the whole image for framing and overall identity. Then open matching crops of the base, shade edge, switch, and contact shadow. Use the same zoom and display size for source and output. A small preview can hide a missing cord; unequal zoom can make an unchanged shade look larger.
- Check geometry: compare the outer contour, shade-to-base proportions, and attachment points.
- Check materials: confirm that a color request did not turn matte ceramic into mirror-like plastic.
- Check context: inspect the table edge, backdrop, and direction of the cast shadow.
- Check the actual request: decide whether the new blue is useful under the existing light.
If you use a difference overlay, align the images first. Resizing, compression, or a shifted crop can create a large difference even when the pictured object looks similar. Conversely, a low-resolution comparison can miss a small but important product alteration. Use the overlay to locate areas to inspect, not as an automatic verdict on whether the product is accurate.
Record each protected region as pass, fail, or uncertain. An uncertain switch detail calls for closer inspection; it should not silently become a pass because the other regions look good. Keep the first rejected output as evidence of what your next instruction is trying to fix.
Give every additional reference a single job
A second image can clarify a color or material, but it can also introduce an unwanted shape. Suppose the blue reference is a tall glossy vase. Asking to “use this reference” leaves open whether you want its color, height, glaze, or lighting. Identify the source of each attribute explicitly.
Adapt the image labels to the interface you are using. Do not paste references into a workflow that only accepts one image and assume the missing input will be understood. If the two-image attempt changes the lamp's shape, return to the single-image instruction. Additional inputs earn their place by resolving ambiguity, not by making the request look more sophisticated.
Choose a repair that fits the failure
The shade changed: rerun from the original with its dimensions and fabric listed as protected. Do not repair the new shade on top of an already altered base unless both changes are acceptable. Each extra revision creates another opportunity to drift.
The color is right but the finish is wrong: distinguish color from material. Name the existing matte texture and preserve highlight behavior. If a physical swatch must match precisely, finish with a color-managed editing process and an appropriate reference; a generated color impression is not a measurement of a manufactured finish.
The background changes every time: stop broadening the prompt. If the background must remain exact, isolate the accepted product region with a conventional mask and composite it over the original, checking the edges and shadow. That requires an image editor with suitable controls; it is not a hidden guarantee of the model.
The result is a different product: reject it even if it is attractive. Keep redesign exploration in a separate branch so nobody mistakes a concept for an approved product photograph. The product photo approval checklist adds a broader review for images headed toward publication.
Practice the same review in QuestStudio
Qwen is not currently listed in QuestStudio. You can apply the source-and-protected-region method in Image Lab with a supported reference-capable model, checking that model's controls before uploading. Do not expect Qwen-specific input counts or settings there.
Start with one authorized photograph, one intended change, and the downloadable acceptance sheet. Save the accepted output together with its untouched source and instruction. A useful first result is a revision you can explain and approve, not a folder of attractive alternatives with uncertain differences.
Frequently asked questions
Are Qwen-Image-Edit and Qwen Image 2.0 the same model?
No. They are related names used for different releases and services. Record the full model identifier and use documentation for that exact version.
Does an edit preserve every unmentioned pixel?
Do not assume that. Compare important protected areas; use ordinary masking or compositing when exact preservation is required.
Why did a multi-reference edit use the wrong object?
The instruction or images may leave ownership unclear. Identify the source of each object and test with fewer references.
Can I use Qwen image editing inside QuestStudio?
Qwen is not currently listed. Image Lab offers other reference-capable models; their controls and results are different.