
Shoe product photography needs a set of views that explains the pair: its profile, opening, heel, material and outsole. A dramatic side image can hide the tread or make one shoe look like a different size. Plan the gallery from the actual pair, then keep left, right and sale-variant details connected through capture and editing.
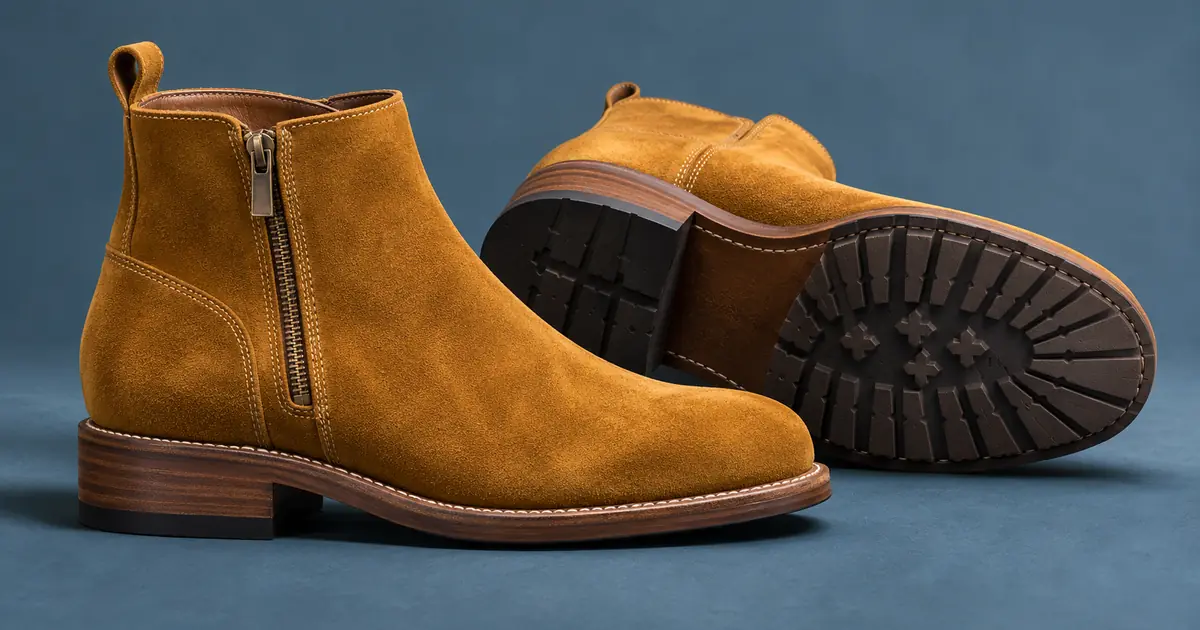
This workflow uses a fictional pair of ochre suede ankle boots to organize the views. The planning drawings are illustrative. Use your real shoes and source photographs when preparing a factual listing or an AI-assisted supporting scene.
Prepare the exact pair being sold
Confirm the style, size, colorway and included accessories. Check that both shoes belong to that pair before you begin. A sample in a different size or with different hardware should not quietly become the source for the final gallery.
Clean temporary dust and arrange the laces or straps consistently. Preserve construction details and the condition relevant to the sale. If you are photographing a used pair, do not edit away wear that a buyer needs to understand.
Photograph the pair together first so you have a source for their relationship. Then capture individual views with a clear left or right identifier in your working filenames. The identifier belongs in the file record, even when the published photograph has no label.
Assign six views to six questions
Use a pair hero to establish the style, a clean side profile for shape, a front view for the toe box, a rear view for the heel, a top or opening view for access, and an outsole view for tread and construction. Add a close material detail when it contributes information the wider views cannot show.
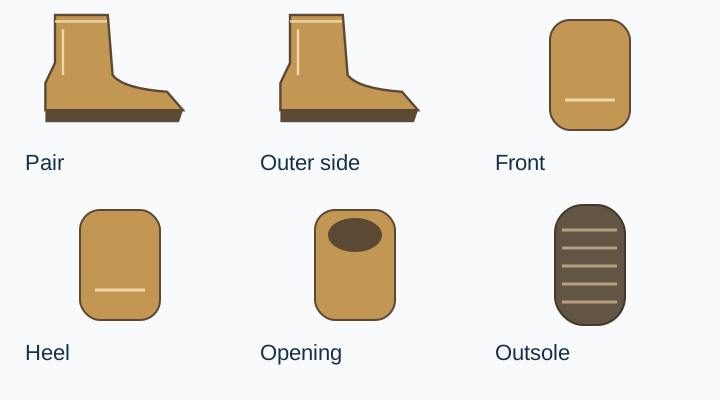
The general product shot-list guide explains how to avoid redundant gallery positions. Footwear adds a specific concern: several angles can make a shoe look stylish while still leaving its sole or opening unexplained.
Keep the camera distance and framing reasonably consistent across comparable views. A very close wide-angle image of one shoe and a distant profile of the other can make the pair seem mismatched even when the products are correct.
Use the profile to protect the shape
Set the shoe so its main side is readable without turning the toe into an exaggerated foreground object. Inspect the toe shape, collar, heel height and the point where the upper meets the sole. Those are stronger anchors than a general request to preserve the design.
For the fictional boot, the review list includes a rounded toe, a low stacked-looking heel, a particular seam around the ankle and a visible outsole edge. If a supporting edit stretches the toe or makes the heel taller, return to the source rather than accepting the result as a more premium presentation.
Use verified product information for material descriptions. A suede-like appearance in an image does not establish the actual composition, and a glossy surface does not prove a protective treatment. Keep descriptive claims tied to the real item and its record.
Photograph the outsole as its own subject
The outsole needs an angle and light that reveal its pattern. A sliver of tread under a side view cannot explain the whole sole. Use a real source with the relevant surface visible, and support the shoe in a way that keeps the construction understandable.
Check the tread direction, visible markings and the boundary between heel and forefoot. An AI-generated sole can look detailed while inventing a pattern. Do not use that reconstruction as evidence of grip, durability or any other performance claim.
For a full pair, keep track of which sole you photographed. Flipping one photograph horizontally may create a useful layout variation, but it should not be presented as a factual photograph of the opposite shoe when the design differs.
Keep left and right identities in the review
Shoes can be similar without being interchangeable. Follow the opening, fastenings, visible seams and sole contours back to the source. A later gallery image should not turn a left shoe into a right shoe because the scene looked more balanced.
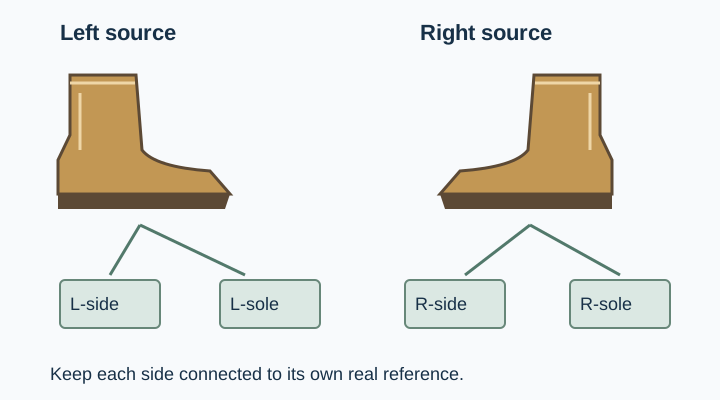
If a model or hand appears in a scale view, use an authorized real reference when possible. Check contact with the ground and how the shoe meets the foot. A generated foot is not a size standard or evidence that a particular size fits a customer.
The product scale guide explains how to use verified dimensions and appropriate references. Keep scale information separate from a decorative fashion pose.
Light the material without changing it
Suede often needs enough angled light to show its surface, while polished leather may need reflection control to keep its shape readable. Start with a broad light and adjust the source or shoe in small steps. Review the actual material after each change.
Avoid sharpening the surface until every fiber has a harsh outline. A texture can become artificial even when the overall color stays close. For dark shoes, separate the outline from the background rather than lifting every shadow until the material changes appearance.
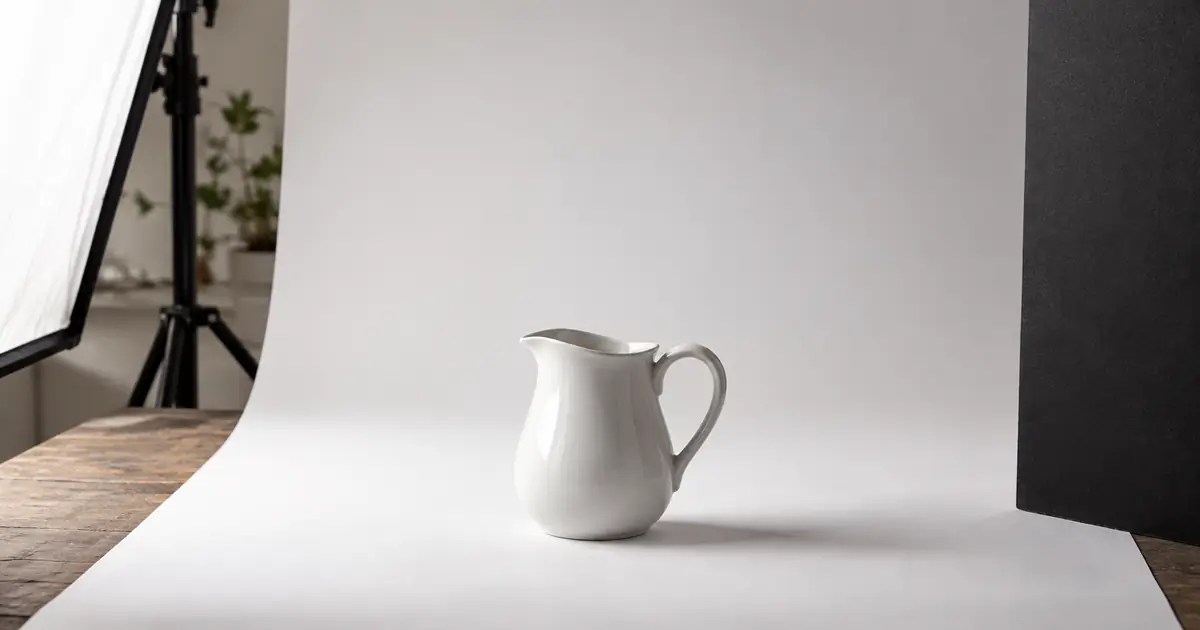
Use the white-product background guide when a pale sole or upper disappears into the sweep. Its edge-separation method supports a clear capture without redesigning the shoe.
Write a supporting-scene prompt around one real view
Choose a source that already shows the required angle. Keep the environment and lighting request restrained enough that the pair can still be compared with the original.
Use the attached photograph of this exact boot pair as the fixed product reference. Create a supporting ecommerce scene on a cool matte surface with soft side light. Preserve the left and right shoes, toe shape, heel height, seams, fastenings, material finish, approved color and visible outsole pattern. Keep both shoes fully readable with natural ground contact. Do not mirror a shoe into its partner, change size, add tread, invent logos or alter the condition. Review the product against the source before using the image.Accept the background only after the shoes pass. If the output changes the shape or sole, a controlled background edit or the original photograph is a better choice than another attractive reconstruction.
Approve the gallery as one sale variant
Review all views together for pair identity, color and material. Then enlarge the sole, fastening and stitching details. Check the final thumbnail so the main view still reads as the intended pair rather than a confusing overlap of shapes.
Download the footwear view worksheet and keep source filenames beside each output. The product approval checklist provides a final check for changed parts and mismatched variants.
Explore the environment in QuestStudio
Use Image Lab with the real pair reference to explore a supporting scene. Keep the view map and left/right record available during review. A clean approved still can later support the separate sneaker video workflow, where motion introduces additional contact and geometry checks.
The still gallery is complete when someone can understand the pair from useful views and the shoes in every image still agree with the actual product.
Download the shoe-gallery worksheet and replace its fictional example entries with your own approved sources.
Frequently asked questions
Can I mirror one shoe to create the other?
Do not use that as factual evidence of the opposite shoe. Photograph and identify the actual pair, especially when seams, fastenings or sole details differ.
Is a side view enough to show the outsole?
Usually it only reveals an edge. Use a dedicated real outsole view when tread or construction matters to the listing.
Can a generated wearing image prove size or fit?
No. Use verified product information and appropriate real references. A generated foot does not establish that a size fits a customer.
What should I check first in an AI-assisted image?
Check pair identity, shape, heel, fastenings, seams and sole pattern before judging the background or overall mood.
Should I remove visible wear from a used pair?
Preserve the condition a buyer needs to understand. Cleaning temporary dust is different from concealing relevant wear or damage.