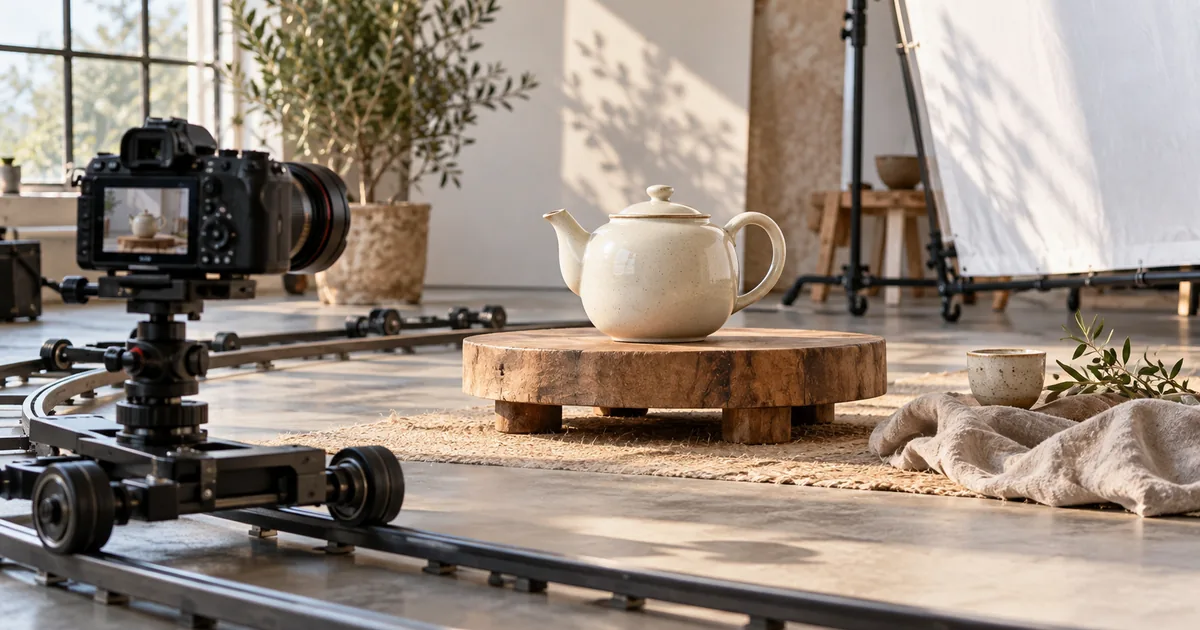

An orbit request can produce three very different clips: the camera moves around the subject, the subject spins on the spot, or the entire scene twists. Only the first matches a camera orbit. A smaller, clearly described arc makes those differences easier to see and correct.
Download the review worksheet · Draft one partial orbit
Decide what should move
A camera orbit changes the viewpoint around a subject. A turntable rotates the subject while the camera stays fixed. Both can reveal another side, but the background and lighting relationships differ. If your brief says “rotate around the product,” it may leave the moving object ambiguous.
Write “the camera moves” and “the product remains stationary” as separate instructions. Runway’s camera-movement reference distinguishes a full orbit from a partial arc. For this workflow, a partial arc is the useful starting point because it asks the model to reveal less unseen information.
| Choice | What moves | What to inspect |
|---|---|---|
| Camera arc | Viewpoint around a still subject | Perspective and background parallax |
| Turntable | Object under a fixed camera | Object rotation and lighting changes |
| Full circle | Viewpoint completes the circuit | Every hidden surface and return continuity |
Choose a reference that has useful anchors
Our fictional subject is a cream teapot with a spout, a handle, and a fitted lid. Those features make orientation easy to discuss. A perfectly smooth sphere would give you less evidence: it might be difficult to tell whether the camera moved or the object rotated.
The hero is an editorial illustration of a studio setup, not proof that an AI system understands a physical dolly track. For your actual project, capture a clean starting view. Use enough background detail to show a changing viewpoint without surrounding the product with distracting objects.
Name three subject anchors and two environmental anchors. For the teapot, use the spout tip, handle opening, and lid knob. For the room, use the table edge and a window frame. These anchors should remain identifiable as their relationships change.
Describe the destination view, not only a direction
“Clockwise” can be interpreted from above, from the camera, or from the subject. Add the visible result you want: move from a front three-quarter view toward the handle side, keep the spout visible, and end before the back becomes dominant. That gives the reviewer a concrete target.
A 30 to 60 degree arc is a reasonable editorial starting range, not a precision control or a measured success threshold. If the interface provides actual camera controls, use its current documentation. If it only accepts text, expect approximate interpretation.
For a reference image, substitute the exact object and visible anchors. Remove any feature the reference does not show. Avoid requesting simultaneous object rotation, moving sunlight, a zoom, and a camera rise until the basic path works.
Make an anchor continuity sheet
Record what each anchor looks like in the starting image. Then review early, middle, and late frames. The handle may become more visible, but it should not detach, change sides, or close into a solid lump. A lid should not become a new cap style halfway through.
| Anchor | Expected change | Reject if |
|---|---|---|
| Handle opening | More or less visible with viewpoint | It fills in or changes construction |
| Spout | Angle and overlap change coherently | It duplicates or migrates |
| Lid knob | Perspective changes, attachment remains | It floats or becomes a different shape |
| Table edge | Shifts consistently with viewpoint | It bends around the product |
| Window frame | Moves behind the subject | It sticks to the object like a texture |
Do not expect every anchor to remain visible. Occlusion is normal. The question is whether disappearance and reappearance make sense. If a handle passes behind the body and returns as a different handle, the transition has broken continuity.
Treat the hidden side as unverified
A single front image does not establish the real back of a product. The model may invent a seam, label, connector, or handle attachment. That can be acceptable in a fictional concept but misleading in a commercial product demonstration.
If accuracy matters, use actual reference views of the real item wherever the chosen workflow supports them. Otherwise restrict the move to what the source can credibly support, or film the real object. A beautiful full orbit is not a substitute for product evidence.
Mark inferred details in your review notes. Do not silently approve an invented control panel because it looks plausible. For a character, the same principle applies to hair, clothing construction, tattoos, and accessories that become visible only during the move.
Fix the specific failure
If the object spins while the room stays fixed, strengthen the stationary-subject instruction and describe background movement. If both camera and object rotate, remove all action verbs attached to the subject. If the camera zooms instead of circling, emphasize constant distance and the changing side view.
If the background smears, reduce the arc or simplify the background. If the object changes shape, try a clearer source or a smaller reveal. Keep one accepted starting frame while changing only the camera request, so you can compare attempts meaningfully.
If the last frame jumps back to the first, you may have accidentally asked for a loop. A full circle and a seamless loop are separate requirements. Approve the motion first, then decide whether a loop is necessary for the placement.
Cut the arc into a sequence
Decide whether the orbit reveals information or merely decorates the scene. A useful product arc might expose a handle grip; a character arc might reveal the person they are facing. End where the next shot has something to say.
Keep screen direction in mind when cutting to a second angle. Use the screen-direction guide when an orbit crosses the line between two interacting subjects. For a single-object piece, compare the final frame with the next shot before accepting the transition.
The establishing-shot coverage map can keep the room understandable. If you want an unsettling change in background scale rather than a new side view, use the dolly zoom review workflow.
How QuestStudio helps
Use Video Lab to attempt one controlled arc and keep the source, prompt, and selected model together. Inspect the complete clip, not just the preview image. The worksheet turns “this looks strange” into a specific note about the handle, background, or endpoint.
When a result passes, save it as a motion reference for the project. Keep any real product verification separate from the generated concept. Precise camera paths and verified all-angle product views may require filming or a controlled 3D workflow outside a text prompt.
Frequently asked questions
What is an AI orbit camera prompt?
It describes a camera moving around a subject. A clear prompt separates camera movement from subject movement and names the desired ending view.
Should I start with a 360-degree orbit?
A smaller arc is easier to inspect and reveals fewer unknown surfaces. Attempt a full circle only when the project needs it and you can verify the result.
Why does my product spin instead?
The model may interpret rotation as subject movement. State that the object is stationary and describe how the camera viewpoint and background should change.
Can one photo prove the back of a product?
No. Any unseen side generated from one photo is inferred. Use real reference views or footage when those details must be accurate.
Start with one version you can inspect. Draft one partial orbit, then use the worksheet to decide what needs another pass.