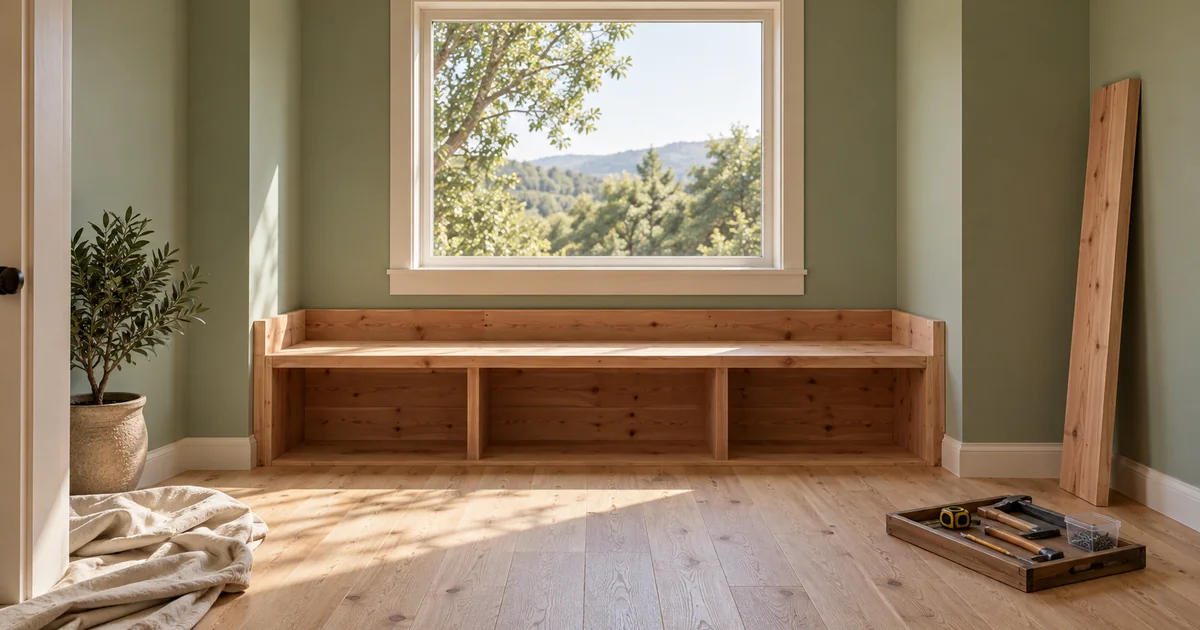

The empty room becomes a reading nook, but the window moves halfway through. That single change makes every later frame harder to trust. A useful renovation visualization starts with the room features that must survive every stage.
Download the room-state ledger · Draft one renovation stage
Editorial guide checked September 13, 2026. Examples and worksheets are original planning material; the hero is an AI-generated illustration, not a model benchmark.
Choose visualization or documentation before generating
An AI renovation timelapse can help explain an imagined design, pitch a mood, or make a fictional transformation sequence. It cannot establish the history of a real building project. Generated workers, materials, and intermediate construction states are inventions, even when the clip begins and ends with genuine photographs.
If you need a construction record, use the actual dated photographs or footage. You can edit that material into a clear sequence while preserving the originals. If you add generated transitions for a creative presentation, identify those sections as illustrative. Do not let a realistic-looking interval become evidence of work, methods, timing, or conditions that were never recorded.
Runway’s current construction timelapse guide discusses real-photo sequences, generated transitions, and fully imagined projects. Those are different production methods. This guide uses a fictional reading nook so the continuity problem can be explored without implying a real renovation took place.
Write a room-state ledger
Before describing motion, identify the room features that must remain fixed. Our example has one square window, pale wood floorboards, a sage wall, and a cedar bench beneath the window. The camera faces the bench from a consistent height. The window opening, room corners, and floor direction remain unchanged across the sequence.
Then list the states in a plausible visual order. You do not need to show every trade or hidden construction detail. You need enough visible stages for the audience to understand the intended transformation. This is an illustration plan, not technical construction guidance.
| State | Visible condition | Must remain fixed |
|---|---|---|
| A: Empty nook | Clear floor beneath the window | Window, room corners, camera |
| B: Bench frame | Open cedar supports in position | Bench footprint, floor direction |
| C: Bench finished | Seat and front panels installed | Height below the window sill |
| D: Styled nook | Cushion and one reading lamp added | All fixed architecture and bench dimensions |
Record deliberate changes too. If the wall color changes, name the state where it happens. Otherwise, an accidental color shift can be mistaken for a design decision and carried into later clips. A short ledger is more reliable than a long prompt that mixes permanent room features with temporary tools and decoration.
Approve the room in still images
Review the four anchor states side by side in your editing workspace. Compare the window edges, sill height, wall corners, and floorboard convergence. A mismatch that is barely noticeable in one picture becomes a jump when the next picture appears. Fix the anchors before asking a video model to connect them.
Use the same crop and aspect ratio for the comparison. If one image is framed more tightly, first determine whether it is a simple crop difference or a changed room. Cropping can align matching geometry; it cannot restore a window that became wider or a wall that moved. Do not keep trimming until the differences are hidden outside the frame unless that smaller composition still serves the story.
For a client-facing concept, label the anchors as design studies. Keep the approved version separate from exploratory generations. The final sequence should represent the chosen room rather than a mixture of attractive but incompatible possibilities.
Animate one visible change at a time
A single request to clear the room, build furniture, paint walls, change daylight, and add furnishings gives the model many opportunities to invent contradictory states. Break the sequence into transitions with one main change. For example, the bench frame becomes a finished bench while the room and camera remain stable.
Use Video Lab for a short stage experiment. First check which references and duration controls the selected mode supports. If it only accepts a starting image, do not describe an exact final image as though you have supplied an enforced endpoint. Generate a manageable clip, inspect the result, and cut to a separately approved next state when necessary.
Stage brief: Fictional reading-nook visualization. Fixed camera facing one square window in a sage wall. The cedar bench frame beneath it gains a seat and front panels. Preserve the window opening, bench footprint, sill height, floorboard direction, and wall corners. Keep lighting steady. No additional windows, room expansion, or camera movement.
This brief is intentionally not a claim of exact construction simulation. The generation may still assemble materials in an impossible order. Decide whether the intended use tolerates a stylized transformation. If the point is to explain how something is built, replace invented assembly with accurate recorded or deliberately diagrammed steps.
Separate time passing from the room changing
Fast clouds, sliding sun patches, and rushing workers can make a clip read as a timelapse. They can also distract from geometry failures. Establish the room transformation first. Add an impression of elapsed time only when it supports the presentation and remains consistent across the cut.
For the reading nook, steady daylight is the safer first pass. It lets you judge the bench and window without a moving shadow concealing them. A later version might use a gentle light change between states, but the sun should not jump between incompatible directions inside the same short segment.
Avoid using generated timestamps, dates, or progress percentages as decorative realism. Add any necessary explanatory labels in the editor, where the wording stays accurate and readable. A caption such as “Illustrative design sequence” tells the viewer more than a fabricated date stamp.
Diagnose the first continuity failure
Watch the sequence once for the design and once for the fixed landmarks. Pause at the first frame where a permanent feature changes. Does the window widen, does a support disappear, or does the bench jump forward? The first failure often tells you whether the source anchor, generated segment, or cut needs repair.
If the room is stable but the assembly becomes confusing near the end, shorten that segment and cut to the approved finished state. If the architecture drifts throughout, regenerate from a stronger anchor or use a still-to-still edit. If only the lamp appears before the bench is complete, revise the state order rather than the whole visual style.
Keep a rejected-take note such as “window right edge moves during seat installation.” That is actionable. “Looks too AI” is understandable as a reaction, but it does not tell the next pass what to preserve.
Build a sequence that can be reviewed without the prompt
Assemble the accepted segments in a video editor. Give the final nook enough screen time for the audience to see the design. Match crops, inspect cut points, and check any text at the smallest intended display size. A sequence can be fast while still allowing each meaningful state to register.
Review the exported file from start to finish. Confirm that the disclaimer or description travels with the version being shared, especially if a short social cut omits the introduction. Keep original reference photos, generated anchors, accepted clips, and the edit project identifiable in the handoff folder.
The final acceptance question is specific: does this clearly communicate the imagined reading nook while preserving the room’s fixed features? That is a useful creative result. Treating it as proof of a real renovation would be a different claim, and one the generated sequence cannot support.
Frequently asked questions
Can an AI transition prove how a renovation happened?
No. Even when its endpoints are real photographs, the transition invents the interval. Keep original records for documentary claims.
Why does the room change during a timelapse?
The generation may reinterpret geometry or invent intermediate states. Compare fixed landmarks and reduce the number of changes in each segment.
Do I need one continuous generated shot?
No. Clear cuts between approved stages often explain progress more reliably than a long transformation.
Does every Video Lab model accept first and last frames?
Input support varies by model and mode. Check the selected controls; use separate stage clips when the required inputs are unavailable.