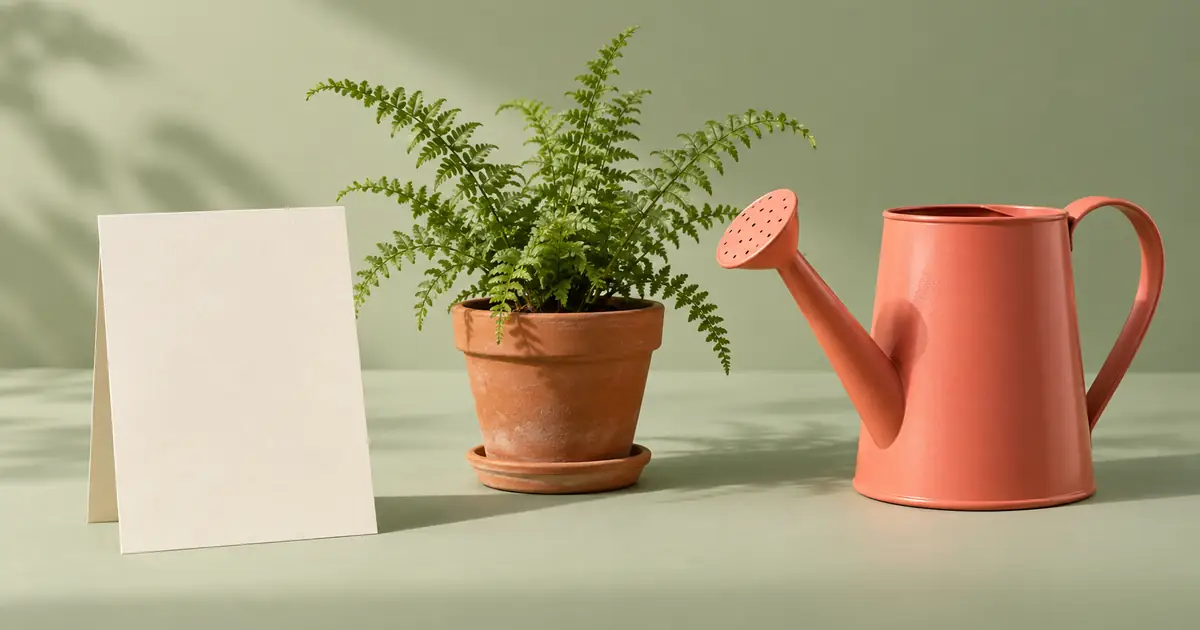

The first image is attractive. Then someone asks you to move the watering can, make room for a headline, and produce a portrait version. Reve AI image editing becomes useful at that moment: when the composition needs a specific revision and you want to keep the parts that already work.
Create a layout reference · Download the composition-and-revision sheet
Checked September 14, 2026. This is a source-backed workflow with an original still-life brief, not a hands-on Reve review. The hero is an AI-generated illustration.
Understand what is editable
Reve's editor documentation distinguishes Spotlight for a targeted region, Draw for adding a described object from a sketch, and Select objects for moving, resizing, recoloring, swapping, or removing an existing element. Effects, upscaling, and background removal address different needs. That distinction is more useful than treating every revision as another general prompt.
The company describes structured layouts in its Reve 2.1 announcement. The idea is that regions can be addressed and revised. Do not interpret this as a guarantee of Photoshop-compatible layers, an editable font file, or pixel-identical surroundings after every operation. Judge the actual exported asset and the controls available in your interface.
This guide uses the consumer editing concepts. API endpoints and app controls are different surfaces; a capability described in an API announcement does not establish that every app account exposes the same operation.
Give the composition three jobs
Our original example is a gardening workshop visual: a coral watering can, a fern in a terracotta pot, and an area reserved for event copy. The can is the main subject. The fern explains the gardening context. The copy area must remain quiet enough for readable type added later.
Start by deciding which object should win the first glance. If the pot is larger, brighter, and closer than the can, it may become the main subject regardless of your written brief. Editing is easier when you can say what is wrong: “The fern competes with the can” is more actionable than “Make it more professional.”
| Element | Role | Must preserve | May change |
|---|---|---|---|
| Watering can | Main subject | Spout, handle, and overall silhouette | Position and modest scale adjustment |
| Fern and pot | Context | Plant identity and pot material | Position and visual prominence |
| Quiet region | Space for event details | Readable contrast and enough room | Background texture within reason |
| Light and surface | Unify the scene | One coherent shadow direction | Small tonal refinements |
The blank card in the illustrative hero represents reserved space. It is not proof that an image model has created an editable text layer. If the final asset needs exact event details, place real typography in design software and check it at the intended display size.
Choose the editing tool by the required change
Move an existing object: use the object-selection route when the can is the correct design but in the wrong place. A region prompt that recreates the entire corner may also redesign the handle or change nearby leaves.
Repair a localized area: use a region-based edit for a distracting mark, unwanted object, or small background change. Make the target clear and describe the desired outcome. Inspect both the selected area and its boundary afterward.
Add something new: use a sketch or drawing workflow when you need to communicate position and rough shape. Draw only the information necessary for placement; then describe the actual material and form. A scribble is a guide to intent, not a finished outline the model must always preserve exactly.
Do not add a new object simply because the tool makes it easy. A trowel, seed packet, gloves, and a second plant may make the scene busier without improving the workshop message. Every extra element adds another relationship to preserve during revision.
Make one revision and inspect its consequences
Save the initial composition. For the first revision, move the can away from the copy area while keeping its scale approximately constant. Compare the result with the baseline. Did the empty region become useful? Did the can's spout bend? Did the contact shadow move with the object?
Moving an object changes more than its outline. Its old location needs a plausible background, while its new location needs believable contact and overlap. A technically successful move can still leave a shadow in the old position or place a leaf unnaturally in front of the handle. Those are the consequences to inspect.
Keep a simple record: revision A moved the can; revision B reduced the fern; revision C adjusted the background tone. If C causes an unwanted redesign, return to B. Repeatedly editing an already degraded output can make it difficult to locate the last clean version.
Prepare the portrait crop as a new composition
A wide layout often cannot become a useful portrait simply by cropping the sides. Suppose the square version reserves 35% of its width for copy on the left. A centered 9:16 crop can remove much of that region while retaining too much empty space above the objects. Review the actual layout, not just the aspect-ratio setting.
For the portrait version, try putting the can and fern in the lower half and reserving an upper region for the headline. Keep the can prominent and make sure the spout stays inside the frame. The two versions should feel related, but they do not need identical object positions.
Reve's aspect-ratio documentation explains setting the ratio in the interface or requesting it during creation and editing. Use that setting to establish the canvas, then judge the hierarchy inside it. Changing the ratio is not the same as designing the new arrangement.
Check what the viewer will actually read
Place the final headline and event details as real text in your design tool. Inspect the layout at its actual destination size. A subtle cream-on-sage combination can look elegant at full resolution but become hard to read on a small phone preview. Keep the essential details out of visually busy leaves, handles, and reflections.
For product or brand work, compare the object against approved references after the layout edit. If a specific handle shape or material matters, a near match is not enough. Preserve the visual idea while replacing an inaccurate generated object with an approved product cutout when necessary.
Export the final image and reopen it. Confirm the crop, dimensions, text, and file type. An editing session can look correct while the downloaded file is an earlier version or a different crop. Use clear filenames for the approved square and portrait variants.
Where QuestStudio fits
Image Lab can help create a clean composition reference or explore the look of the gardening scene. Carry an approved reference into Reve when its object-selection tools suit the revision. This article does not imply those Reve controls are part of QuestStudio.
If your next goal is a motion version, use the approved composition as the source for a supported Video Lab mode. Ask for restrained movement that respects the layout. Add exact promotional text afterward so it remains readable and editable through the final delivery.
Frequently asked questions
Is a Reve layout the same as a layered Photoshop document?
Do not assume so. Reve describes structured editable regions, but that does not by itself establish PSD export, native fonts, or conventional design layers.
Should I use Spotlight to move an object?
Choose the tool that matches the job. Reve documents object selection for moving existing elements and Spotlight for targeted region changes.
Can I trust small generated text in the finished design?
Check every word and use real typography when exact wording, font choice, or later editing matters. A readable bitmap is still different from editable type.
Why does a portrait version look crowded?
The layout may have been cropped without being recomposed. Reposition the main subject and reserve a new copy area appropriate to the portrait canvas.