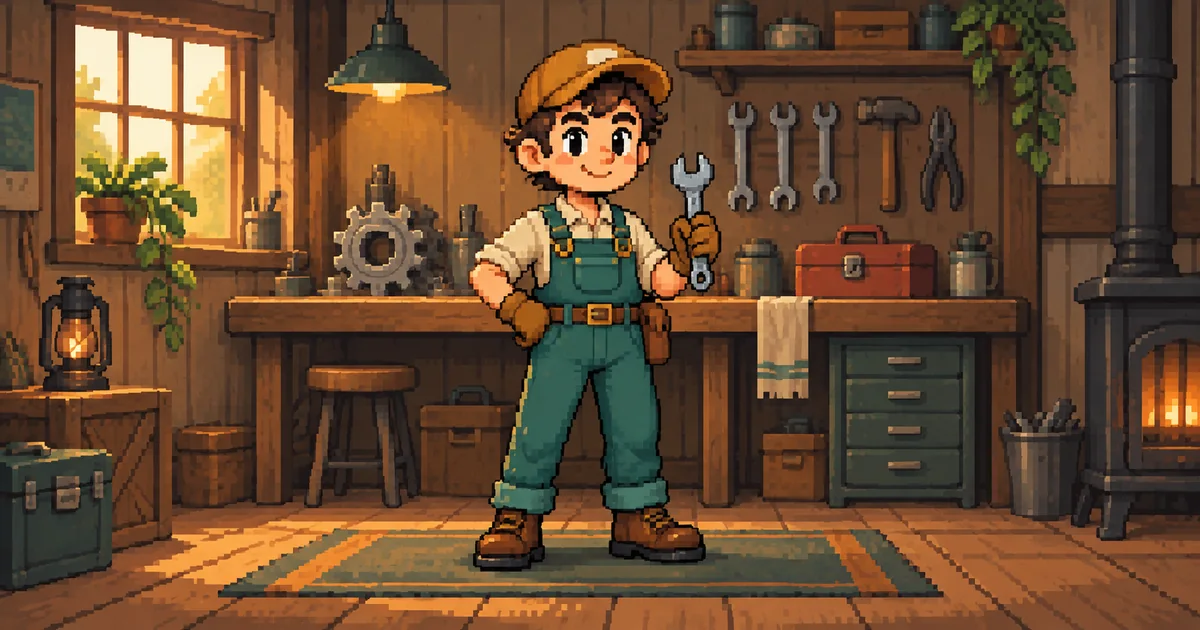

An image can look pixelated and still fail every requirement of a game sprite. Uneven cells, soft edges, and drifting feet turn an attractive sheet into a cleanup project. Decide what the game needs before generating the character.
Download the sprite handoff worksheet · Sketch a readable sprite character
Editorial guide checked September 13, 2026. Examples and worksheets are original planning material; the hero is an AI-generated illustration, not a model benchmark.
Define the game asset before generating the picture
A sprite is drawn for a particular camera, scale, animation system, and background. A sprite sheet is a container for frames. A texture atlas may also pack many unrelated assets with metadata. Those distinctions matter because an image that resembles a sheet can still have uneven cells and no usable timing or coordinate information.
For this original exercise, imagine a side-view repair game with a mechanic holding a wrench. Start with a 32 by 32 logical-pixel frame and a four-pose idle animation. Those dimensions are a deliberate constraint for the example. A different game may need smaller, larger, or non-square frames, so use the actual camera and neighboring assets to choose.
Write the acceptance conditions before opening an image generator: readable silhouette at normal play size, feet anchored consistently, a wrench that does not change hands, transparent surroundings, and an export that reopens correctly in the target engine. A beautiful enlarged illustration is not one of those conditions.
Use AI to explore the silhouette
Image Lab can help explore a character’s broad design. Ask for one character with distinctive proportions and a simple palette, rather than a complete page of many supposedly aligned frames. That gives you a useful reference to rebuild or clean in a dedicated pixel editor.
Do not infer native pixel art from the visual style. Zoom into the file and inspect whether its apparent blocks align to a consistent grid. Soft edges, differently sized blocks, or hundreds of near-identical colors suggest that the image needs cleanup. Resizing a large faux-pixel illustration to 32 by 32 may destroy the features you liked.
The creator walkthrough at Final Parsec follows AI art through cleanup and animation preparation. Its practical strength is treating generation as an input to asset production. Keep that distinction when estimating your own workload.
Establish a real logical grid
Create a 32 by 32 canvas in the sprite editor for this exercise. Rebuild the important shapes so each pixel belongs to that grid. Start with a silhouette, then the cap, overalls, boots, and wrench. Detail should earn its place by improving readability at native size, not by making an enlarged screenshot more impressive.
Choose a limited working palette and inspect accidental near-duplicates. You do not need an arbitrary color-count contest. You need consistent decisions about outline, shadow, material color, and highlight across frames. If a single highlight pixel makes the wrench flicker, remove or reposition it deliberately.
View the sprite at native size and at an integer enlargement using nearest-neighbor scaling. The enlarged view helps editing; the native view tests the game asset. A browser or image viewer that smooths the enlargement can mislead you about edge quality, so check the actual scaling mode before diagnosing blur.
Anchor the feet and animate the upper body
For the four-pose idle, choose a foot anchor near the bottom center of the cell and record its pixel coordinate. Keep the boots planted while the shoulders and wrench move slightly. This avoids turning a breathing gesture into a character that bounces off the ground.
The first pose is neutral. The second raises the shoulders by one logical pixel. The third is a distinct, slightly relaxed return pose. The fourth settles the wrench without moving its grip to another hand. These are planning choices to test; the actual pixel drawings may need a different motion amplitude to remain readable.
Flip between adjacent frames and compare the cap outline, eye position, wrist, wrench length, and feet. An onion-skin view can reveal unintended displacement, but also inspect each frame alone. A perfectly aligned silhouette can still contain a broken arm or a tool that changes shape.
Record layout and timing as data
Four untrimmed 32 by 32 cells placed in one horizontal row produce a 128 by 32 sheet with no padding. The frame origins are 0, 32, 64, and 96 pixels along the x-axis. This simple layout makes the first import easy to audit. Add padding or packing only when your engine workflow calls for it.
| Frame | Rectangle: x, y, width, height | Example duration |
|---|---|---|
| Neutral | 0, 0, 32, 32 | 240 ms |
| Lift | 32, 0, 32, 32 | 120 ms |
| Return | 64, 0, 32, 32 | 120 ms |
| Settle | 96, 0, 32, 32 | 320 ms |
This table is a human-readable manifest, not a universal engine JSON format. Export metadata in the schema the importer expects. If your animation system only supports a uniform frame rate, translate the timing deliberately or use its duration controls rather than assuming these unequal holds will transfer automatically.
Aseprite’s sprite-sheet documentation explains import offsets, frame dimensions, padding, and export. Its slice documentation also covers regions and pivots. Use those controls to produce an explicit asset rather than relying on a model to draw an exact atlas.
Test transparency, trimming, and filtering
Reopen the PNG over a bright background and a dark game-like background. A painted checkerboard or white halo will become obvious. Check the wrench’s open end and the space between the boots; small gaps are easy to lose during background cleanup. Keep the editable source so corrections do not require another lossy transformation.
If the exporter trims transparent pixels, confirm that the metadata preserves the original placement or pivot. Otherwise, a frame with a raised wrench may get a different crop and make the whole character shift. For the first exercise, untrimmed equal cells reduce that ambiguity.
Inspect texture filtering inside the engine. A sharp PNG can still look blurry with smoothing, or develop edge artifacts when packed beside another sprite. Follow the engine’s import settings for your intended pixel-art presentation. The correct result is established in the game scene, not in the file manager thumbnail.
Approve the sprite in motion and in context
Place the mechanic on the actual floor and run the idle at normal game scale. Watch the feet, then the face, then the wrench. Check whether the silhouette separates from both a light wall and a dark workshop corner. A palette that worked on a blank canvas may need revision against the level art.
Save the editable sprite, exported sheet, metadata, and a note describing the importer settings and animation name. The vendor guide at Tsubu similarly follows layout through game import; the additional value here is an explicit small-grid exercise with measurable frame rectangles and a fixed foot anchor. Once that simple asset works, expand the animation set without losing the rules that made it usable.
For static scenery that must sit on a shared world grid, the isometric game-prop workflow adds footprint, ground-anchor and overlap checks before you expand the asset set.
Frequently asked questions
Does a pixel-art prompt produce native pixel art?
Not reliably. Inspect the actual pixel grid and palette; soft or inconsistent blocks usually need cleanup or redrawing.
What size should each sprite frame be?
Choose the size from the game camera and asset style. This article uses a 32 by 32 example, not a universal requirement.
Why does my character jump during an idle animation?
Frame crops or pivots may move the feet even when the drawing looks similar. Compare the anchor in a fixed cell and in the engine.
Can QuestStudio export the atlas JSON for me?
This workflow uses Image Lab for concepts and a sprite editor for frame layout and export metadata.