
One tile looks finished. Nine copies reveal a stripe down the middle and a pear cut in half at every edge. The word “seamless” in a prompt is an instruction to attempt, not proof that the exported pixels actually repeat.
Download the pattern proof checklist · Create the pattern’s motif
Editorial guide checked September 13, 2026. Examples and worksheets are original planning material; the hero is an AI-generated illustration, not a model benchmark.
Choose a repeat type before choosing a style
A straight repeat places identical tiles in aligned rows and columns. A half-drop repeat offsets neighboring columns. Other repeat systems change the arrangement again. Decide which one you intend to deliver, because a tile that works in one layout is not automatically correct in another.
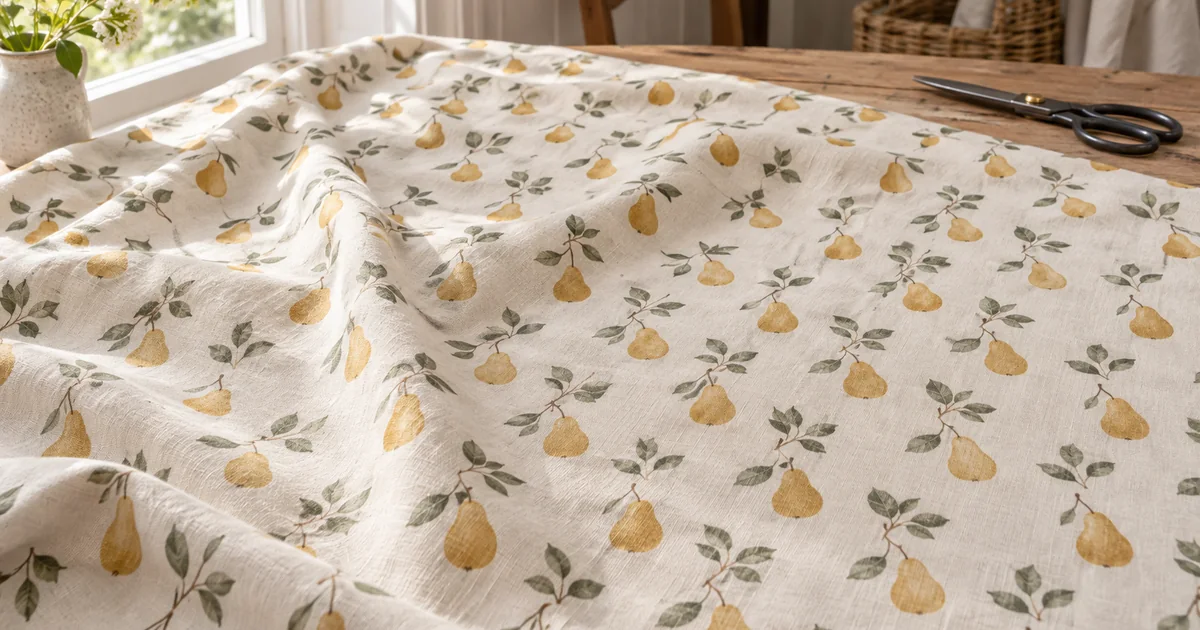
Our original assignment is a straight-repeat pear-and-leaf pattern for a small fabric project. It uses ochre pears, muted green leaves, and a cream background. The goal is a calm scattered arrangement without a visible grid, long empty corridors, or pears cut off incorrectly at the seams.
The printed fabric in the hero is an illustration of the intended use, not proof that a downloadable tile has been generated or tested. The downloadable worksheet helps you test your own tile. Keep the distinction clear when showing a pattern mockup to a client: a draped preview can conceal the very seams that need review.
Decide whether to generate a tile or build from motifs
Generating an entire pattern is fast for exploring color and rhythm. Building a repeat from separate motifs gives you more direct control over placement and edge matching. For a first deliverable, choose the route that lets you correct the failures you can see.
If you use a dedicated pattern feature, read its actual output contract. Adobe’s Text to Pattern documentation describes generating editable vector patterns in Illustrator, including access through Object, Pattern, Generate Patterns. That is different from asking a general image generator for a picture that merely resembles a repeat.
In a raster-first workflow, create a few clean motifs and arrange them in a suitable editor. Keep the pears and leaves separate so you can move them without regenerating the entire surface. Avoid a framed presentation, a fabric photograph, or a collage when what you need is the actual flat artwork.
The brief requests a motif, not a verified seamless tile. That makes the next step explicit: arrange the artwork, construct the repeat, and test the exported boundaries.
Construct matching edges deliberately
Choose the tile dimensions before placing motifs across its edges. For a straight repeat, anything crossing the left boundary must continue at the right in the matching vertical position. Anything crossing the top must continue at the bottom in the matching horizontal position.
For example, on a 1,024-pixel square working tile, a motif copied exactly 1,024 pixels horizontally will occupy the corresponding position in the neighboring tile. Use the editor’s numerical placement or repeat tools rather than dragging by eye. A nearly matching edge can still create a visible seam.
Keep a layered working file. If a pear crosses a corner, it needs the corresponding continuations around that corner, not just one duplicate at an opposite side. Preview the neighboring tiles while arranging so the edge treatment and the overall rhythm develop together.
Do not hide an edge problem with a border. A border becomes a grid when repeated. Unless a visible grid is part of the design, it changes the assignment rather than solving the seam.
Use an offset view to expose the original boundaries
In a raster editor with a wrap-around offset operation, shift a working copy by half the tile width and half its height. For the 1,024-pixel square example, that is 512 pixels in each direction. The old outer boundaries move into the center, where discontinuities are easier to inspect.
Use wrap-around behavior, not an operation that fills the exposed area with a new color or transparent space. The purpose is to rearrange the same tile pixels, not invent a replacement edge. Adobe documents the distinction in its filter edge-handling guidance. Confirm the tool’s behavior with a simple test if its options are unfamiliar.
Look for broken contours, abrupt background changes, or a leaf stem that fails to connect. Repair the center while protecting the new outer boundaries, then test the repeat again. Every retouch can introduce a new mismatch, so an offset pass is a check within the workflow rather than a one-time certification.
Inspect a three-by-three repeat for rhythm
A technically joined tile can still advertise its boundaries through composition. Nine copies make repeated empty lanes, dense clusters, and diagonal bands easier to notice. Zoom out until the arrangement reads as a surface rather than a collection of individual pears.
| Failure | What it suggests | Useful adjustment |
|---|---|---|
| Thin visible cross at tile edges | A boundary or background mismatch | Inspect the offset center and export bounds |
| Strong vertical empty lane | Uneven motif distribution | Rebalance spacing across the repeat |
| One obvious dense cluster | The tile’s focal point repeats too loudly | Redistribute a few motifs |
| Broken pear at every seam | Incorrect continuation | Correct the exact matching placement |
| Pattern looks noisy at small size | Too much detail for the intended scale | Simplify or enlarge the motifs |
Inspect both the whole surface and a close view of the seams. One view answers the composition question; the other answers the boundary question. Neither replaces the other.
Calculate the physical scale
Pixel dimensions and print resolution determine the physical size of a raster repeat. A 3,000-pixel tile placed at 300 pixels per inch spans ten inches. If a pear occupies 300 pixels within that tile, it spans one inch at that placement. These are arithmetic relationships, not quality guarantees.
Changing only the resolution metadata does not create more detail. Resizing the artwork changes the pixels and can affect the seam. If you upscale, retouch, or resample after building the repeat, rerun the boundary and rhythm checks on the new file.
Print a small proof at the intended scale when the project is physical. A motif that looks generous on a monitor may be too tiny on fabric, and a subtle cream background may reproduce differently on the chosen material. Use the print provider’s actual file and color requirements rather than a generic promise of print readiness.
Export the tile, not the preview
The three-by-three proof shows the repeat working, but the production file may need only the single tile. Name them differently. Delivering the proof as if it were the tile changes the effective repeat size and can create confusion in the receiving workflow.
Check exact export bounds, dimensions, background or alpha behavior, and the requested file format. Open the exported tile in a fresh document and repeat that exported file. This catches a border, resampling change, or crop error introduced during export even when the working document was correct.
Keep the layered source, final tile, repeat proof, and scale note together. If the recipient needs a half-drop arrangement instead of the straight repeat you built, treat that as a new layout to verify rather than a label to change on the same file.
Create the motif in QuestStudio, then finish the surface
Image Lab can generate the pear motif or explore a visual direction. A dedicated verified seamless-repeat export is not currently listed. Use a pattern-capable editor to construct and inspect the production tile.
The acceptance worksheet records the repeat type, tile size, edge test, surface rhythm, physical scale, and exported-file check. A pattern is ready when those decisions agree in the actual delivered file, not when a single attractive square has the word “seamless” in its prompt.
Frequently asked questions
Does writing seamless in a prompt guarantee matching edges?
No. Test the exported tile in a repeated arrangement and inspect the join. A convincing single tile can still have visible seams.
Why check more than a two-by-two preview?
A larger repeat makes directional stripes, obvious clusters, and empty corridors easier to spot. The edge can be technically joined while the overall rhythm still looks wrong.
Should I upscale before building the repeat?
Prefer to finish at the intended working size when possible. Any resampling or retouching can affect edge matching, so repeat the seam checks after changes.
Does Image Lab provide a verified tiling export?
A dedicated seamless-repeat verification mode is not currently listed. Use it for motifs or concepts, then finish and test the tile in a suitable editor.